This post may contain affiliate links. If you make a purchase through links on our site, we may earn a commission.
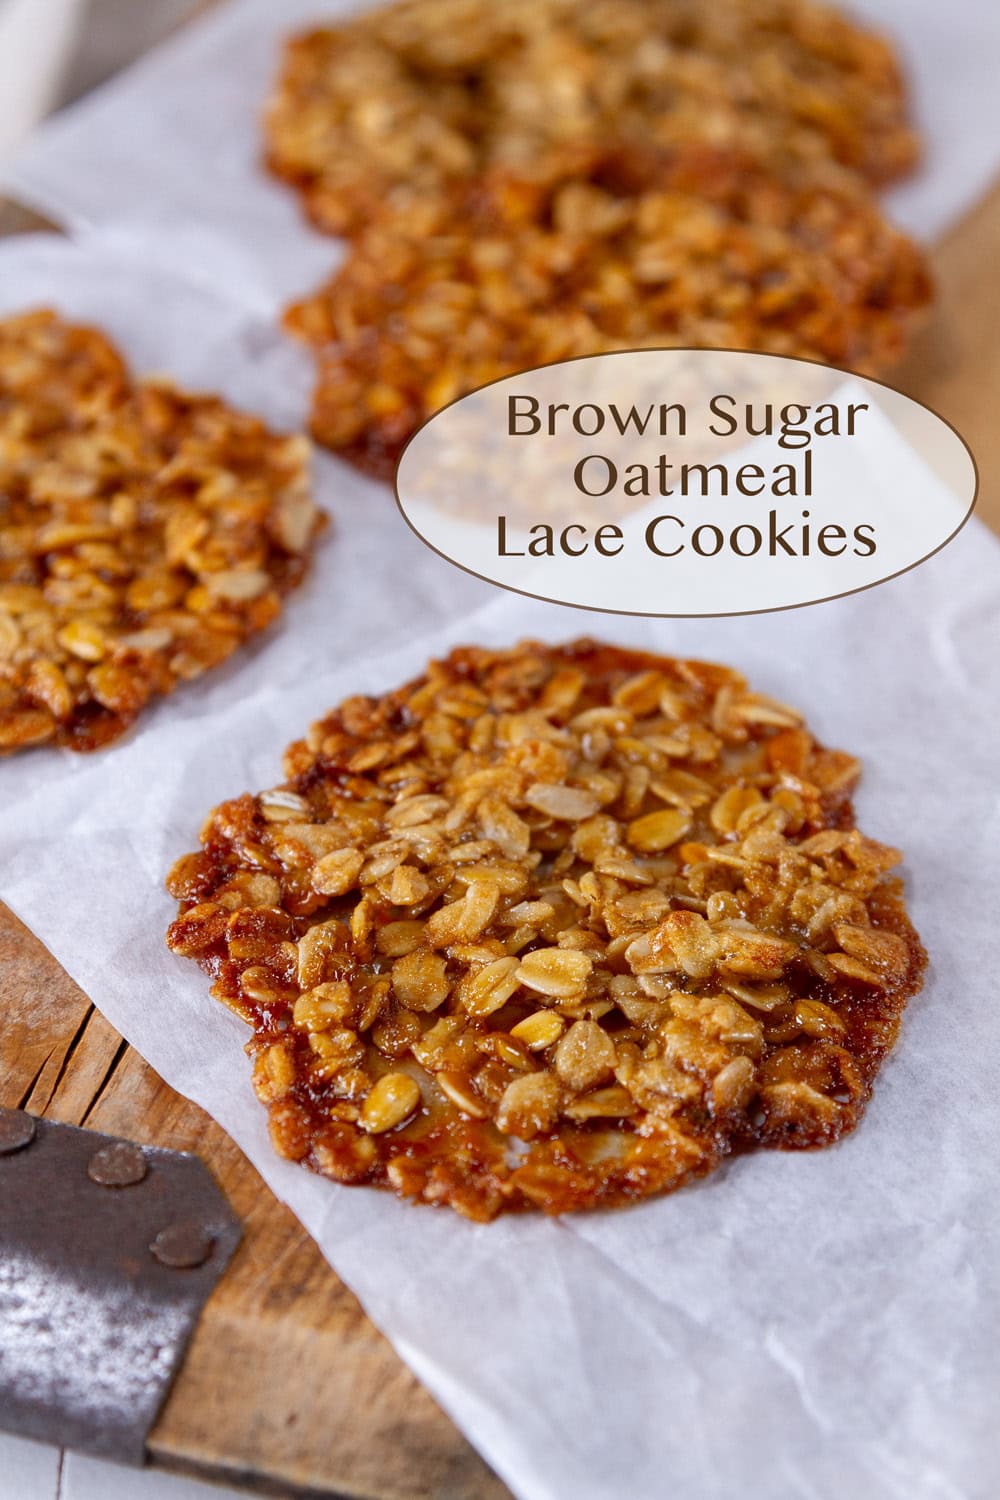
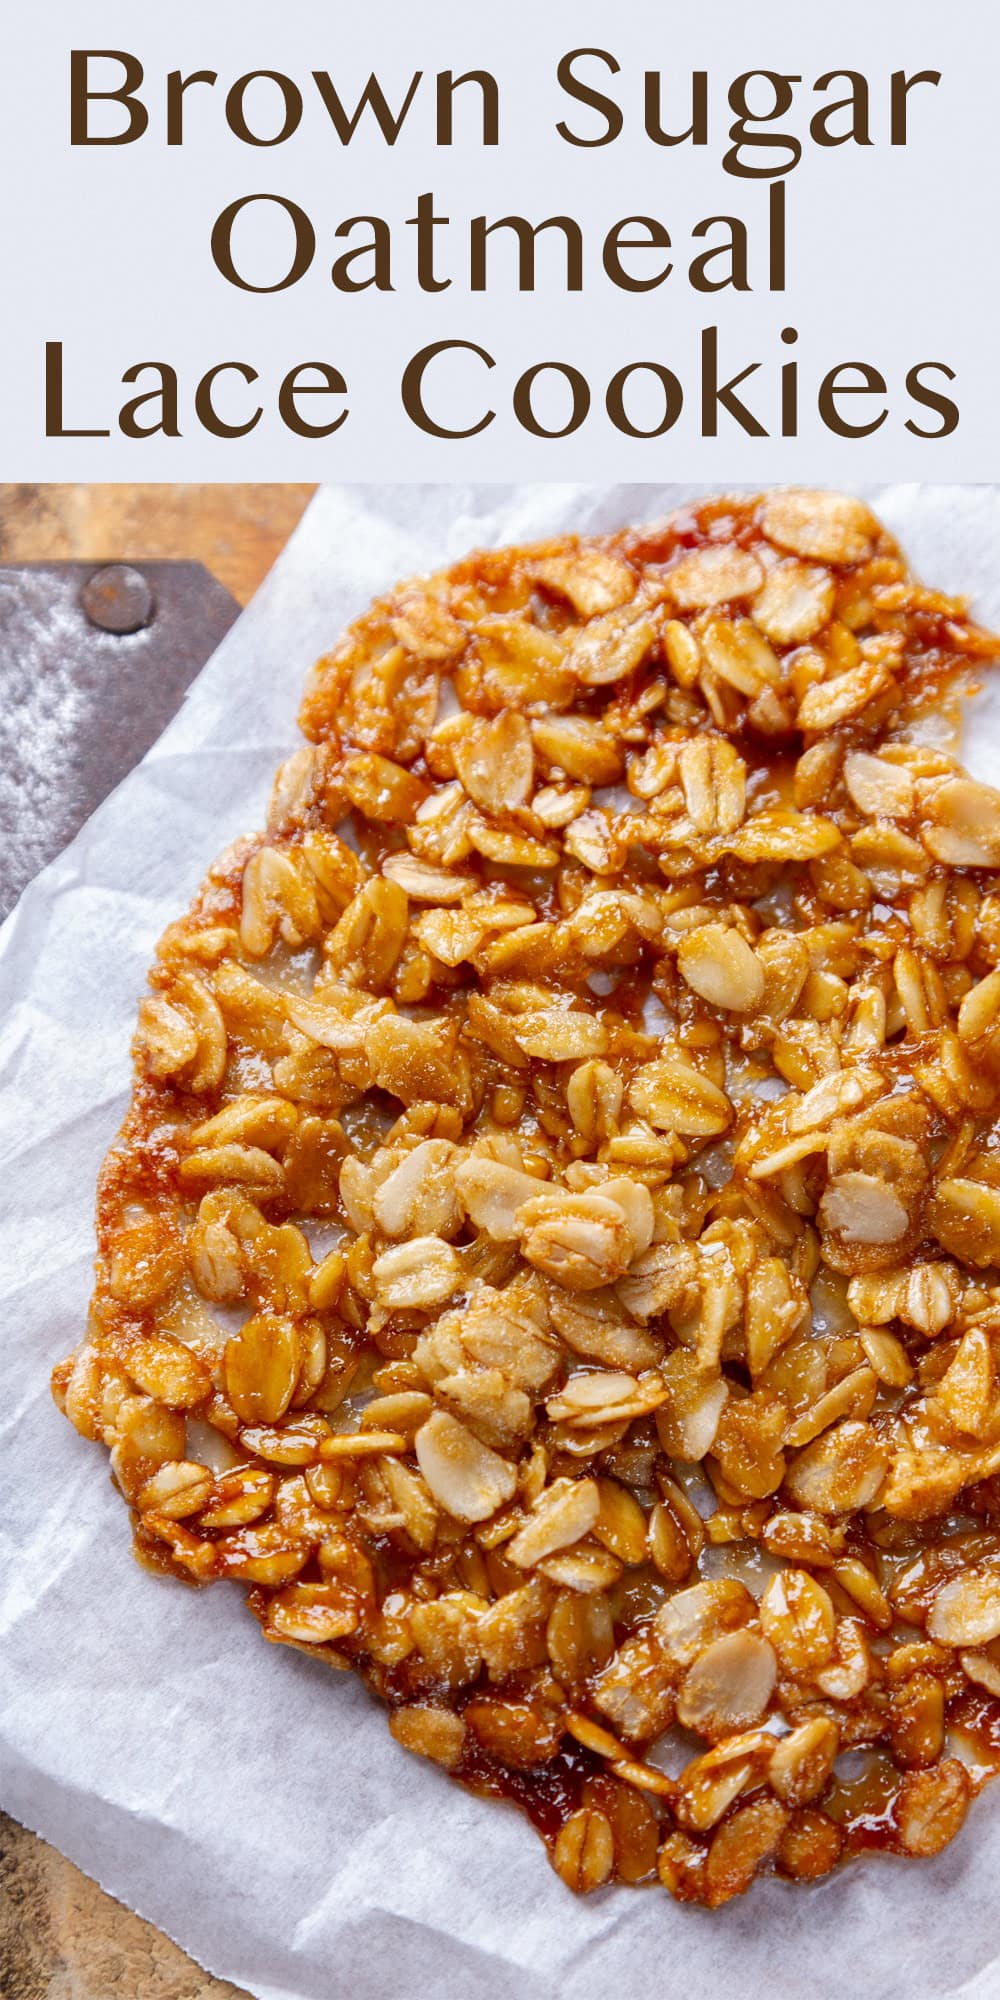
Brown Sugar Oatmeal Lace Cookies are a flourless old-fashioned type of cookie that you might find in an old church cookbook. They’re crisp, delicate, buttery, and so delicious.
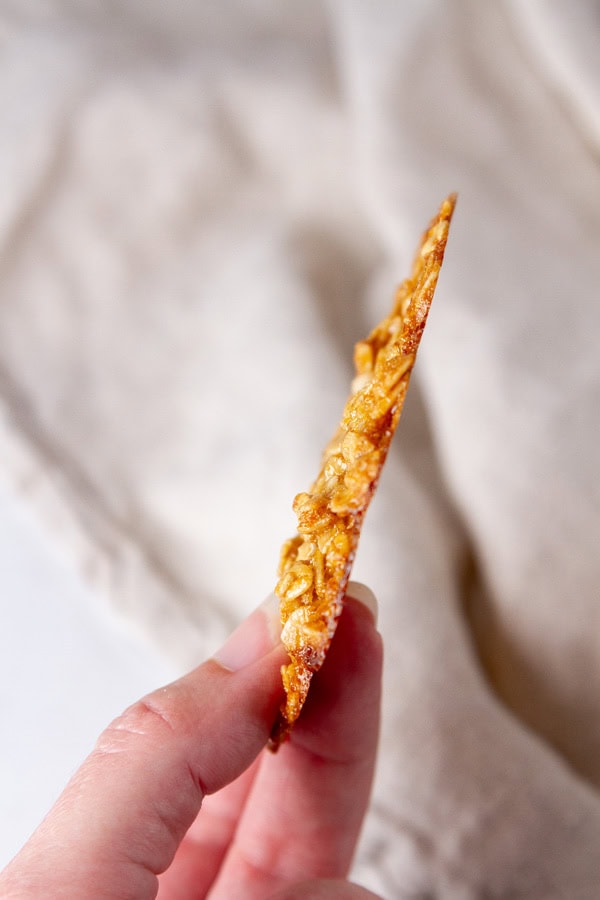
These naturally gluten-free cookies are almost like candy. And they look so impressive with their beautiful thin and lacy appearance. The nice part is that these are super simple to make!
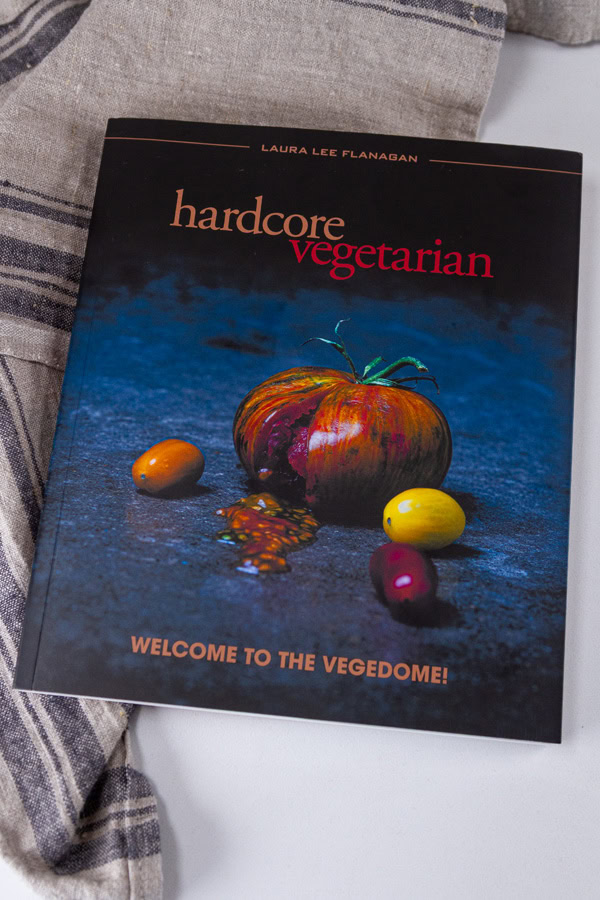
This recipe comes from Hardcore Vegetarian: Welcome to the Vegedome! I was given a copy by the publisher, but all my opinions are my own.
We appreciate your support
Please let me know if you have any questions about this recipe. I read all the comments myself and I try to help as soon as I can. I have readers from all levels of comfort and experience in the kitchen on my site, and I’ve tried to answer some of your questions already in the post. But if I’ve missed anything, please feel free to leave a comment and ask.
What are lace cookies?
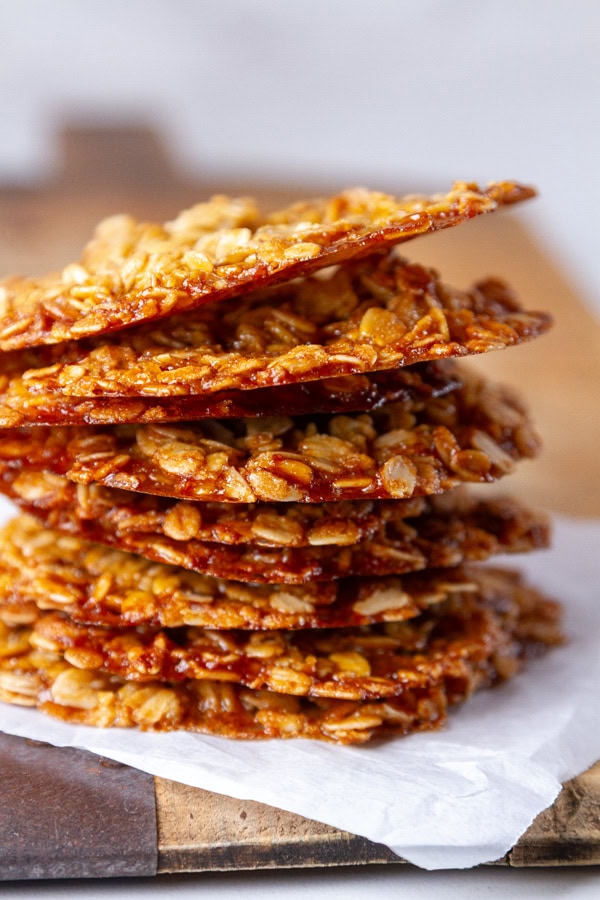
Lace cookies are thin crispy cookies with a stunning, almost see through appearance. The brown sugar candy texture is made even better with chewy oatmeal inside. This recipe is flourless, though many lace cookie recipes have a small amount of flour.
How to make
These cookies are magical because they’re super delicate and snowflake-like. Butter, brown sugar, and oatmeal combine in an easy batter with just a bit of baking powder and an egg to create these ethereal treats.
Scroll down to the printable recipe card for full instructions and ingredient amounts. I share tips and suggestions in the body of the post, as well as photos.
Ingredients
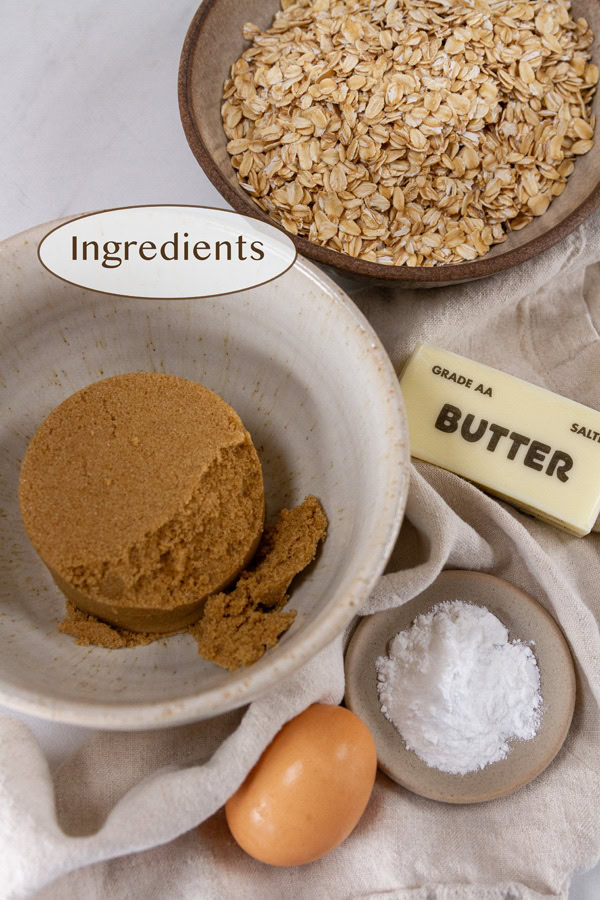
Let’s talk a bit about the ingredients and some substitutions.
Oatmeal: I’m a big fan of old-fashioned rolled oats. I think they have the best texture and chew for most recipes. Yes, you can use quick oats instead of old fashioned, just be aware that it will change the texture, and they won’t be as chewy and will be more fragile. You can also use thick-cut rolled oats, like Bob’s Red Mill, for even thicker chewier cookies.
Brown sugar: I recommend dark brown sugar for a deeper flavor. But either light brown sugar or dark will work.
Baking powder: As always, I recommend aluminum-free baking powder. Besides any health issues, I think it just tastes better. I find baking powders with aluminum to have a metallic flavor that just makes everything taste off.
Butter: I highly recommend real butter for these cookies; it just tastes better. But, a butter substitute, plant-based butter, or margarine will work. Don’t use a tub butter though, it will be too soft. The recipe calls for salted butter, if you prefer to use unsalted butter, just add a pinch of salt to the mixture.
Egg: Egg substitute or egg whites will work just fine here.
Let’s get baking
These will bake in batches. They spread quite a bit, and I found myself only getting about 6 cookies per tray. For these cookies, it’s ok to put the batter on slightly warm baking sheets as you bake additional batches. Parchment paper is the way to go for these cookies, as you can easily peel the paper off the back of the cookie after it’s baked. So, line a couple of trays with parchment paper and set them aside.
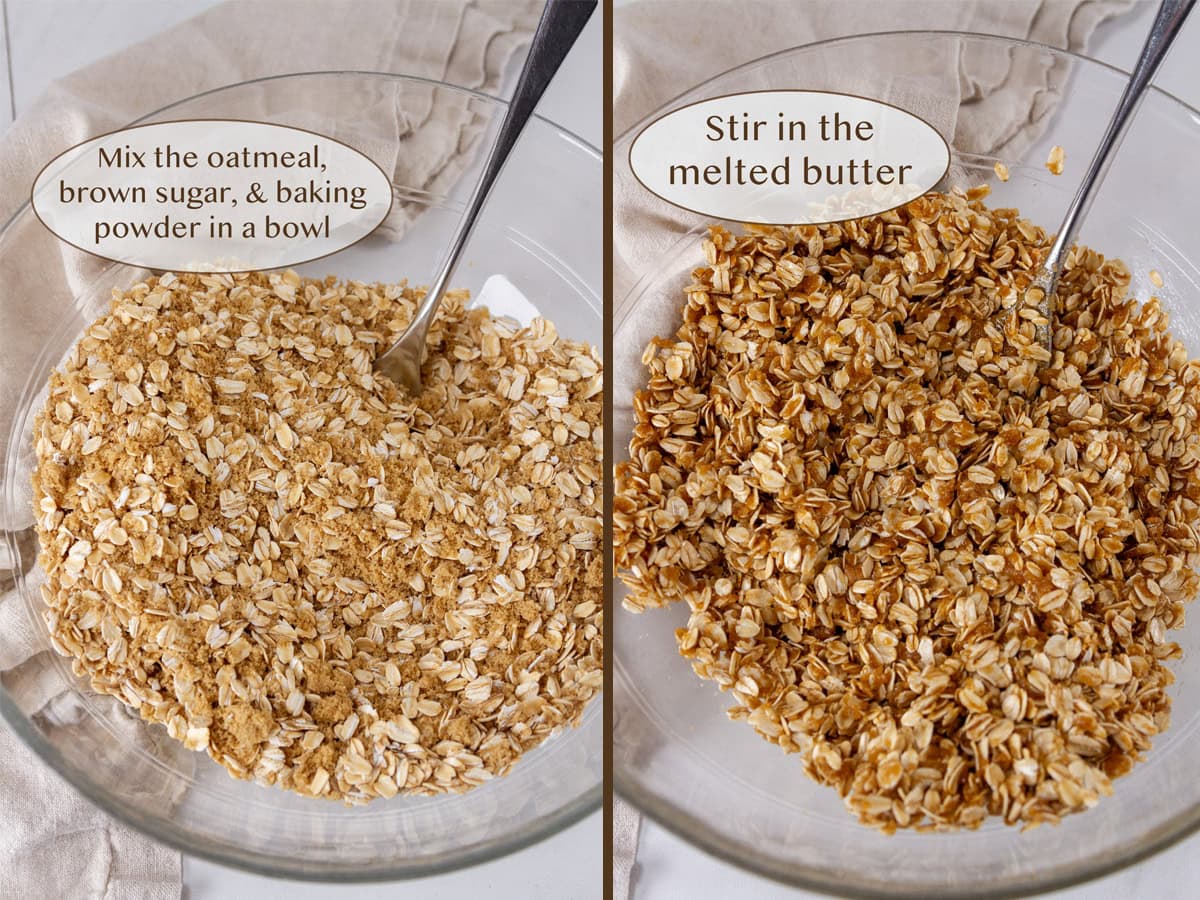
Mix the oats, brown sugar, and baking powder in a medium bowl, and add the melted butter. Add the egg, and mix well. The dough doesn’t look a whole lot different as you mix everything together. In fact, it really doesn’t look very dough-like. That’s ok.
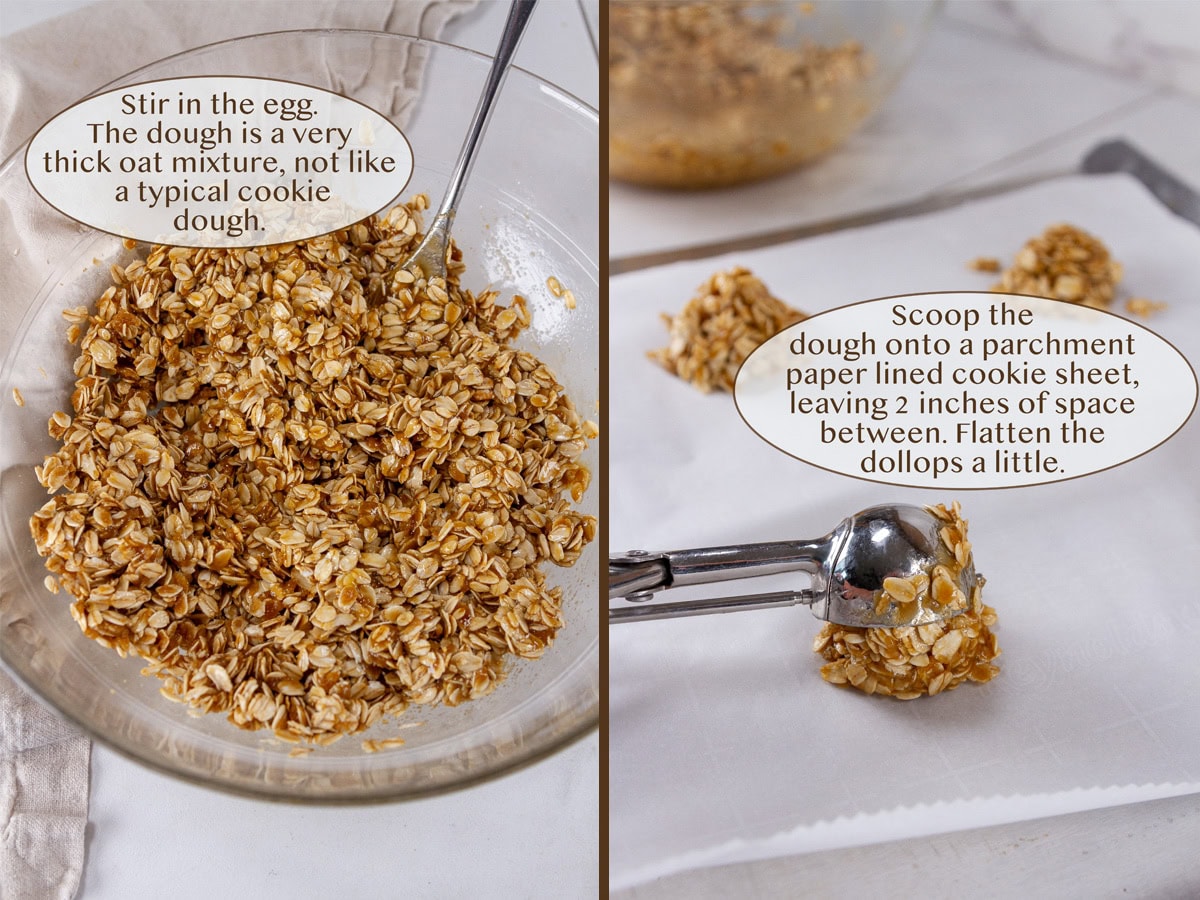
Scoop a tablespoon sized spoonful onto the prepared baking sheet. Flatten them a little. Give them 2 inches of space between each other because they spread quite a bit. And really, any size cookie is fine, as long as they’re all about the same size so they bake about the same rate. Make small ones or great big ones. Just keep an eye on them as they bake.
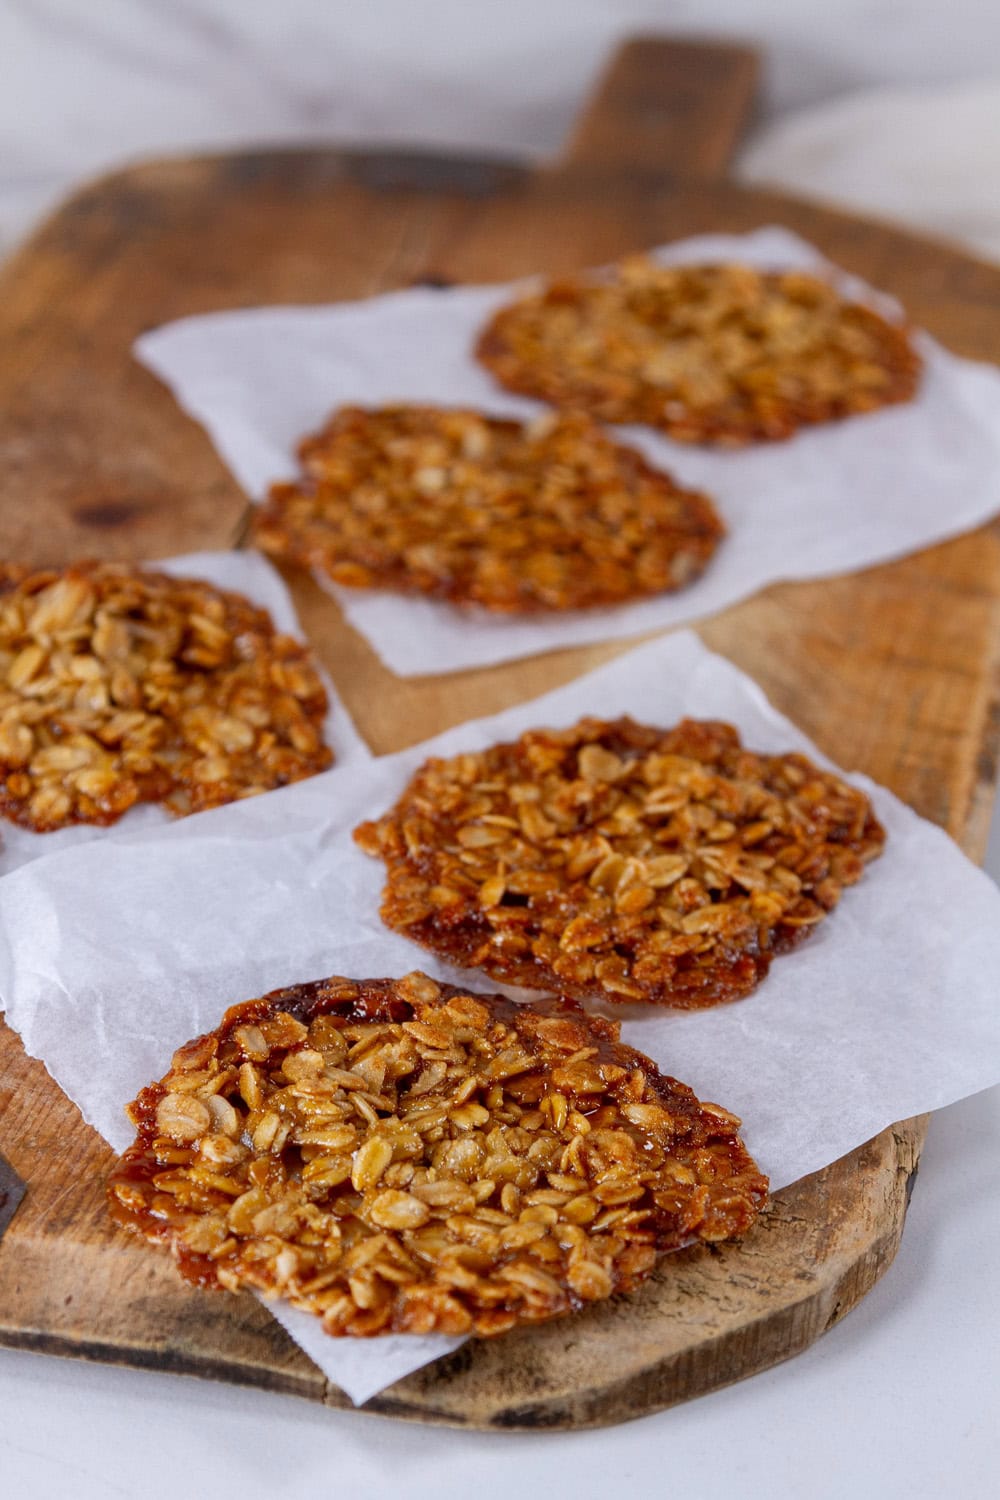
Bake them until the edges of the cookies start to turn dark golden brown. They “melt” and become flat and lacy-looking, caramelizing in the oven.
Remove from the oven, but let them cool on the pan for a couple of minutes, then slide the pan out from under the parchment paper, leaving the paper and the cookies on the cooling rack. Let them cool about 15-20 minutes, or until completely cool.
Carefully peel the parchment paper off of the back of the cookies, or use a spatula to move them to a cooling rack.
NOTE: They’re fragile, and will often break— that is OK, because you can use the broken bits as a crumble to top ice cream, cake, or cupcakes. It’s so good, you might want to just smash them up and do that anyway.
Storage and make ahead
The dough can be made up to 4 days in advance and stored in the fridge until you’re ready to make them.
The dough can also be frozen for longer storage. Drop the spoonful dollops on a parchment paper lined baking sheet, and place it, covered with plastic wrap, in the freezer for about an hour or until frozen. The dough mounds can then be placed in a freezer safe ziptop bag and stored in the freezer until ready to bake. When you’re ready to bake them, just place the frozen dough balls (no need to defrost), 2-inches apart on a parchment paper lined baking sheet. Bake as directed, but adding a couple of minutes to the time.
To store leftover baked cookies, place them in an airtight container with parchment paper between the layers of cookies, and at room temperature for about a week. They do soften a bit and are less crispy as they sit. Baked cookies can also be stored in the freezer in an airtight container for up to 3 months.
Hardcore Vegetarian
Hardcore Vegetarian: Welcome to the Vegedome! By Laura Lee Flanagan a journey into vegetarianism led by someone who fell into it inadvertently and is learning as she goes. She describes herself as a “lazy vegetarian” as she cooks and writes about her vegetarian husband, musician Harley Flanagan. There are many references to him in the book, though I’m not familiar with him at all.
The book includes tips and insights from the people who taught Flanagan how to cook. It’s organized into sections that cover every meal and includes a guide to vegetarian pantry essentials.
There are lots of recipes that sound great, like roasted Romanesco risotto, Savory wild mushroom bread pudding, and soda noodles with miso glazed tofu. Though there aren’t very many pictures of the finished dishes, which I think are pretty standard to include in cookbooks nowadays.
Serving suggestions
Lace cookies are often sandwiched together with fillings like melted chocolate or buttercream.
Serve these cookies with an iced shaken coffee for an afternoon coffee break.
Let’s keep in touch
If you like seeing my recipes subscribe via email in the upper right.
Or, connect with me on your favorite social media channel for recipes, photos, & much more:
Pinterest, Facebook, Instagram, YouTube and Twitter!
And find my shop on Amazon for recommendations on cool tools
If you try this recipe,
please come back & leave a comment below letting us know how it goes.
Share a picture & tag @lifecurrents on Instagram.
Or you can upload a “tried it” photo (I would love to see)
via the pin.
Recipe

Brown Sugar Oatmeal Lace Cookies
Ingredients
- 2½ cups rolled oats
- 1 cup brown sugar
- 2 teaspoons baking powder
- ½ cup melted salted butter
- 1 egg beaten
Instructions
- Preheat oven to 350° F.
- Prepare baking sheets by lining with parchment paper or silicone baking mat. The cookies will need to be baked in batches, so you’ll want a few baking sheets. Though it’s ok to put these cookies on slightly warm baking sheets as you bake additional batches.
- Add the oats, sugar, and baking powder to a medium bowl and mix. Add the melted butter to the dry ingredients and mix. Add the egg. Mix well into a thick batter.
- Scoop a tablespoon sized spoonful onto the prepared baking sheet. Flatten them a little. Give them 2 inches of space between each other because they spread quite a bit.
- Bake for 8-10 minutes, until the edges of the cookies start to turn dark golden brown. They “melt” and become quite flat and lacy-looking and crispy.
- Remove from the oven, but let them cool on the pan for a couple of minutes, then slide the pan out from under the parchment paper, leaving the paper and the cookies on the cooling rack. Let them cool about 15-20 minutes, or until completely cool.
- Carefully peel the parchment paper off of the back of the cookies, or use a spatula to move them to a cooling rack.
Notes
Nutrition
Nutritional information is based on third-party calculations, and should be considered estimates. Actual nutritional content will vary based on brands used, measuring methods, portion sizes, and more.


Debi
Oh my gosh these are delicious! And so easy to make. I hope you love them as much as I do. Debi, author, Life Currents