This post may contain affiliate links. If you make a purchase through links on our site, we may earn a commission.
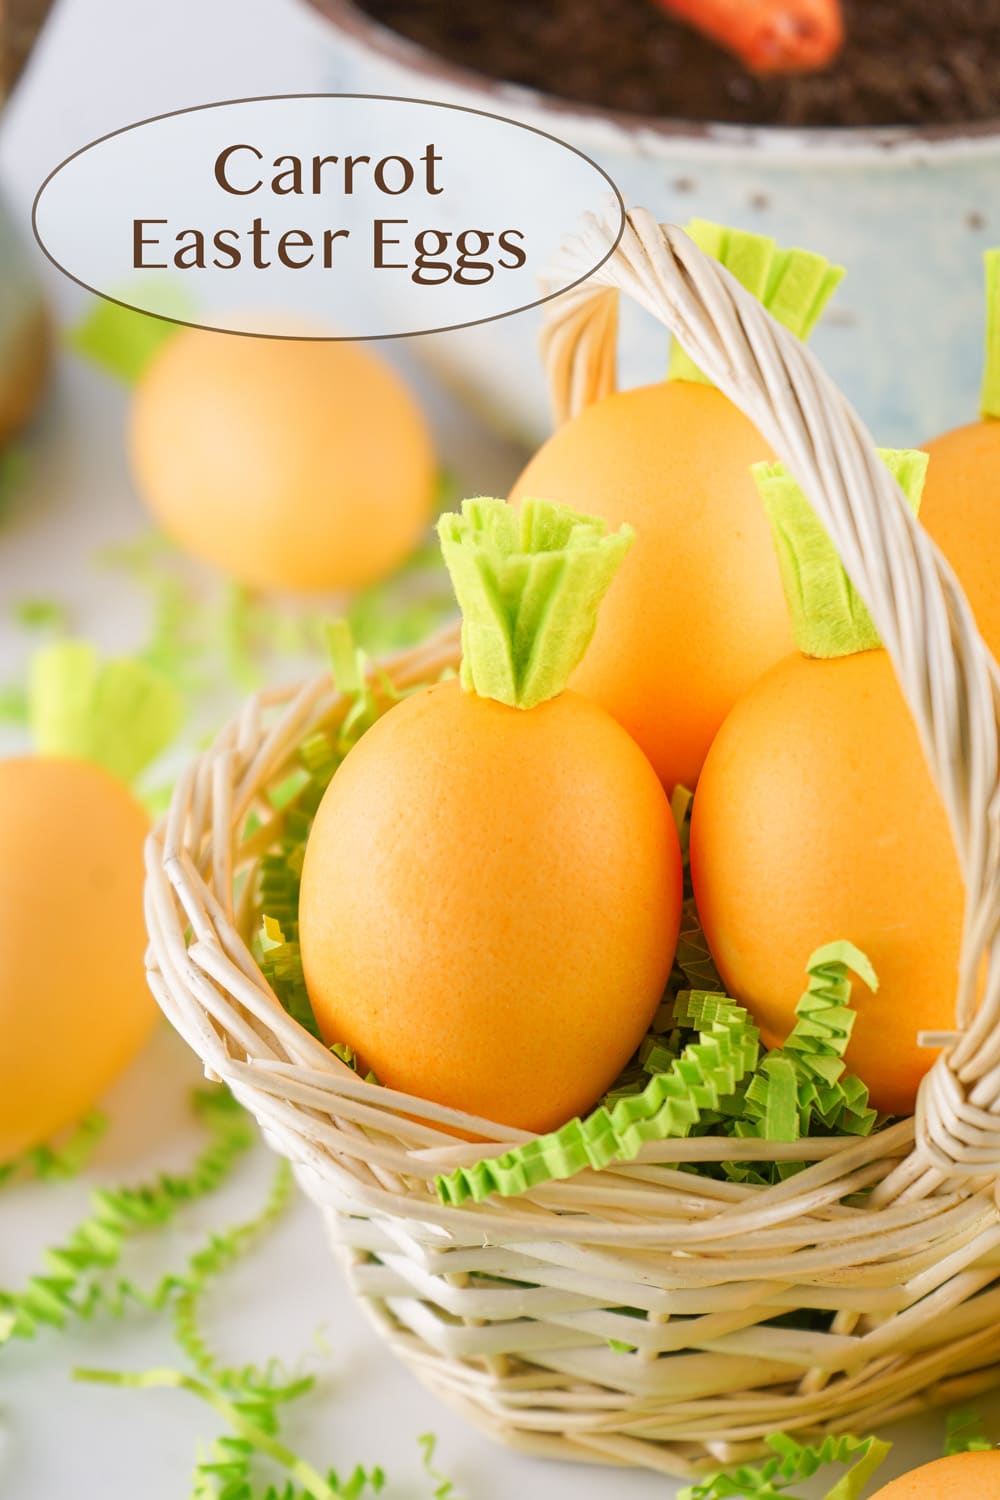
Looking for a simple Easter craft? Try making Carrot Easter Eggs with hard boiled eggs. They’re perfect for a fun activity with the kids or to add a touch of spring to your decor. Just a few easy steps, and you’ll have adorable carrot-inspired eggs in no time!
You won’t believe how adorable these DIY spring Easter Eggs turn out! They’re such a cute addition to your spring decorating, and the kids will have a blast making them. It’s the cutest egg decorating idea! These Candy Bugs are another fun edible project you can do with the kids.
We appreciate your support
Please let me know if you have any questions about this recipe. I read all the comments myself and I try to help as soon as I can. I have readers from all levels of comfort and experience in the kitchen on my site, and I’ve tried to answer some of your questions already in the post. But if I’ve missed anything, please feel free to leave a comment and ask.
How to make
This super cute Easter craft is so much fun to make with the kids. Think of this as a creative seasonal family activity! Let’s get started!
The full printable recipe ingredients and instructions are available in the recipe card at the bottom of the post. You can find important tips and tricks in the post.
First, you’ll want to boil the eggs.
How to make hard boiled eggs
Cover the pot, and bring the water to a boil; turn off the heat. Let the eggs stand covered in the hot water for 18 minutes for extra large eggs, 15 minutes for large eggs, and 12 minutes for medium.
At the end of the resting time, the hard boiled eggs should be perfectly cooked with no olive green-looking film on the yokes. And they’re ready for coloring.
For lots of details, including tips and tricks for dying Easter Eggs, check out my Easter Eggs with Food Coloring guide.
Gather the ingredients and tools
- Boiling Water
- Vinegar
- 30 Drops {affiliate link} Orange Gel Food Dye
- Glue Gun
- Glue Stick (for the gun)
- Scissors
- 4 inch X 1 inch {affiliate link} Lime Green Sticky Felt Strips (one for each egg). If you aren’t able to get the sticky felt, regular felt with a dab of glue to hold it once rolled will work as well.
- Measuring Tape (optional)

Dye the eggs
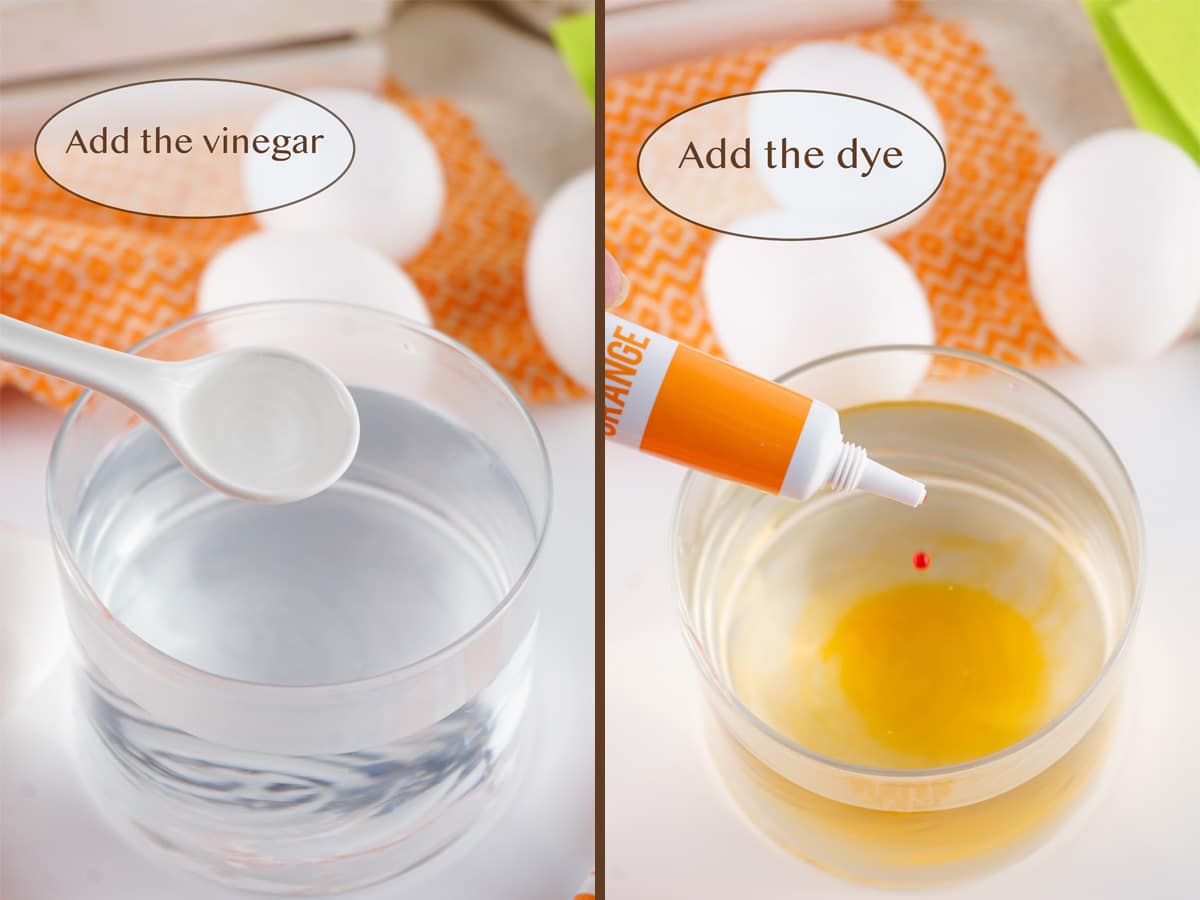
Place the boiling water, vinegar, and dye in a small dish and stir until the dye is dissolved.
Dye each egg for 10 minutes or until the desired level of orange is reached.
Set on a paper towel and let fully dry.
The water needs to remain hot for the orange dye to work well on the eggs. If you want to do them all at once, in a large bowl, that will work well too, it’s just harder to measure how much dye you’ll need. You might want to do a test egg to check that the color is to your liking. Then, heat the water back up and do a whole batch.
And don’t forget that red and yellow make orange,
so if you don’t want to buy orange, you can combine colors to make it.
Prepare the carrot tops

While the eggs are drying, make little cuts, every 1/8th of an inch in the green felt strips, all the way down. Don’t cut all the way through, leave just a bit of uncut space at the bottom of each slit.
You can trim and adjust the carrot stems as you see fit. The best part about this craft is that each carrot egg will turn out a little differently. I had to trim some of the bottoms off my stems once I rolled them because I felt they were too long. You can make thicker or thinner stems, and maybe try some with super thin cuts of grass.

Remove the paper backing from the felt and roll the felt strips, keeping the uncut bottom portion lined up as you go.
Spread the carrot stem at the top and part the separate slices of felt and then press it onto a firm, clean surface such as a plate or even your hand will do. This makes the top spread out a bit to look more like a stem.

Attach the tops
Once the eggs are dry, place a small dot of glue from the glue gun on the bottom of the felt carrot top and then place it on the middle, top of the fattest part of the egg. It should dry almost immediately.
If you have younger kiddos, I would definitely do the glue gun part for them as you don’t want their little fingers getting burned.

How to use
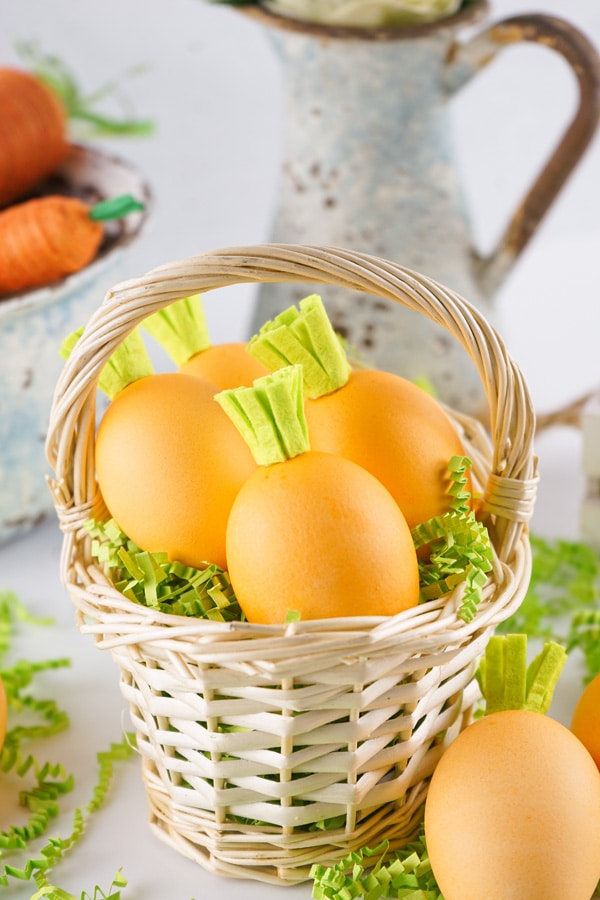
And you’re ready to use these adorable and bright Carrot Easter Eggs for decorations on the table. Place them next to and Easter bunny for a great seasonal display. Or, pop them in a cute Easter basket.
These eggs are safe to eat, keep them refrigerated and don’t leave them out for too long.
And they make a great egg salad. When was the last time you had egg salad? It’s so good!

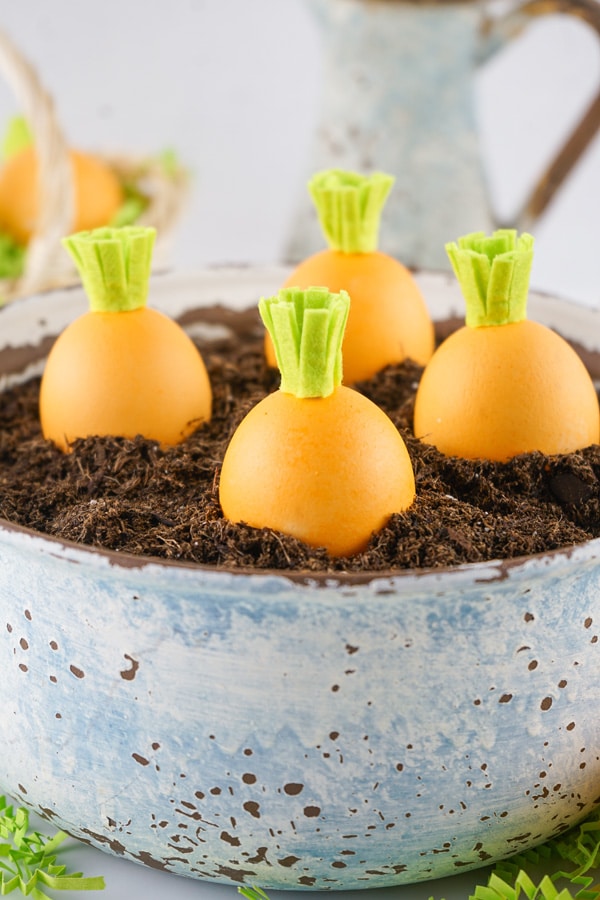
Nestle them down into a dirt filled pot for an adorable centerpiece.
If you want to make ornaments out of these, you’ll want to use blown eggs.
To make blown eggs
- pierce the top and bottom of a raw egg with a craft knife or thumbtack, turning the knife in one hole to gently widen the hole a bit.
- Poke a toothpick or a straightened paper clip through one hole and “stir” to break up the yolk.
- Hold the egg, larger hole down, over a bowl, and then blow the contents out with a bulb syringe or using your mouth.
- Rinse the shell well and let dry.
- Now it’s ready to dye and string a pretty ribbon through to hang.
More great Easter fun
I’m a big fan of holidays! And Easter is such a pretty one. All those pastel colors and springtime fun! Be sure to check out more of my Easter goodies.


Let’s stay in touch
If you like seeing my recipes subscribe via email in the upper right.
Or, connect with me on your favorite social media channel for recipes, photos, & much more:
Pinterest, Facebook, Instagram, YouTube and Twitter!
And find my shop on Amazon for recommendations on cool tools
If you try this recipe,
please come back & leave a comment below letting us know how it goes.
Share a picture & tag @lifecurrents on Instagram.
Or you can upload a “tried it” photo (I would love to see)
via the pin.

Printable recipe card

Carrot Easter Eggs
Equipment
- Glue Gun
- Glue Stick (for the gun)
- Scissors
- 4 inch X 1 inch Lime Green Sticky Felt Strips (one for each egg)
- Measuring Tape (optional)
Ingredients
- 12 Ounces Boiling Water
- 1 Tablespoon Vinegar
- 30 Drops Orange Gel Food Dye
- Boiled Eggs
Instructions
- Place the boiling water, vinegar, and dye in a small dish and stir until the dye is dissolved.12 Ounces Boiling Water, 1 Tablespoon Vinegar, 30 Drops Orange Gel Food Dye
- Dye each egg for 10 minutes or until the desired level of orange is reached.Boiled Eggs
- Set on a paper towel and let fully dry.
- While the eggs are drying, make little cuts, every 1/8th of an inch, all the way down the green felt strips. Don’t cut all the way through, leave just a bit of uncut space at the bottom of each slit.
- Remove the paper backing and roll the felt strips, keeping the uncut bottom portion lined up as you go.
- Spread the carrot stem at the top and part the separate slices of felt and then press it onto a firm, clean surface such as a plate or even your hand will do. This makes the top spread out a bit to look more like a stem.
- Once the eggs are dry, place a small dot of glue from the glue gun on the bottom of the felt carrot top and then place it on the middle, top of the fattest part of the egg. It should dry almost immediately. Now you get to enjoy the eggs!
Notes
● You can trim and adjust your carrot stems as you see fit. The best part about this craft is that each carrot egg will turn out a little different. I had to trim some of the bottoms off my stems once I rolled them because I felt they were too long. This is all up to you.
● If you aren’t able to get the sticky felt, regular felt with a dab of glue to hold it once rolled will work as well.
● If you have younger kiddos, I would definitely do the glue gun part for them as you don’t want their little fingers getting burned.
● The water needs to remain hot for the dye to work well on the eggs. If you want to do them all at once, in a large bowl or something, that works too, it’s just harder to measure how much dye you’ll need.


Michaela Kenkel
These are absolutely darling!! I am thinking that this will be my centerpiece at Easter this year! Thank you so much!!