This post may contain affiliate links. If you make a purchase through links on our site, we may earn a commission.
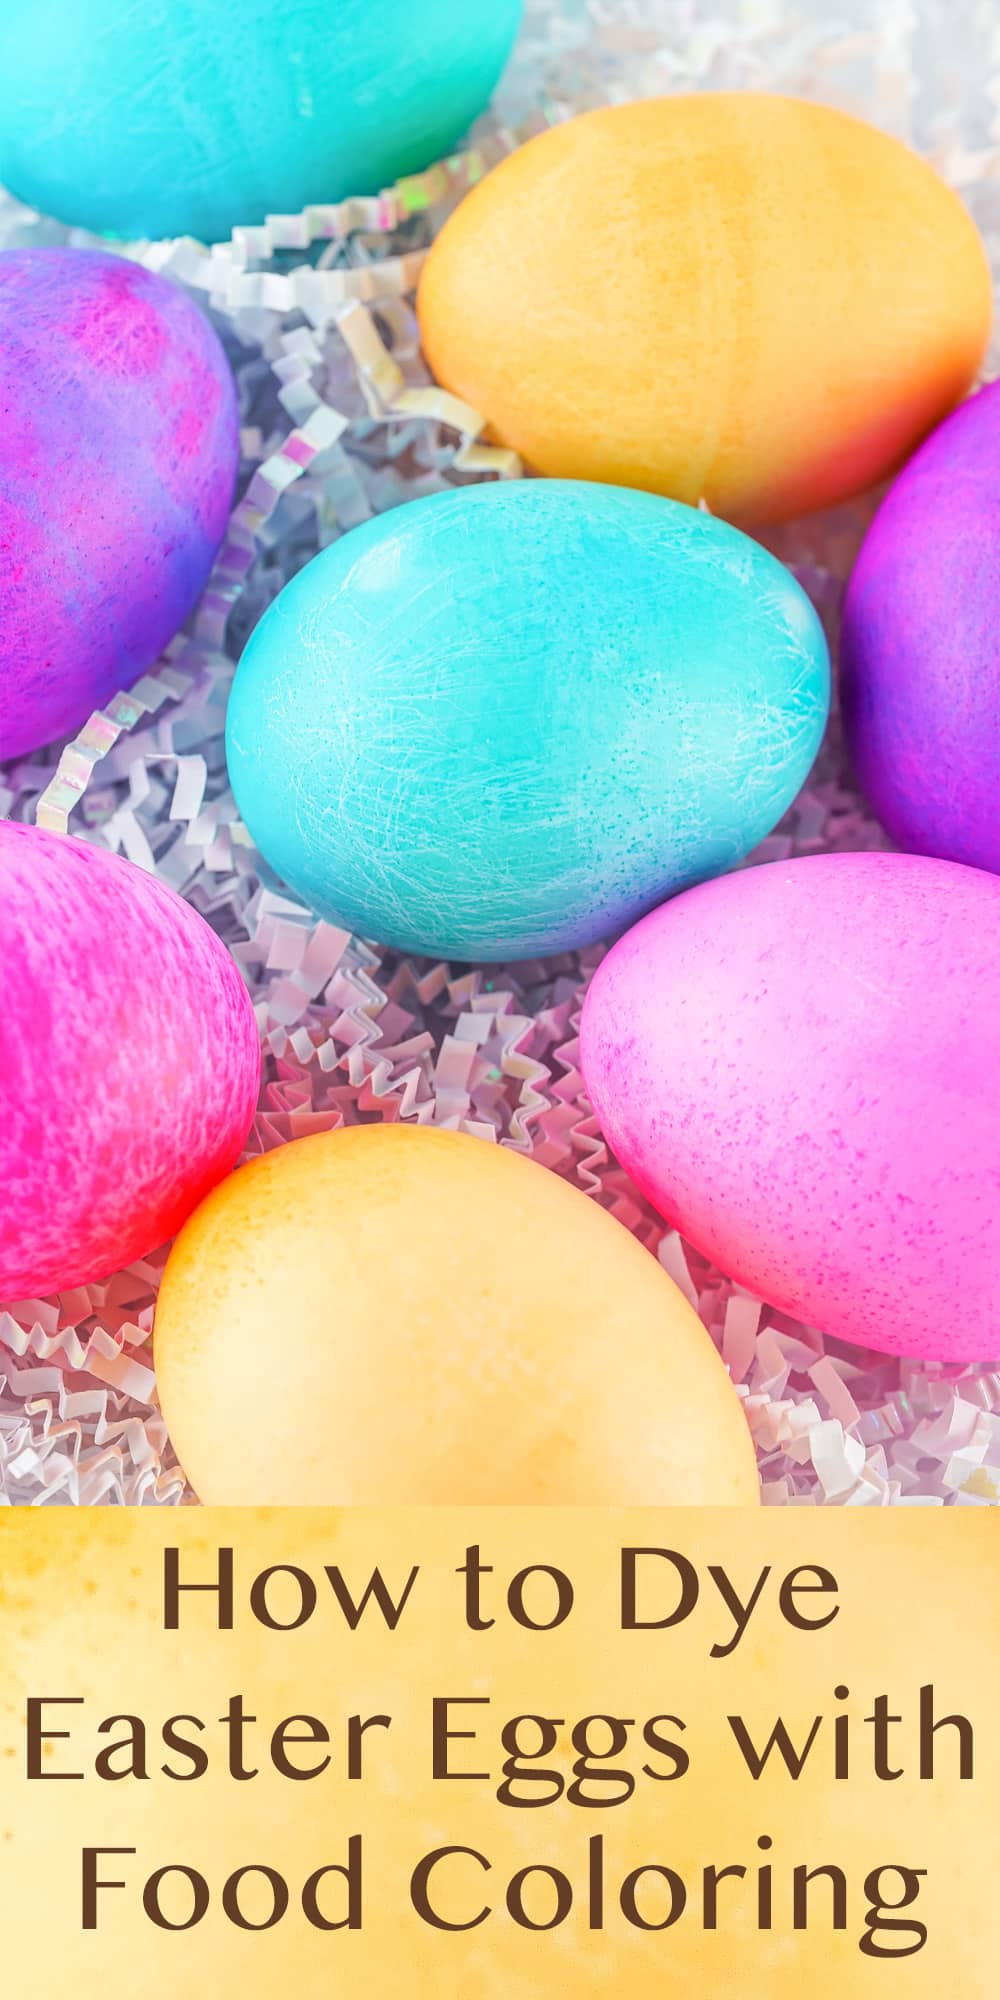
It’s almost Easter! Grab the kids, some eggs, and a few ingredients and get ready to have some messy and creative fun with this How to Dye Easter Eggs with Food Coloring guide! And, you don’t need those store-bought kits when you probably already have all the ingredients in your kitchen now.
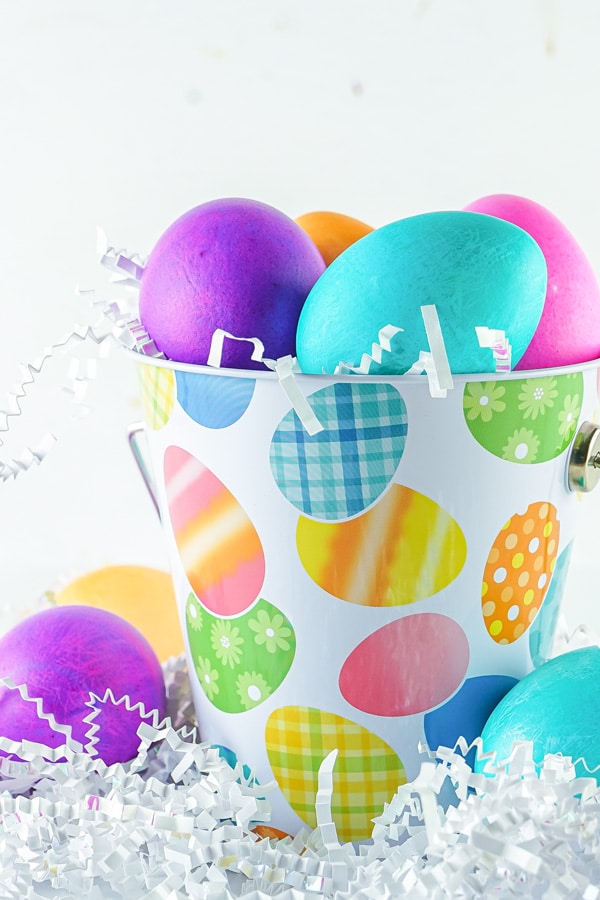
Once you’re all done making these beautiful eggs for Easter, you can use them in spring decor, an Easter egg hunt, or whip up some deviled eggs with them.
Be sure to check out all my fun Easter recipes. Especially Stuffed crescent roll carrots, Ukrainian Easter bread, and Easter hot cocoa bombs.

We appreciate your support
Please let me know if you have any questions about this recipe. I read all the comments myself and I try to help as soon as I can. I have readers from all levels of comfort and experience in the kitchen on my site, and I’ve tried to answer some of your questions already in the post. But if I’ve missed anything, please feel free to leave a comment and ask.
How to
How to dye Easter eggs without a kit. I love the idea of grabbing stuff from the cupboard and having great family time. You get to talk, bond, and make beautiful things, as well as memories!
Before you start
First, you’ll need to get those eggs prepped and ready – hard boiled eggs are where you start.
how do you prepare eggs for coloring?
Place a single layer of eggs in a saucepan. Put enough cold water in the pot to cover the eggs with an inch of water. Want to learn more about boiling eggs, check out this Perfect Hard Boiled Eggs tutorial.
How long do you boil eggs for coloring?
Cover the pot, and bring the water to a boil; turn off the heat. Let the eggs stand covered in the hot water for 18 minutes for extra large eggs, 15 minutes for large eggs, and 12 minutes for medium.
At the end of the resting time, the eggs should be perfectly cooked with no olive green-looking film on the yokes. And they’re ready for coloring.
You’ll want to fully cook the eggs before dyeing them. There are two reasons for this:
- Boiling the eggs in water after dyeing them will cause the color to run off.
- When eggs are hard-boiled, they’re less likely to crack, and if they do, they won’t leak out into the dye
Do you dye eggs cold or warm?
The eggs should be cold, or at least room temperature before dying them.
The cold will help the dye stick to the shell.
So, after cooking them, let them cool to room temperature, at least 15 minutes on the counter. This allows the eggs to fully set after cooking. You can also run them under cold water after cooking to help them cool faster.
Then, if you have time, pop the eggs in the fridge after allowing them to cool to room temperature.
Tip:
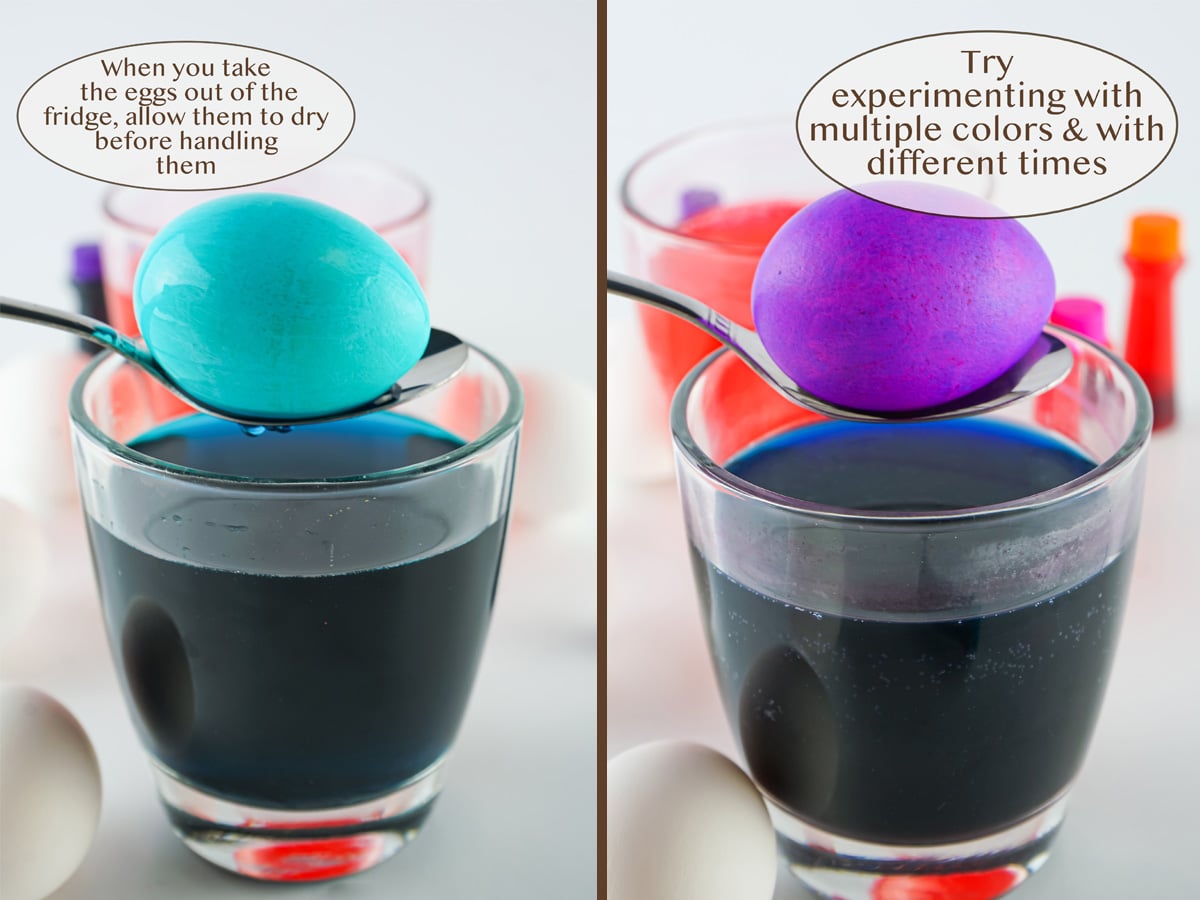
When you take the eggs out of the fridge, dry the egg shells with a paper towel before you handle them.
This will keep the colors from smudging or running.
Prep your workspace and gather the tools and ingredients
Dyeing Easter eggs can be messy, so make sure to prepare your workspace.
Cover countertops with a tablecloth or with newspapers.
And be sure to have lots of paper towels handy in case of spills.
Gather up some heat-safe cups, bowls, or mugs to dye Easter eggs. I love those Pyrex glass measuring cups for this.
Tip:
clear glass will help you get a better idea of what color your dye is, and how well your colored eggs are coming along.
Get some spoons or whisks to serve as egg holders. You can use your fingers to place the eggs in the dye as well, but you may end up with colored fingers.
To use the whisk as an egg holder, ease the wires of the whisk apart, and slip the egg inside, then use the handle to dip the egg.
Be sure not to use wooden utensils to dip into the dye, the wood will absorb the dye color.
Grab the ingredients
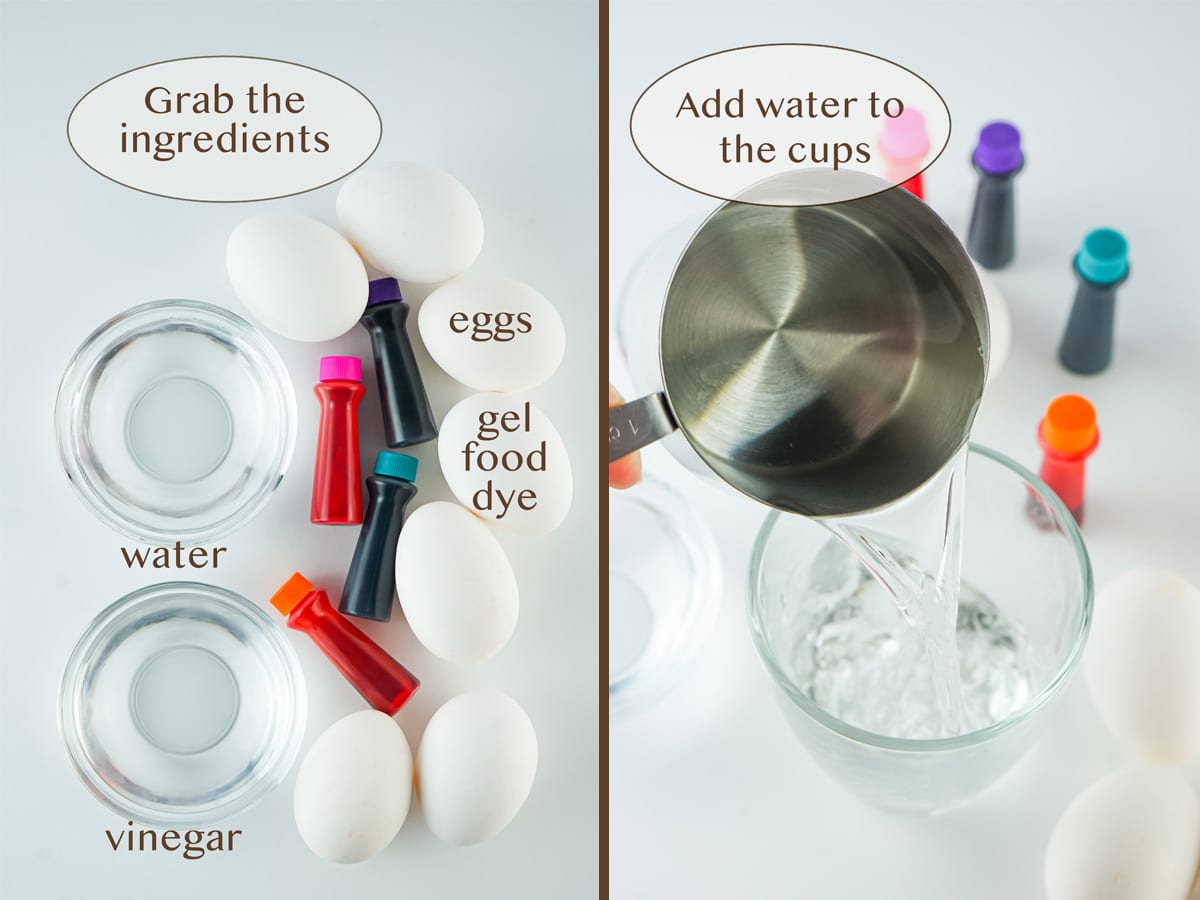
eggs, water, vinegar, and dyes
You can use brown or white eggs as well. The colors will usually turn out darker or richer and it’s fun to experiment. Darker colors, like blue and purple, are great for brown eggs. While lighter colors, like yellow and orange, can be hard to see on brown eggs.
If You Don’t Have Vinegar: You can use lemon juice or just leave the vinegar out. Eggs dyed without vinegar will turn out lighter in color, a more pastel. You need a mild acid, like vinegar, or to achieve really vibrant colors.
What vinegar is best for dying eggs?
I recommend white vinegar. You can also use apple cider.
Tip: vinegar can help remove any stains from hands or hard surfaces as well
Gel food colors vs regular
Gel food colors are more brilliant because they are more concentrated, and have less liquid. Only a few drops of gel color will give you the same, or better result than liquid color.
That being said, yes, you can use liquid food coloring instead of gel if that’s what you have on hand. You’ll want about 10 drops of liquid. Of course, you can use more or less to get different colors on the eggs.
Don’t use oil-based dyes or icing colors as they won’t mix into the water.
Some gel dyes, especially if they’re getting older, may cause “floaties” in the water. This is ok and actually makes for a super cool firework dye look on the eggs. So, don’t throw it out if it happens.
And remember, you don’t need to buy every color; you can combine colors to make more.
- Red & Yellow = Orange
- Red & Blue = Purple
- Yellow & Blue = Green
Some colors like orange and yellow may need more dye to get a good color.
And, the brand of dye will also have an effect on the color of the eggs. Some are better than others.

Get dunking and dying
Ok, so you’ve cooked the hard boiled eggs, gathered all the ingredients, and prepped the space. Next up, the fun part!
The full printable recipe ingredients and instructions are available in the recipe card at the bottom of the post. You can find important tips and tricks in the post.

Have a glass for each color.
Place 1 cup water and 1 tablespoon vinegar in each cup.
Tip: If you heat the colors for about a minute in the microwave, it will result in a richer color, but it’s not required to get a gorgeous look.
Add a ½ teaspoon of gel food dye to each color, one color to a cup.
Stir the liquid in the cups, and start placing the eggs in the cups. Use spoons, a whisk, or your fingers to get the eggs in and out.

Within 1 minute, your eggs will be dyed. The longer you leave the eggs in the dye, the darker they will get. Feel free to pull the egg out and check it when you like.
Have paper towels nearby to rest the dyed eggs on to dry. You can also place the dyed eggs on a wire cooling rack, like for cookies, with paper towels beneath it. Or place them back in the paper carton to rest. Once the tops of the eggs are dry, flip them so the bottom can dry.
Let the eggs rest to dry for at least 5 minutes. Store in the fridge until you need them.

FAQ
How do you get vibrant Easter eggs?
The secret of vibrant eggs is to simply leave them in the dye for longer. Removing the egg right away gives a nice pastel color. While allowing it to sit in the dye for about 10 minutes creates a very nice richly colored egg.
Can I dye cracked eggs?
Yes, you can dye cracked eggs. Or, the eggs may crack once you put them in the dye. That’s ok; you’ll get food coloring on the egg itself but it may be really pretty! The ingredients in this dye are safe to eat and won’t change the flavor of the hard-boiled eggs.
Can you dye raw eggs?
I don’t recommend dying raw eggs. Yes, it can be done, but you risk cracking the egg and ruining the batch of dye.
Other Egg decorating ideas
You can wrap rubber bands around the egg before dying it to get a tie dye look.
Dunk eggs in multiple colors for a deep rich look.
Dip the top half of an egg in one color and the bottom in another.
Let’s keep in touch
If you like seeing my recipes subscribe via email in the upper right.
Or, connect with me on your favorite social media channel for recipes, photos, & much more:
Pinterest, Facebook, Instagram, YouTube and Twitter!
And find my shop on Amazon for recommendations on cool tools
If you try this recipe,
please come back & leave a comment below letting us know how it goes.
Share a picture & tag @lifecurrents on Instagram.
Or you can upload a “tried it” photo (I would love to see)
via the pin.
Recipe

Food Color Dyed Eggs
Equipment
- 10-Ounce (minimum) glass cup (per color)
- Paper Towels, a paper egg carton, or a wire rack to dry the eggs
- Spoons or a whisk
Ingredients
- Boiled eggs
- ½ teaspoon gel food dye per color
- 1 cup water per color
- 1 tablespoon vinegar per color
Instructions
- Choose your colors and have a glass for each color.
- Place 1 cup water and 1 tablespoon vinegar in each cup. If you heat the colors for about a minute in the microwave, it will result in a richer color, but it’s not required.
- Add a ½ teaspoon of gel food dye to each color, one color to a cup.
- Stir the liquid in the cups, and start placing the eggs in the cups. Using spoons makes it easier to get the eggs in and out.
- Within 1 minute, your eggs will be dyed. The longer you leave the eggs in the dye, the darker they will get.
- Let the eggs rest on paper towels, on a wire rack, or back in the paper egg tray to dry for at least 5 minutes. Once the tops of the eggs are dry, flip them so the bottom can dry. Store in the fridge until you need them.


Leave a Reply