This post may contain affiliate links. If you make a purchase through links on our site, we may earn a commission.
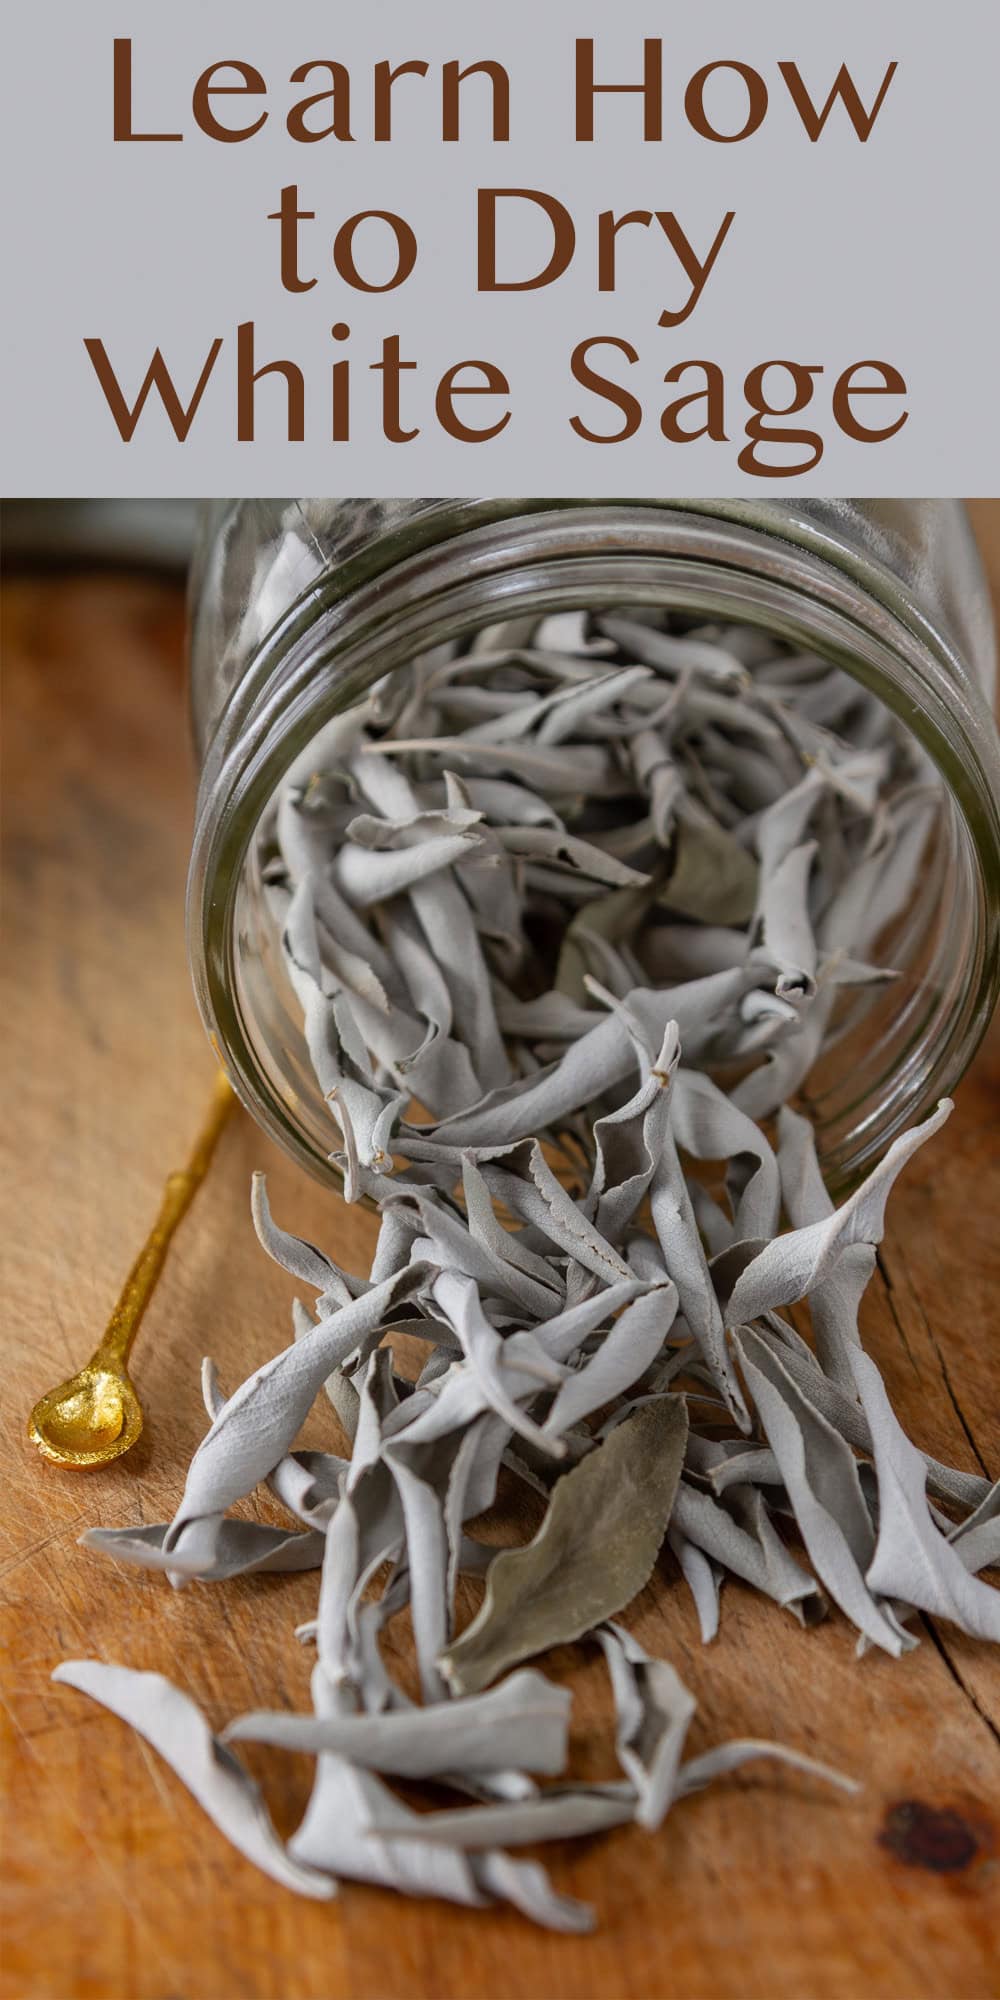
Learn How to Dry White Sage using three simple methods: dehydrator, oven, or air drying. Drying sage preserves its flavor and extends its shelf life, making it perfect for tea, seasoning meat and poultry, stuffing, soups, squash, creamy pasta dishes, and more.
Dried sage has a beautiful earthy flavor and herbaceous, almost pine-like, pungent fragrance. The clean, invigorating scent is both relaxing and grounding.
We appreciate your support
Please let me know if you have any questions about this recipe. I read all the comments myself and I try to help as soon as I can. I have readers from all levels of comfort and experience in the kitchen on my site, and I’ve tried to answer some of your questions already in the post. But if I’ve missed anything, please feel free to leave a comment and ask.
White sage
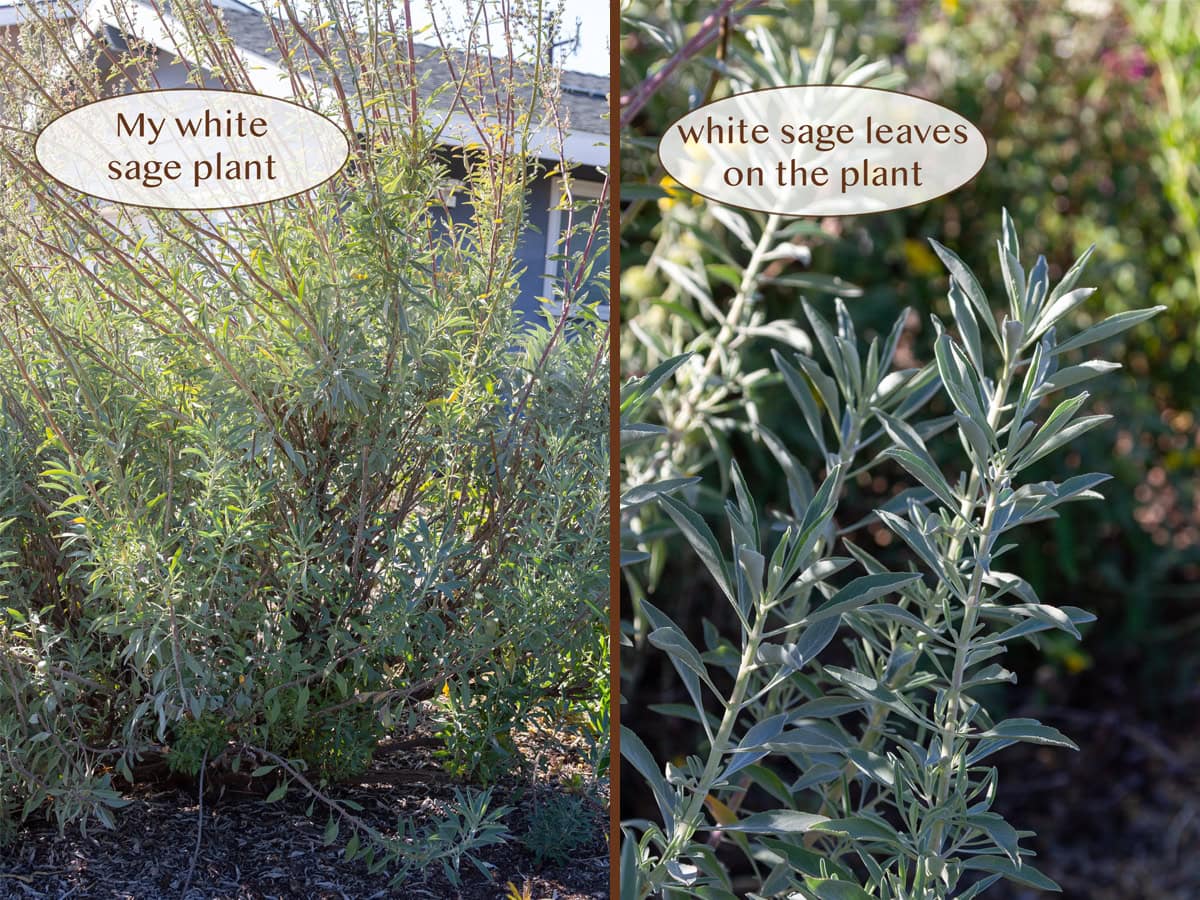
A couple years ago Southern Californians were encouraged to plant white sage in their gardens. Besides being a beautiful plant, and great for the pollinators, the white sage plants were being poached (stolen) from the wild, and adding the native plant to gardens would help out the ecosystem.
White sage (Salvia apiana) only grows natively in the arid regions of Southern California and Baja California, Mexico, specifically from Santa Barbara down to northern Baja California. And, the increase in use or sage smudge sticks has people going out into the wild to steal the plants.
I planted one in my front yard, aka my butterfly garden, and it does so well out there, that got me to thinking that I wanted to do something more with it. And so, I’ll be bringing you a couple of recipes on things to do with white sage.
Can I eat white sage?
Yes, both the leaves and seeds or white sage are edible, but it has a much stronger, more peppery flavor than common culinary sage and should be consumed in small amounts.
Safety Warning: White sage contains thujone, a compound that can be harmful in large quantities. It’s recommended to use it in moderation and avoid it during pregnancy.
The plant offers potential health benefits through its antibacterial, anti-inflammatory, and antioxidant properties. White sage is often used to treat headaches, sore throats, and digestive discomfort. It may also aid in reducing anxiety, enhancing memory, and supporting blood sugar control.
Harvesting sage
The leaves will shrink a lot after drying, so gather as many fresh sage leaves as you can get.
It’s best to harvest the leaves in late spring to early summer, just before the plant flowers. And, the best time of day is in the morning, after the dew has dried but before the heat of the day. These times are when the leaves are most aromatic and filled with essential oils.
Gather leaves that are without rot, mold, decay, or bug bites. Remove the stems from the leaves.
Equipment needed
You’ll want to gather the equipment:
- Salad spinner
- Oven method: Sheet pan and parchment paper
- Dehydrator method: Food dehydrator
- Air drying method: kitchen twine
- Glass Mason jars and lids
How to make
Drying sage is one of the easiest ways to preserve fresh herbs and reduce waste, especially if you have a garden surplus. Compared to softer herbs, sage has thicker leaves, which makes it ideal for all three drying methods.
The full recipe card is below, but I offer tips and suggestions with pictures in the post for you.
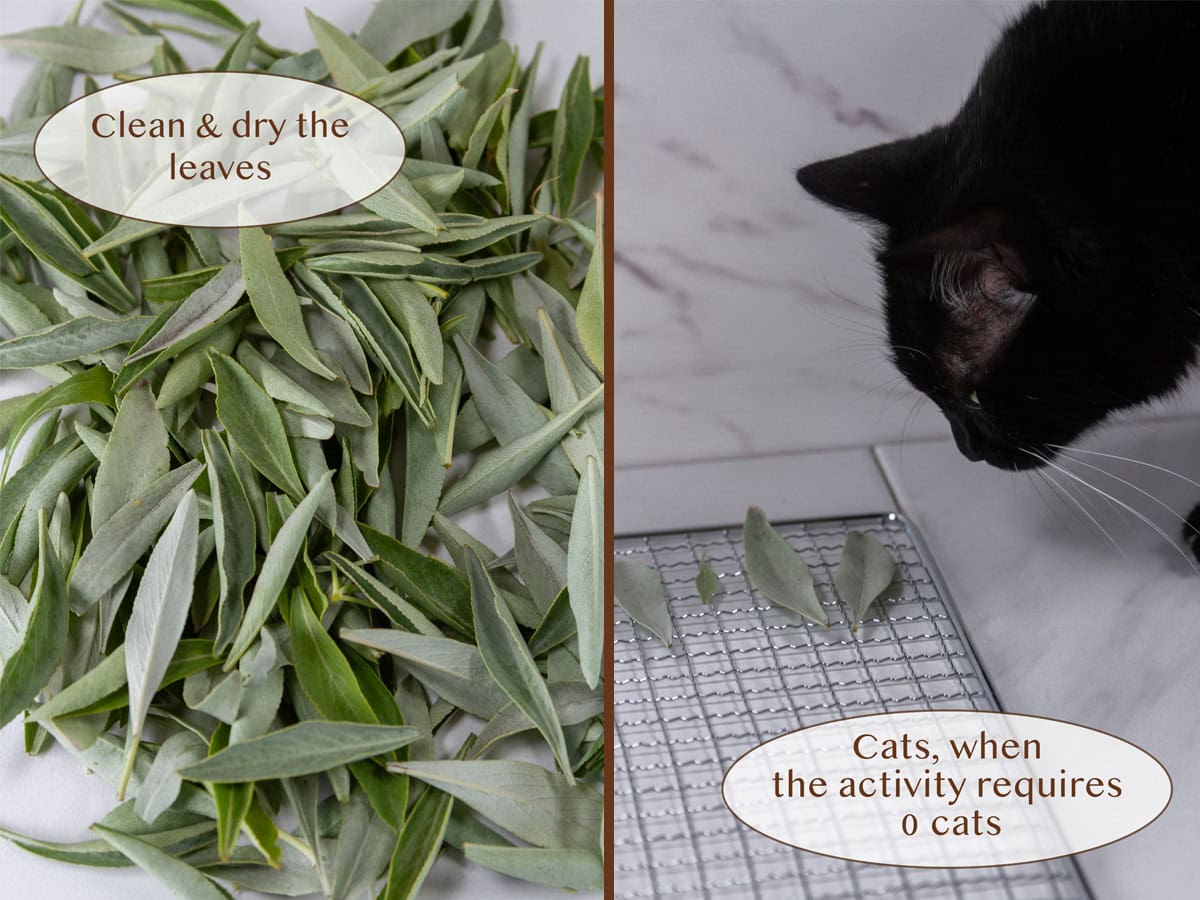
Prep the sage
Rinse the sage leaves under cool running water and place them in a salad spinner to thoroughly dry. You can also dry them with a clean kitchen towel. Ensure leaves are completely dry before storage to prevent mold. Do not skip drying after washing, excess moisture slows the process.
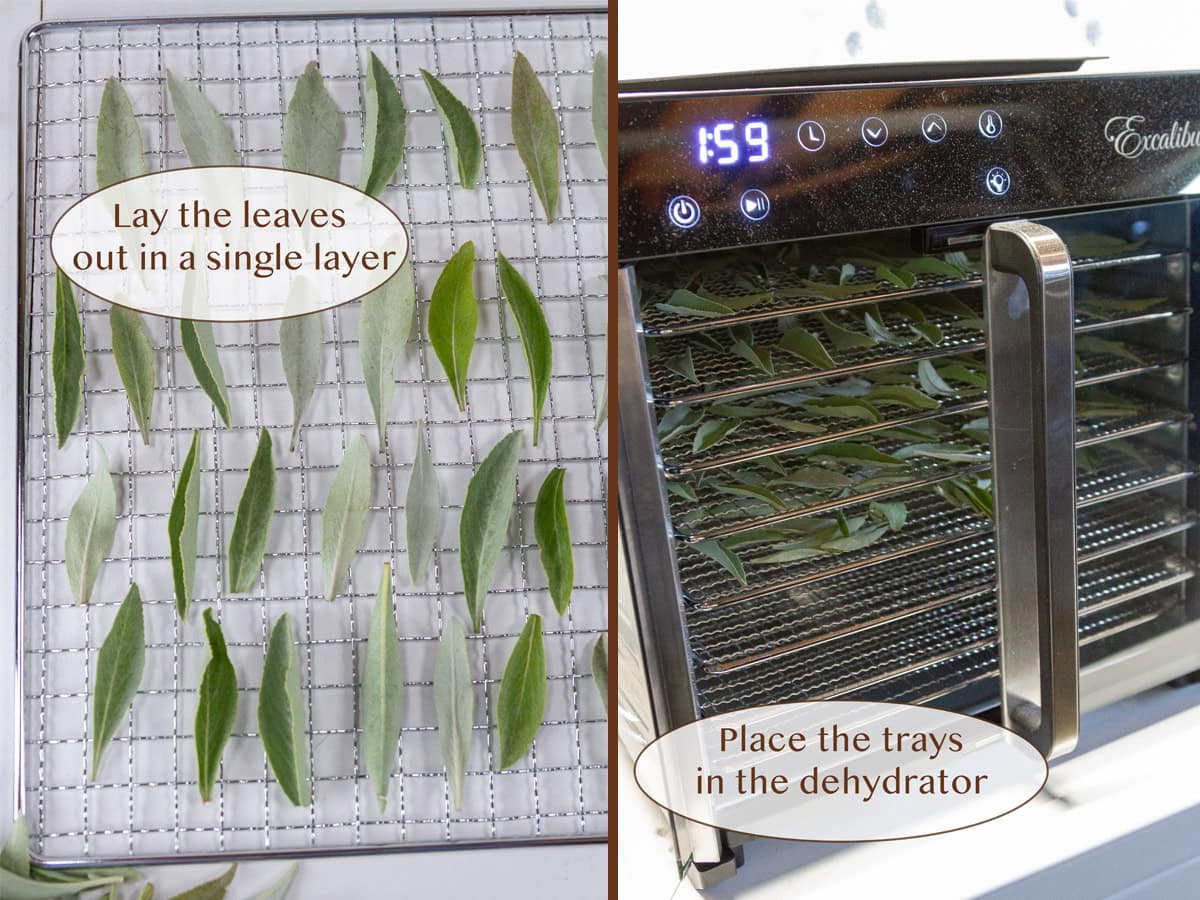
Dehydrator method
Most consistent results with the best flavor retention.
Dehydrators take longer, but preserve the most amount of flavor. Place leaves in a single layer, avoiding overlapping, on the dehydrator trays. Use mesh tray liners to prevent dry, light, smaller leaves from falling through the trays. Dehydrate at 100° F for 2-4 hours. If your dehydrator has a setting for herbs, you can use that. Low heat is best to preserve the essential oils, flavors, and pretty color. The leaves are fully dry when they feel brittle and crumble easily.

Oven Method
Fastest, but requires close monitoring to prevent burning.
Place leaves on a parchment paper lined baking sheet at the lowest temperature (around 170° F).
Prop the oven door open about 6 inches, to allow moisture to escape and check on the leaves every 15 minutes or so. Bake for 1-3 hours. Compared to other herbs, sage burns very quickly, so keep an eye on it.
Air-Drying Method

Isn’t the color change pretty!
Easiest and most natural, but takes the longest.
The air drying method is best for bundles, however, if you live in a particularly humid area, it’s better to opt for the dehydrator or oven method rather than air-drying. Tie fresh white sage into tight bundles with kitchen twine to hang the bundles. Hang the bundles upside down in a warm, dry, dark area, like a garage for 7-14 days. You can also hang the bundles inside a brown paper bag with holes for faster, cleaner drying.
Storage and tips for dried sage
Ensure leaves are completely dry before storage to prevent mold. Properly dried sage should feel crisp and crumble easily, not leathery.
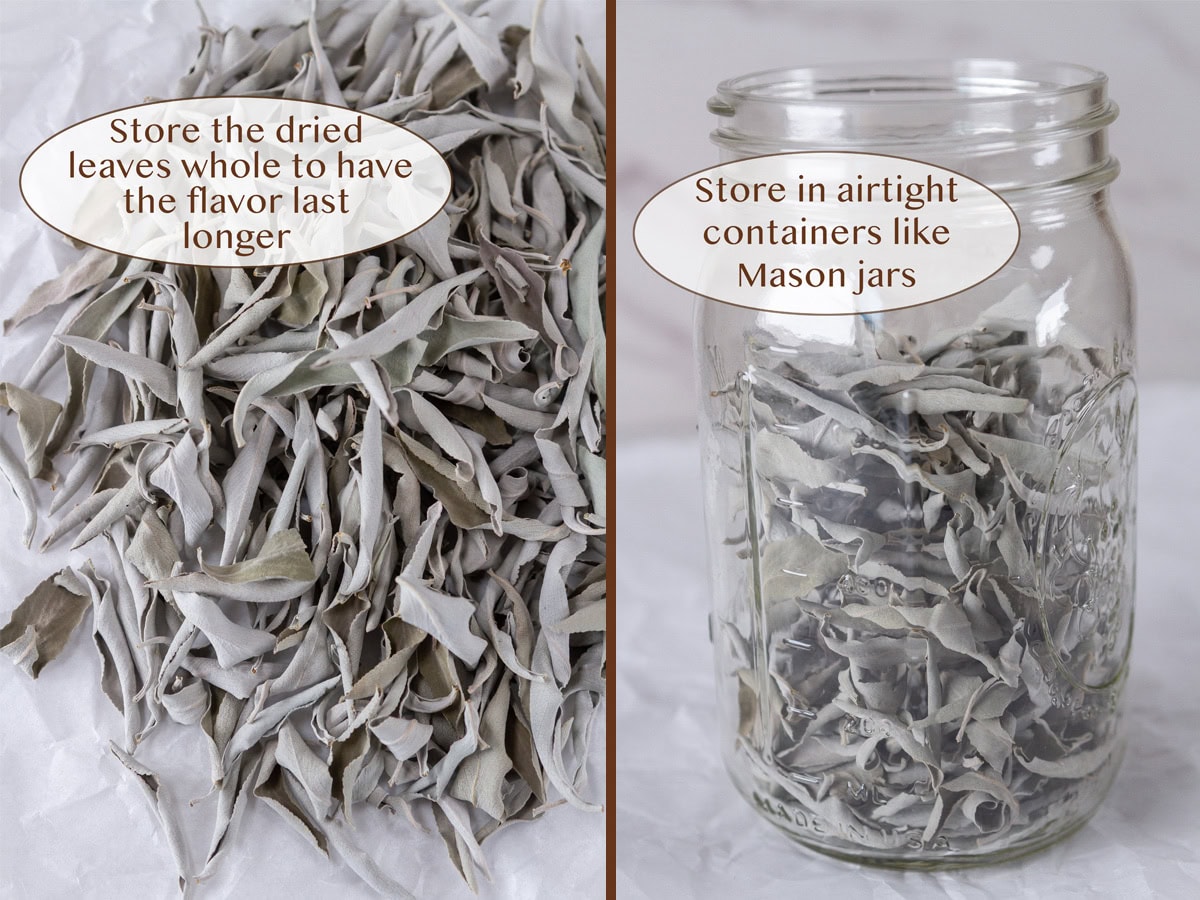
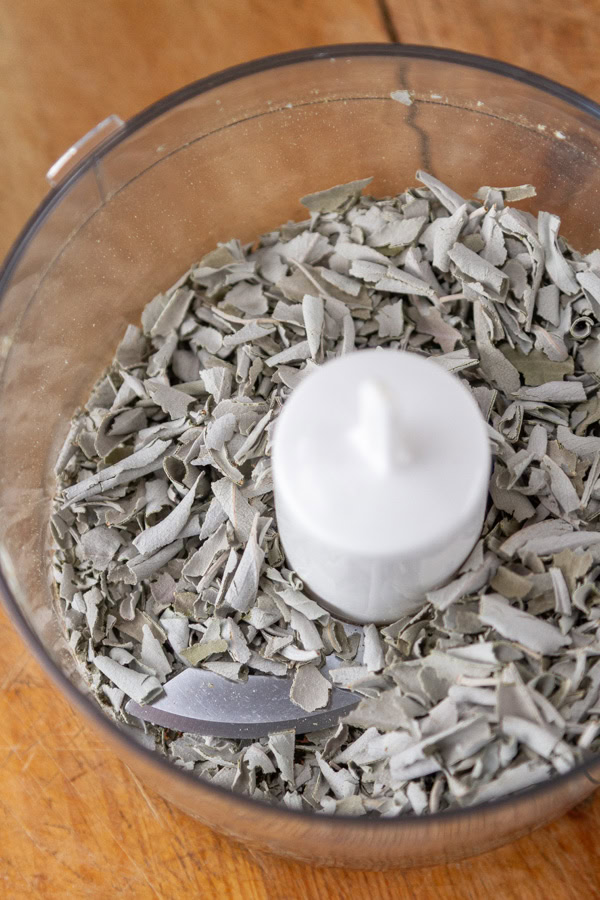
Store the dried leaves whole to have the flavor last longer or crumbled (“rubbed sage”) for an easy-to-use ingredient.
Store dried sage in airtight jars, like Mason jars with tight fitting lids, or in vacuum-sealed bags in a cool, dark place, away from direct sunlight. This will keep the herbs from oxidizing and losing their flavor. Stored properly, dried sage should keep for up to one year.
Ways to use dried sage
Homemade dried sage can be used just the same as store bought dried sage in a jar. And, you’ll find yourself getting creative with it.
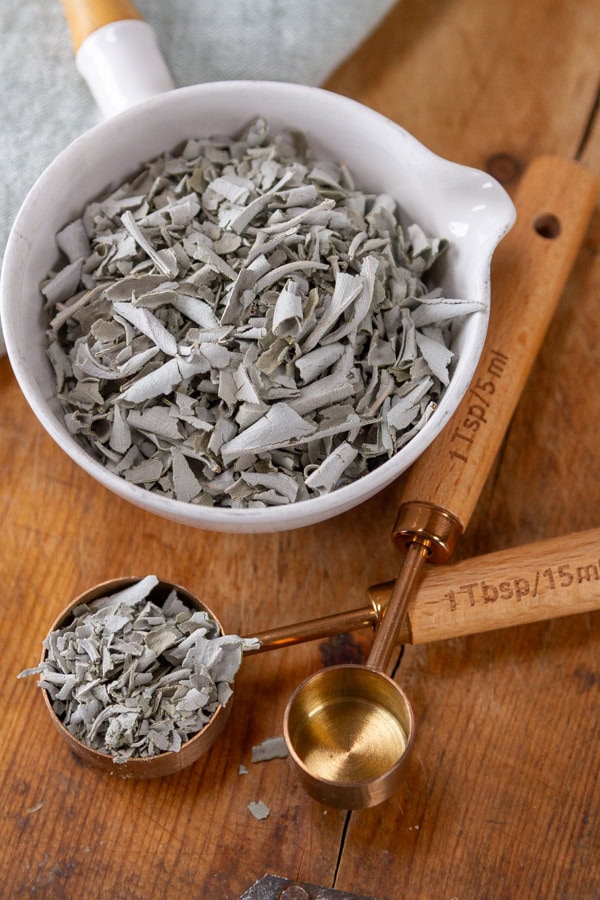
Dried sage has a more concentrated, slightly earthier flavor than fresh. Use about ⅓ to ¼ the amount of dried sage when substituting for fresh in recipes.
It makes a wonderful herbal tea. Try it in Sage Lavender Tea, either hot or iced.
Add it to herb blends like poultry seasoning or Italian seasoning. Make compound butters with sage.
Toss some in butternut squash soup or dressing or stuffing. Add it to biscuits or pumpkin lasagna.
It adds great flavor to roasted potatoes and roasted carrots.
But, I’ve heard over and over again, please don’t use white sage for smudging (burning). Indigenous people of North America burn sage bundles and spread the smoke around sacred places; this practice has cultural and spiritual significance. And, many Indigenous voices request that non-natives stop using white sage and the term “smudging” to respect their traditions and prevent misuse.
Let’s keep in touch
If you like seeing my recipes subscribe via email in the upper right.
Or, connect with me on your favorite social media channel for recipes, photos, & much more:
Pinterest, Facebook, Instagram, YouTube and Twitter!
And find my shop on Amazon for recommendations on cool tools
If you try this recipe,
please come back & leave a comment below letting us know how it goes.
Share a picture & tag @lifecurrents on Instagram.
Or you can upload a “tried it” photo (I would love to see)
via the pin.
Recipe

How to dry sage
Ingredients
- Fresh sage lots of it
Instructions
Prep the Sage
- Rinse sage gently with fresh tap water. Remove any dirt, damaged leaves, and stems. Spin dry in a salad spinner, or pat dry with a clean towel.
Dehydrator method (best method)
- Arrange sage leaves in a single layer on dehydrator trays. Do not overlap. Use mesh tray liners to prevent dry, light, smaller leaves from falling through the trays. Set dehydrator to 100°F (or “herb” setting). Dry for 2–4 hours, until leaves are brittle and crumble easily.
Oven method (quick method)
- Preheat oven to the lowest setting (around 170°F). Line a baking sheet with parchment paper. Spread sage leaves in a single layer.
- Prop the oven door open about 6 inches, to allow moisture to escape and dry for 1–3 hours, checking every 15 minutes. Sage can burn very quickly, so keep an eye on it. The leaves are fully dry when they feel brittle and crumble easily.
Air-Drying Method
- Gather sage into small bundles and secure with a rubber band. Tie with kitchen twine and hang upside down in a warm, dry, dark, well-ventilated area for 7-14 days. You can also hang the bundles inside a brown paper bag with holes for faster, cleaner drying.
Notes
Nutrition
Nutritional information is based on third-party calculations, and should be considered estimates. Actual nutritional content will vary based on brands used, measuring methods, portion sizes, and more.


Debi
I love being able to save and use my white sage. It smells amazing, and the tea tastes so good. Do you dry your own herbs? I hope you give it a try and love it like I do. Debi, author, Life Currents