This post may contain affiliate links. If you make a purchase through links on our site, we may earn a commission.
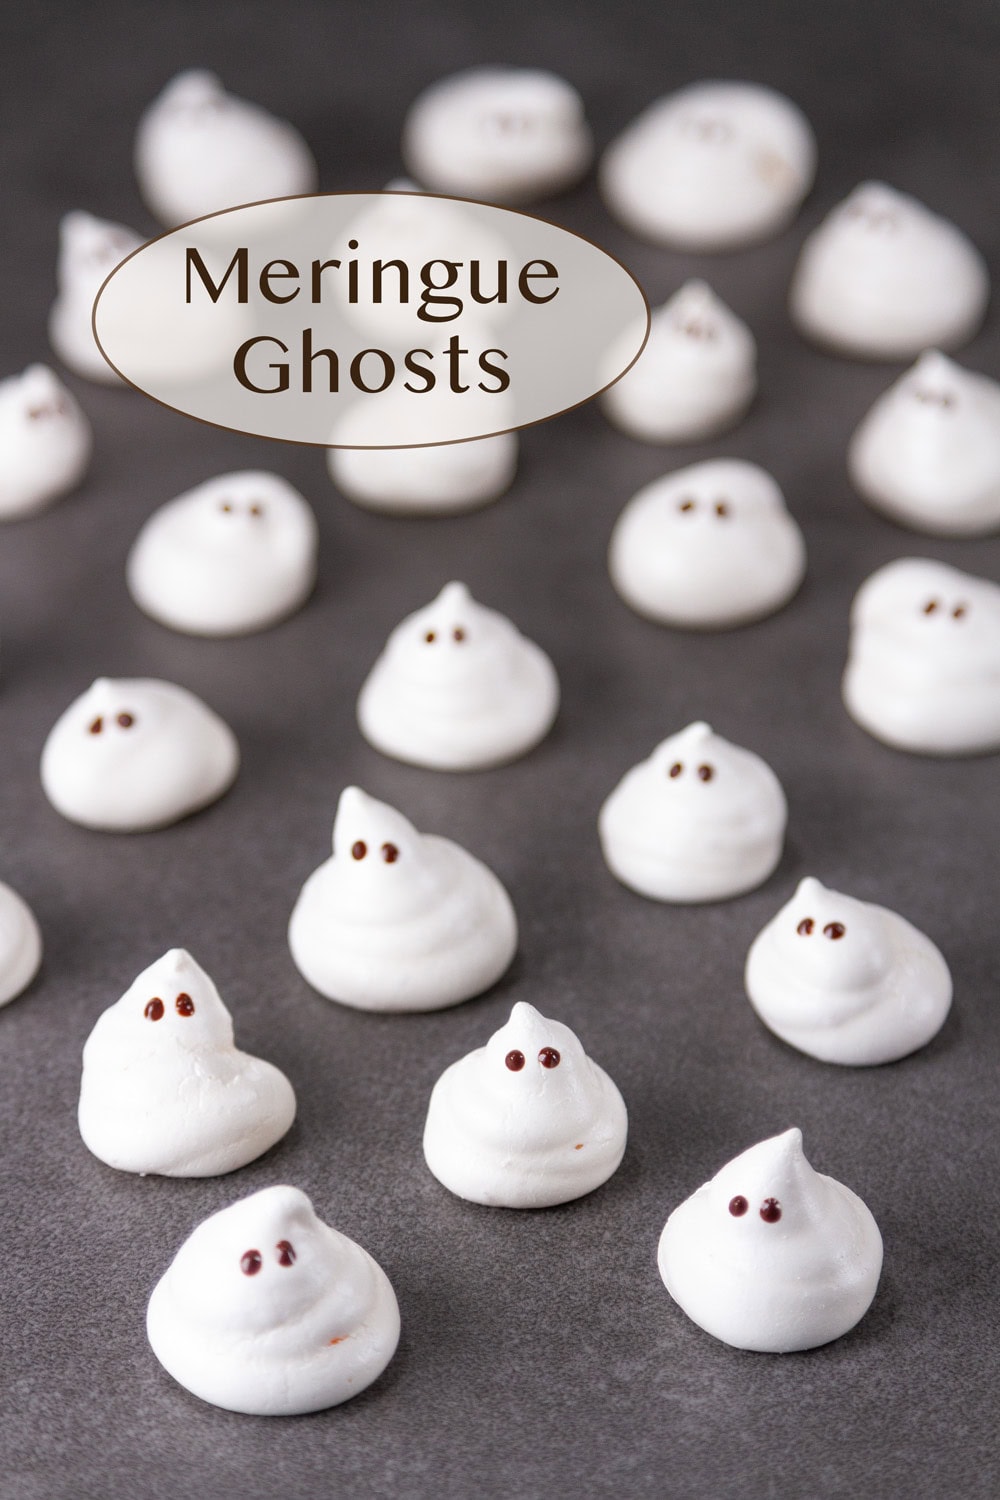
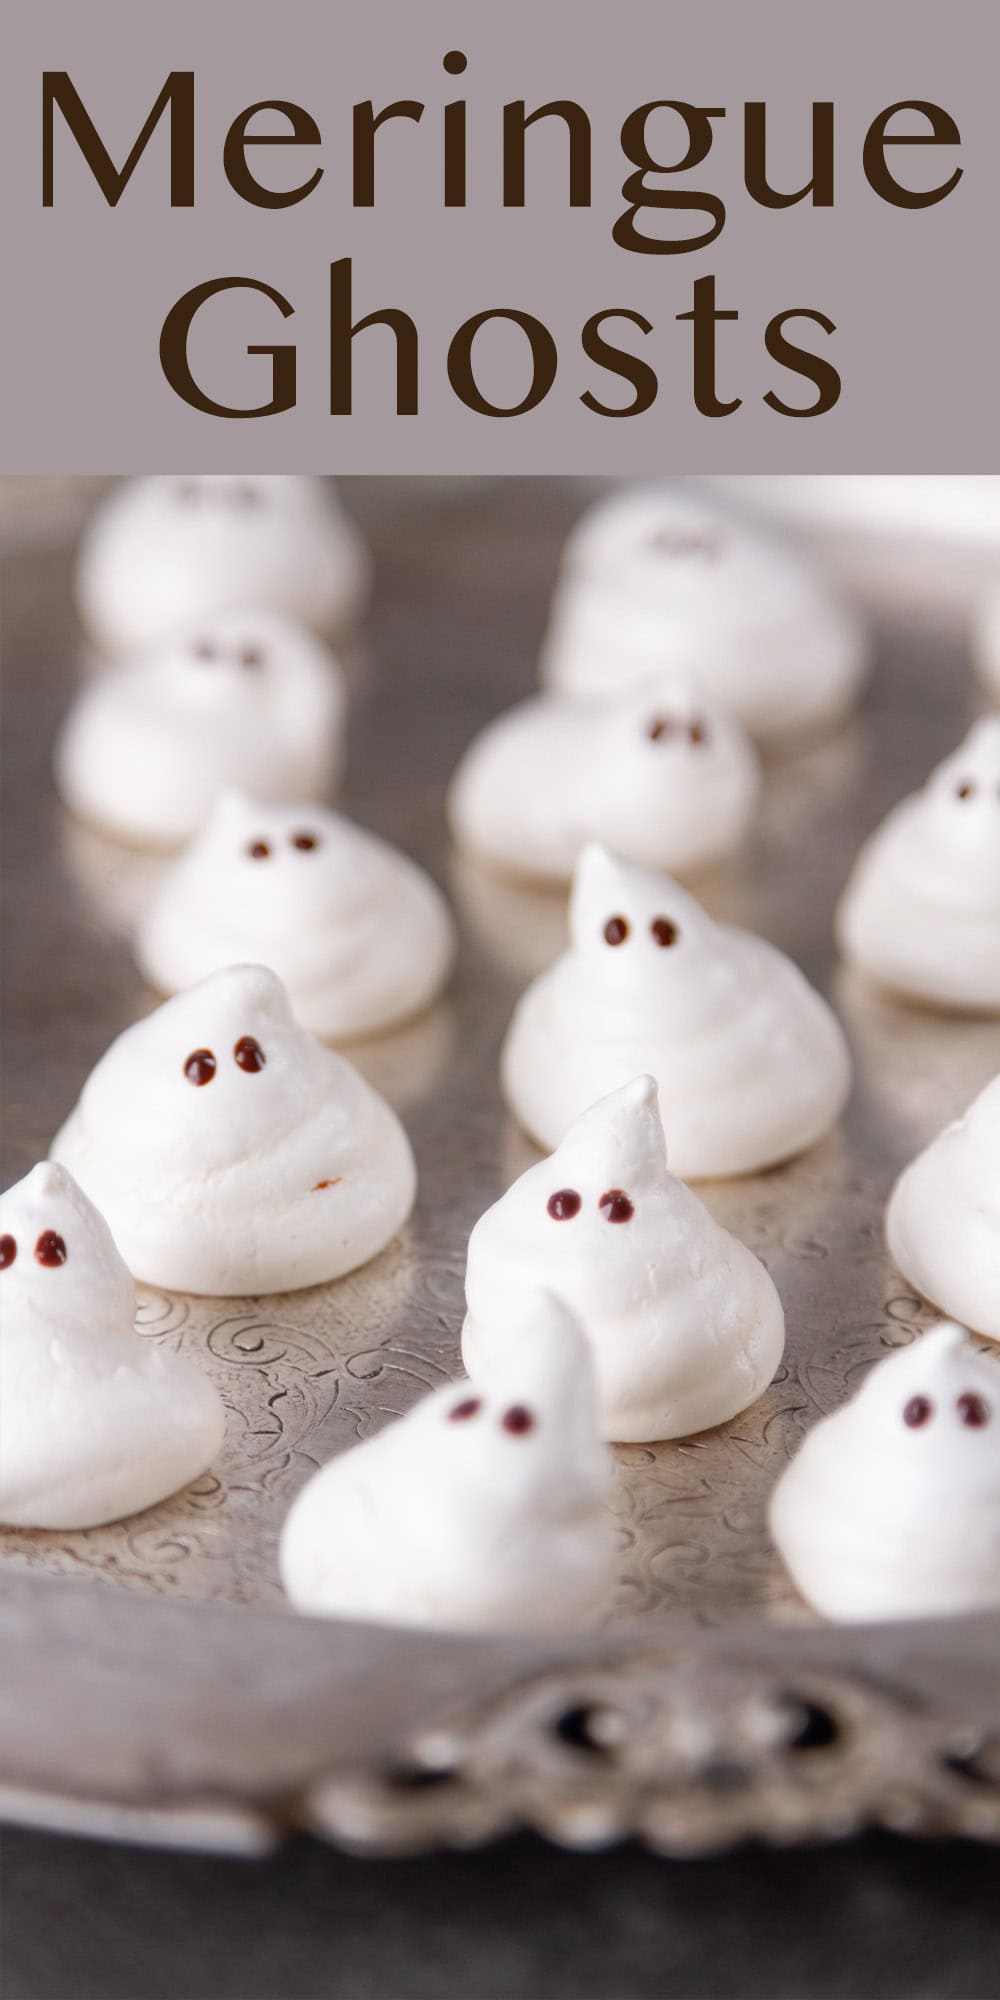
Halloween Meringue Ghosts are fun mini meringue cookies that are really easy to make with just 5 ingredients. These cute meringues taste just like marshmallows, but with a crispy texture.
Delicious on their own or great for decorating cupcakes or other spooky desserts, they’re the perfect Halloween treat for parties, potlucks, or gift giving that both kids and adults will love! And for more ghostly fun, check out my Nutter Butter Ghosts too!
We appreciate you
Please let me know if you have any questions about this recipe. I read all the comments myself and I try to help as soon as I can. I have readers from all levels of comfort and experience in the kitchen on my site, and I’ve tried to answer some of your questions already in the post. But if I’ve missed anything, please feel free to leave a comment and ask.

Meringues
If you’ve never made meringues before, don’t let them intimidate you. They’re really easy, and I have some great tips to help you make these. And don’t forget to let the kiddos help.
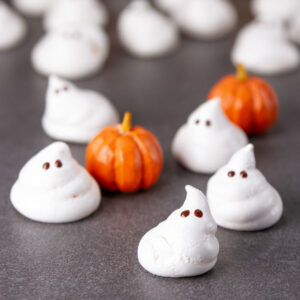
Creating little ghost shapes is easy and part of the fun of the ghosts is that each one will have its own unique shape and personality. You can place some of these guys on top of a serving of Black Rice Pudding for a spooky dessert!
The full printable recipe ingredients and instructions are available in the recipe card at the bottom of the post. You can find important tips and tricks in the post.
Gather the ingredients
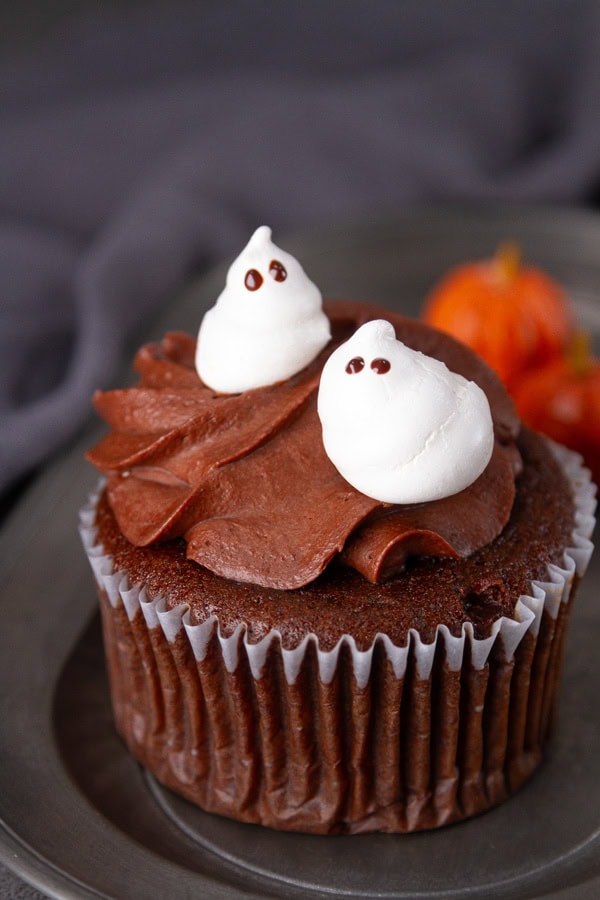
For this recipe, I made a small batch of mini ghosts; each ghost is about 1-inch tall. You can use them to top cupcakes, a rich dark chocolate cake, chocolate cheesecake, or serve them as cookies by themselves. The recipe makes about 24-28 mini ghosts. If you need an army of ghosts or more larger ghosts, feel free to double or triple the recipe. Just use the servings slider on the recipe card to do the calculations for you.
You’ll need an egg white, confectioners’ (icing) sugar, superfine granulated sugar, cream of tartar, and dark chocolate for the eyes.
You should be able to find these ingredients in well stocked grocery stores.
What if I can’t find superfine sugar?
Superfine sugar is called for in recipes that require sugar to dissolve quickly, like these meringues. It makes a nice texture.
If you can’t find superfine sugar, you can make it in a food processor, blender, coffee grinder, or spice grinder.
Measure out a little bit more of the sugar than you need and place it in the food processor. Pulse or blend in short bursts until the sugar is finely ground, like fine sand. The sugar can be run through a mesh strainer to remove any remaining large granules. Then measure the amount for the recipe.
And, yes, if you don’t feel like making or buying superfine, you can use regular granulated sugar, the texture just won’t be as nice.
Egg white
Cold eggs separate better than room temperature eggs. And you don’t want to get any yolks in your meringues as that would cause the meringues to not whip properly.
Room temperature egg whites will whip better and get more volume than cold eggs.
So, separate the egg whites as soon as you take them out of the fridge, then keep the whites on the counter for about 30 minutes to come to room temperature.
While you wait, prep for the rest of the ghost meringues recipe.
Gather the tools & prep
You’ll need an electric mixer, either a hand-held mixer and a bowl or a stand mixer. You’ll also want a parchment paper liner baking sheet, an icing bag, and a round icing tip.
Make sure the bowl and the whisk are fully clean and dry. Wipe out the bowl with a paper towel to make sure it’s nice and clean. Residual fat, liquid, or dirt will make the meringue not rise.
You’ll also want a bowl to melt the chocolate in, and a clean paint brush to add the eyes.
In a small bowl, combine the confectioners’ sugar, superfine sugar, and cream of tartar, and set aside.

Start whipping
Using an electric mixer, whip the egg white on high speed until it becomes frothy (you will see lots of little bubbles).
Turn the speed of the mixer down, and add the sugar mixture in small amounts as you gradually increase the speed of the mixer. If you add the sugar in too quickly, you can deflate the meringue.
You want the egg whites to maintain their volume as you add sugar. If you see the meringue start to collapse, stop adding the sugar and let the eggs stiffen and rise a bit before adding the rest of the sugar, a small amount at a time.
Whisking slowly at first, increasing the speed to high speed, until the egg whites are glossy and at the stiff peak stage (meaning that the mixture holds the peaks when you remove the whisk), about 5 minutes or so.
The time it takes to get the egg whites to hold their shape can vary based on your mixer, the freshness of the eggs, and the weather.
Pipe the ghosts
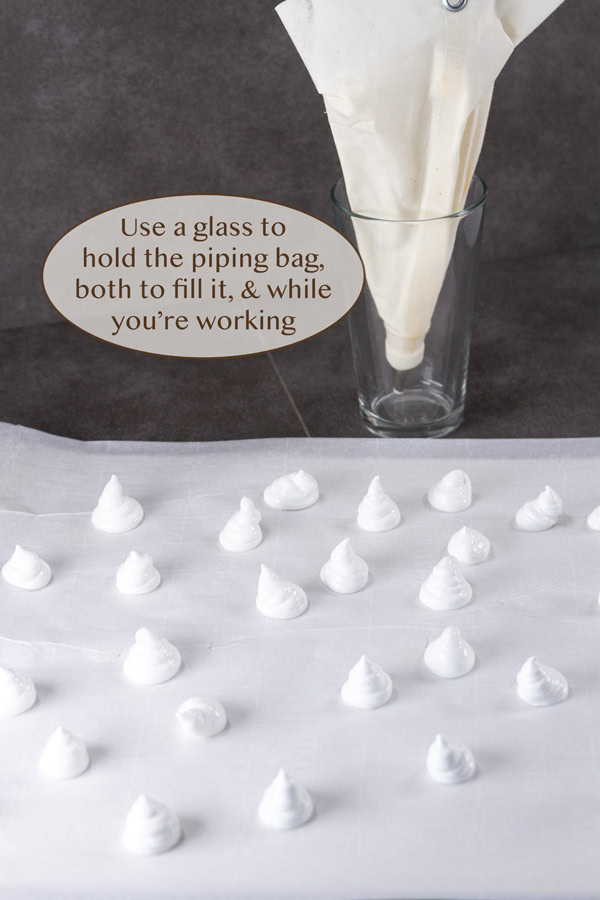
Place the pastry bag fitted with a round tip in a glass to hold it while you fill it. I also use the glass to hold the bag while I’m piping if I need to adjust my hands at all.
Spoon the meringue into the piping bag, shaking the mixture down to the bottom of the bag. Try to press out any big air bubbles, but don’t be too rough with the mixture.
If you don’t have a piping bag, you can use a ziptop plastic bag and cut off the tip. Make sure it isn’t a pleated bottom plastic bag or it won’t have a nice clean tip to pipe from.
Hold the bag vertically to get pointed peaks.

Continually press the meringue mixture with both hands on the bag. Place one hand at the top of the bag and your other hand halfway down the bag. Press the meringue directly down onto the parchment paper. Press down and lift up to create layered stacks or lumps for each ghost. Release the pressure, pulling up on the piping bag in between each layer.
Lift the bag straight up to create the peak on the top of the ghost head.
This may take a bit of patience and practice. Don’t worry if it isn’t perfect the first time. Each ghost will have their own personality.
Repeat, piping all the ghosts. Space the meringues about 1 inch apart on the parchment paper lined baking sheet as they won’t spread as they bake. Work quickly as the mixture will soften over time.
Bake
Preheat oven to 200° F (95° C). Once heated, place the tray on the on the middle rack to avoid overcooked bottoms.
Bake them for about 5 hours or until the ghosts just start to darken, the tops become a little browned, and the meringue is crispy. Let cool.
Once they’re completely cooled, they will harden and be ready to decorate with the eyes.
Make faces

Melt the dark chocolate in the microwave in 30 second bursts, stirring after each time, or in a double boiler on the stove.
Dip the back of the paint brush (the tip of the handle end) into the melted chocolate to make the eyes. You can also add a mouth or make spooky or silly faces if you like.

Storage
These meringues ghosts will remain crispy for up to two weeks if kept in an airtight container at room temperature, away from direct sunlight. They can also be frozen for longer storage, up to 2 months in the freezer in an airtight container. Stack the pieces with layers with parchment paper separating them.
Why are the meringues chewy?
Chewy meringues are generally the result of too much moisture. Either they weren’t baked long enough, or they have been left in a humid place and have absorbed moisture from the air.
They can be re-crisped by placing them back in the oven at 200° F for about 10 minutes.
Changes to the recipe
Though this is a super simple recipe, there are some changes you can do to play around with the ghosts.
Add flavor if desired. Add 1/8 teaspoon of pumpkin pie spice, vanilla extract, or vanilla bean paste to the meringue.
I find the dark chocolate eyes to be the easiest and best looking, but you can play around with food coloring, an edible food safe marker, or black gel icing in a tube.
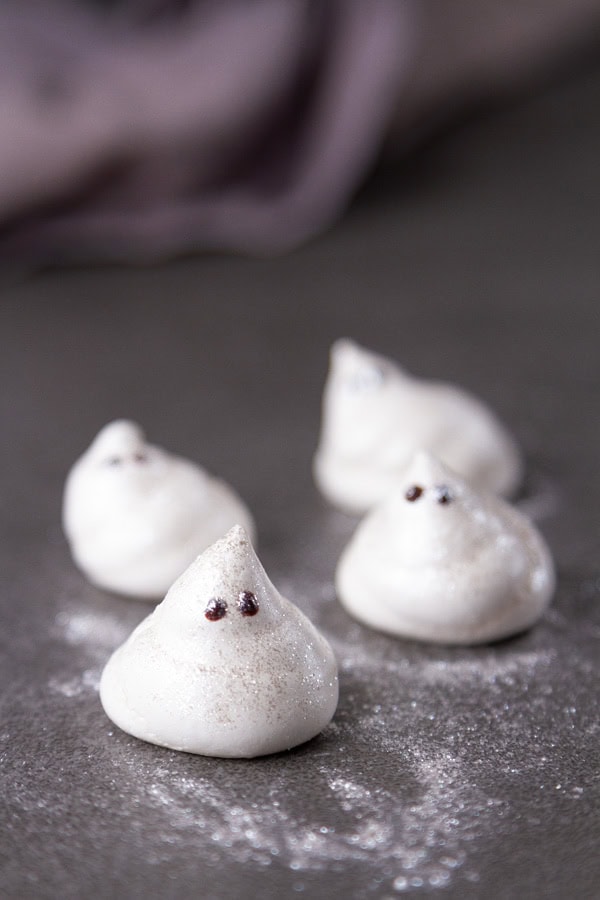
And of course, glitter ghosts are always popular. Be sure to add some sparkly edible glitter.
Let’s stay in touch
If you like seeing my recipes subscribe via email in the upper right.
Or, connect with me on your favorite social media channel for recipes, photos, & much more:
Pinterest, Facebook, Instagram, YouTube and Twitter!
And find my shop on Amazon for recommendations on cool tools
If you try this recipe,
please come back & leave a comment below letting us know how it goes.
Share a picture & tag @lifecurrents on Instagram.
Or you can upload a “tried it” photo (I would love to see)
via the pin.
Recipe
Meringue Ghosts
Ingredients
- 1 egg white
- 3 tablespoons confectioners' sugar
- 2 tablespoons superfine granulated sugar
- 1/8 teaspoon cream of tartar
- Dark chocolate melted
Instructions
- Preheat oven to 200° F (95° C).
- Make sure the bowl and the whisk are fully clean and dry. Wipe out the bowl with a paper towel to make sure it’s nice and clean.
- In a small bowl, combine the confectioners’ sugar, superfine sugar, and cream of tartar.
- Using an electric mixer, whip the egg white on high speed until it becomes frothy.
- Turn the speed of the mixer down, and add the sugar mixture in small amounts as you gradually increase the speed of the mixer.
- Whisking slowly at first, increasing the speed to high speed, until the egg whites are glossy and at the stiff peak stage, about 5 minutes or so.
- Spoon the meringue into the piping bag.
- Press the meringue directly down onto the parchment paper. Press down and lift up to create layered stacks or lumps for each ghost. Release the pressure, pulling up on the piping bag in between each layer. Lift the bag straight up to create the peak on the top of the ghost head.
- Repeat, piping all the ghosts. Space the meringues about 1 inch apart on the parchment paper lined baking sheet as they won’t spread as they bake.
- Bake them for about 5 hours or until the ghosts just start to darken, the tops become a little browned, and the meringue is crispy. Let cool completely.
- Melt the dark chocolate in the microwave in 30 second bursts, stirring after each time, or in a double boiler on the stove.
- Dip the back of the paint brush (the tip of the handle end) into the melted chocolate to make the eyes.
Notes
Nutrition
Nutritional information is based on third-party calculations, and should be considered estimates. Actual nutritional content will vary based on brands used, measuring methods, portion sizes, and more.


Debi
Excellent, easy to make, and so much fun. These ghosts make for a great Halloween decoration, and they taste delicious! I hope you love them as much as I do. Debi, author, Life Currents