This post may contain affiliate links. If you make a purchase through links on our site, we may earn a commission.
DIY Wheelchair Accessible Ramps

We’ve decided to host the family Easter every year. I guess it’s time that we admitted that we’re adults and can host every year. Besides, our house is centrally located amongst the family, so it just makes sense that we take a holiday regularly.
mobility issues
That being said, we know we have a few things to do. Like we’ve always borrowed the wheelchair ramps for our Aunty from Dan’s dad. The ramps don’t quite fit our house, but they came close. Well, if we’re going to host on a regular basis, maybe we should have our own wheelchair accessible ramps. And besides that, some of the family members have mobility issues so having ramps rather than two large steps just makes sense for several reasons.
Make sure to check out our follow up post
Wheelchair Accessible Ramps Free Building Plans
Dan, being the awesome DIYer that he is, set forth to make us custom ramps. Ones that will not have a little gap at the top that Aunty has to bump over as she comes in the house. Ones that we won’t have to push back into place after several people have walked on it. Ones that fit our space.
He made diagrams and drawings. He did his Americans with Disabilities (ADA) research. And, he found out that the slope for public access & walking elderly rise to run ratio is 1:12 per the ADA recommendations. That’s a fancy way of saying that for every 1-inch of height, it should be 1-foot (or 12 inches) in length.
The underside of the ramps
Make sure to account for the thickness of the plywood top when making your risers.
The tall end of the risers will have to account for that thickness so that they aren’t too high once you put them in the doorway. And, if you get a piece of wood that’s longer than you need for your supports, you can cut two supports from one piece of wood, thus saving money.

Notice in the picture above that the plywood top hangs over the side risers by 1-inch. Lumber can often be warped or simply not straight, so this overhang will allow the ramp to still look straight.
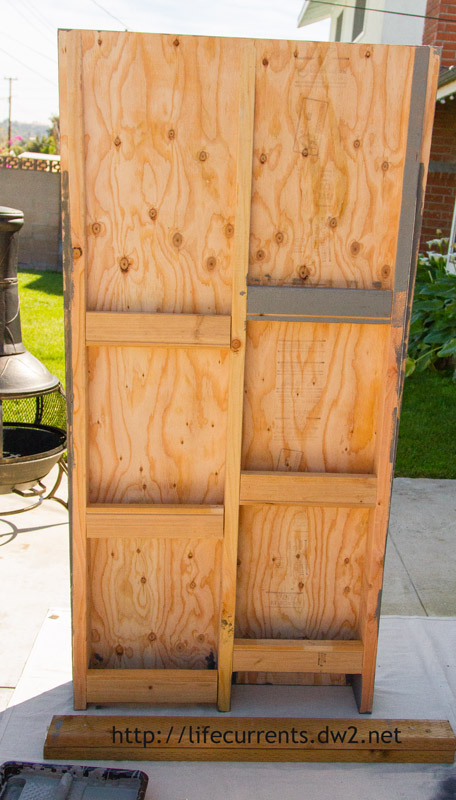
He attached the cross braces to the center support first. Then attached the outside supports to the cross bracers. You’ll need to use different length screws as you attach the supports to the plywood top (longer at the top of the ramp and shorter at the bottom of the ramp). Also, you’ll want to measure the last point where you can use a screw to attach the supports (you don’t want to go all the way through the ramp and supports).

The cross bracers all need to be exactly the same length. Dan set up a stop to cut them exactly. It doesn’t matter what their length is, just that they are all the same. If one cross bracer is a little longer, it’ll cause the whole thing to warp, making the project difficult to put together.
router the edge
Safety First
After he finished building the ramps I told him I wanted to put some of those non-skid things on it, maybe even some sort of reflective tape on it. You know, safety first! After laughing at my over-protectiveness, he said he’d be ok with it if I painted them with Deckover from Behr. It conceals cracks and splinters, and creates a slip-resistant finish that resists cracking and peeling. Ok, I get that slip resistance that I was hoping for, and you can get lots of different colors.They have a video here as well.
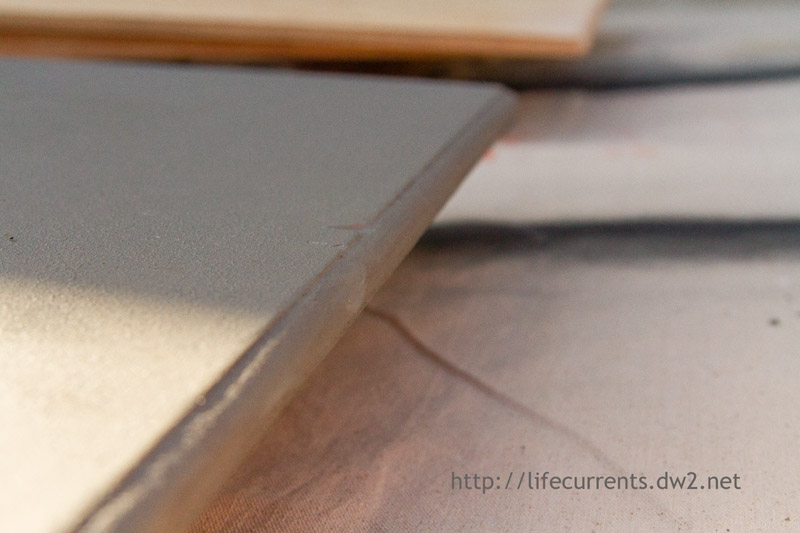
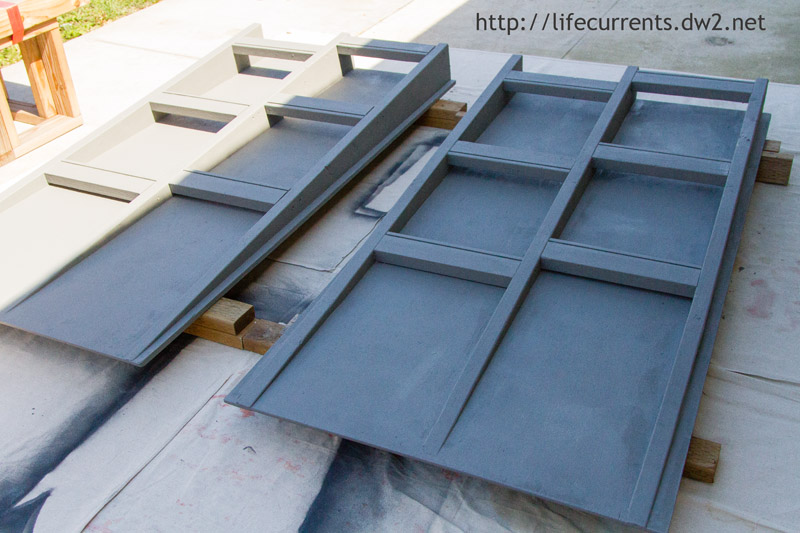
Paint them
This was my first time using this kind of paint, and I thought it was great. It was a really thick paint, but it went on easily and stuck to the ramp very well. It dried pretty quickly, so multiple coats didn’t take too long to do. I ended up doing 3 coats over the ramps. I wanted to make sure it was thick and well covered.
After I painted them we left them out overnight and there was some spotting from the evening’s moisture. I took the hose to the spot, and it washed right off. No stained spots!
The one thing we would do differently is that he would’ve puttied in the screw holes on top of the ramp before I painted them. We thought the paint would’ve filled in the spaces, but you can still see the screw holes.
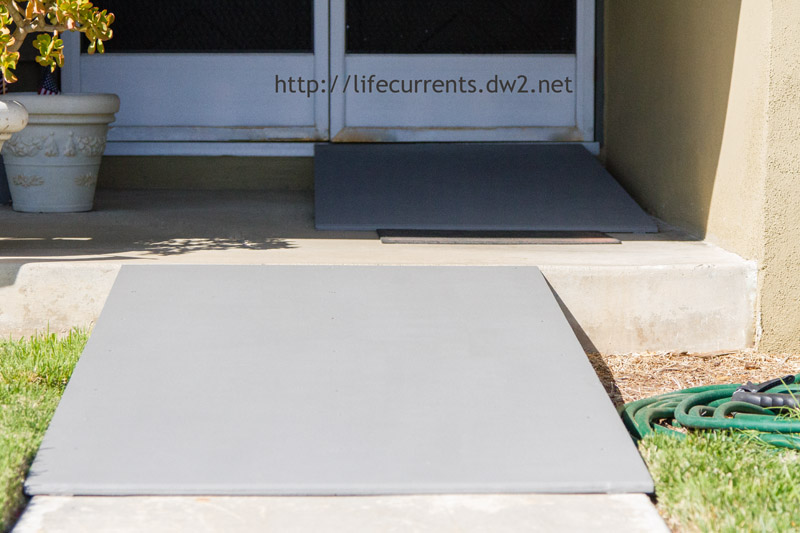
Put them in place


Adrienne
Nice work, Dan! You two make a great team. 😀
Dave
Awesome job. They look great and hopefully this will enable others to build the same thing for their family members.
Teri
You guys are amazing…I can hardly wait to wheel mom up there on Easter!
Kelly
Great job! We had ramps all over our house for my dad, who was in a wheelchair, paralyzed. Just putting the ramps in the front and back of the house gave him so much independence.
Terri | Sugar Free Glow
Wow! That is impressive that he made it himself!
Louise
These are great but I need to be able to get up four steps to my deck to my door. Any suggestions on a ramp for this? I will be having hip replacement surgery soon and need to get this done.
kim mims
WOW,will be moving in 1 month and will have to show this to my 16 y.o.to make 2 of these for my small aging blind dogs but I know she’ll sidings on them. Thank you.
Debi
Louise, if you’re thinking of building some, keep that rise to run ratio in mind & make sure to measure the area well. If you don’t have enough space for the length of the ramp, we did see some ramps for sale through places like Lowes and 24″ Portable Mobility Wheelchair & Utility Ramp 600 lb. Capacity Maximum 4″ Rise ” target=”_blank”>Amazon. {Amazon affiliate link}
I hope your surgery goes well and wish you a speedy recovery!
Debi
Kim, these would be great for doggies as well! Sides would be good for them so they don’t fall off. Such a great way to use the ramps! Thanks! 🙂
creativekkids
Dan did a terrific job! We haven’t had to do this yet; but if we do, I know my husband could do it with this tutorial. Thanks for linking up with the Bloggers Brags Pinterest Party. I have pinned your post to the Bloggers Brags Pinterest Board!
auntjane6
The one thing missing from the ramps are guides along the sides, to keep wheels or cane, walker or crutch tips from slipping off the edge of the ramp. The ADA requires the edge protection to be at least 2 inches high. The best way to add that protection would be to screw metal edging along these short ramps. Since these are only intended for one day annually, you would probably be carefully monitoring the family members who need it. And since they are for private use, the ADA does not apply legally.
But they do make a good point! And, as Dan says, “Safety First!”
And they they do make good “recommendations!”