
This post may contain affiliate links. If you make a purchase through links on our site, we may earn a commission.
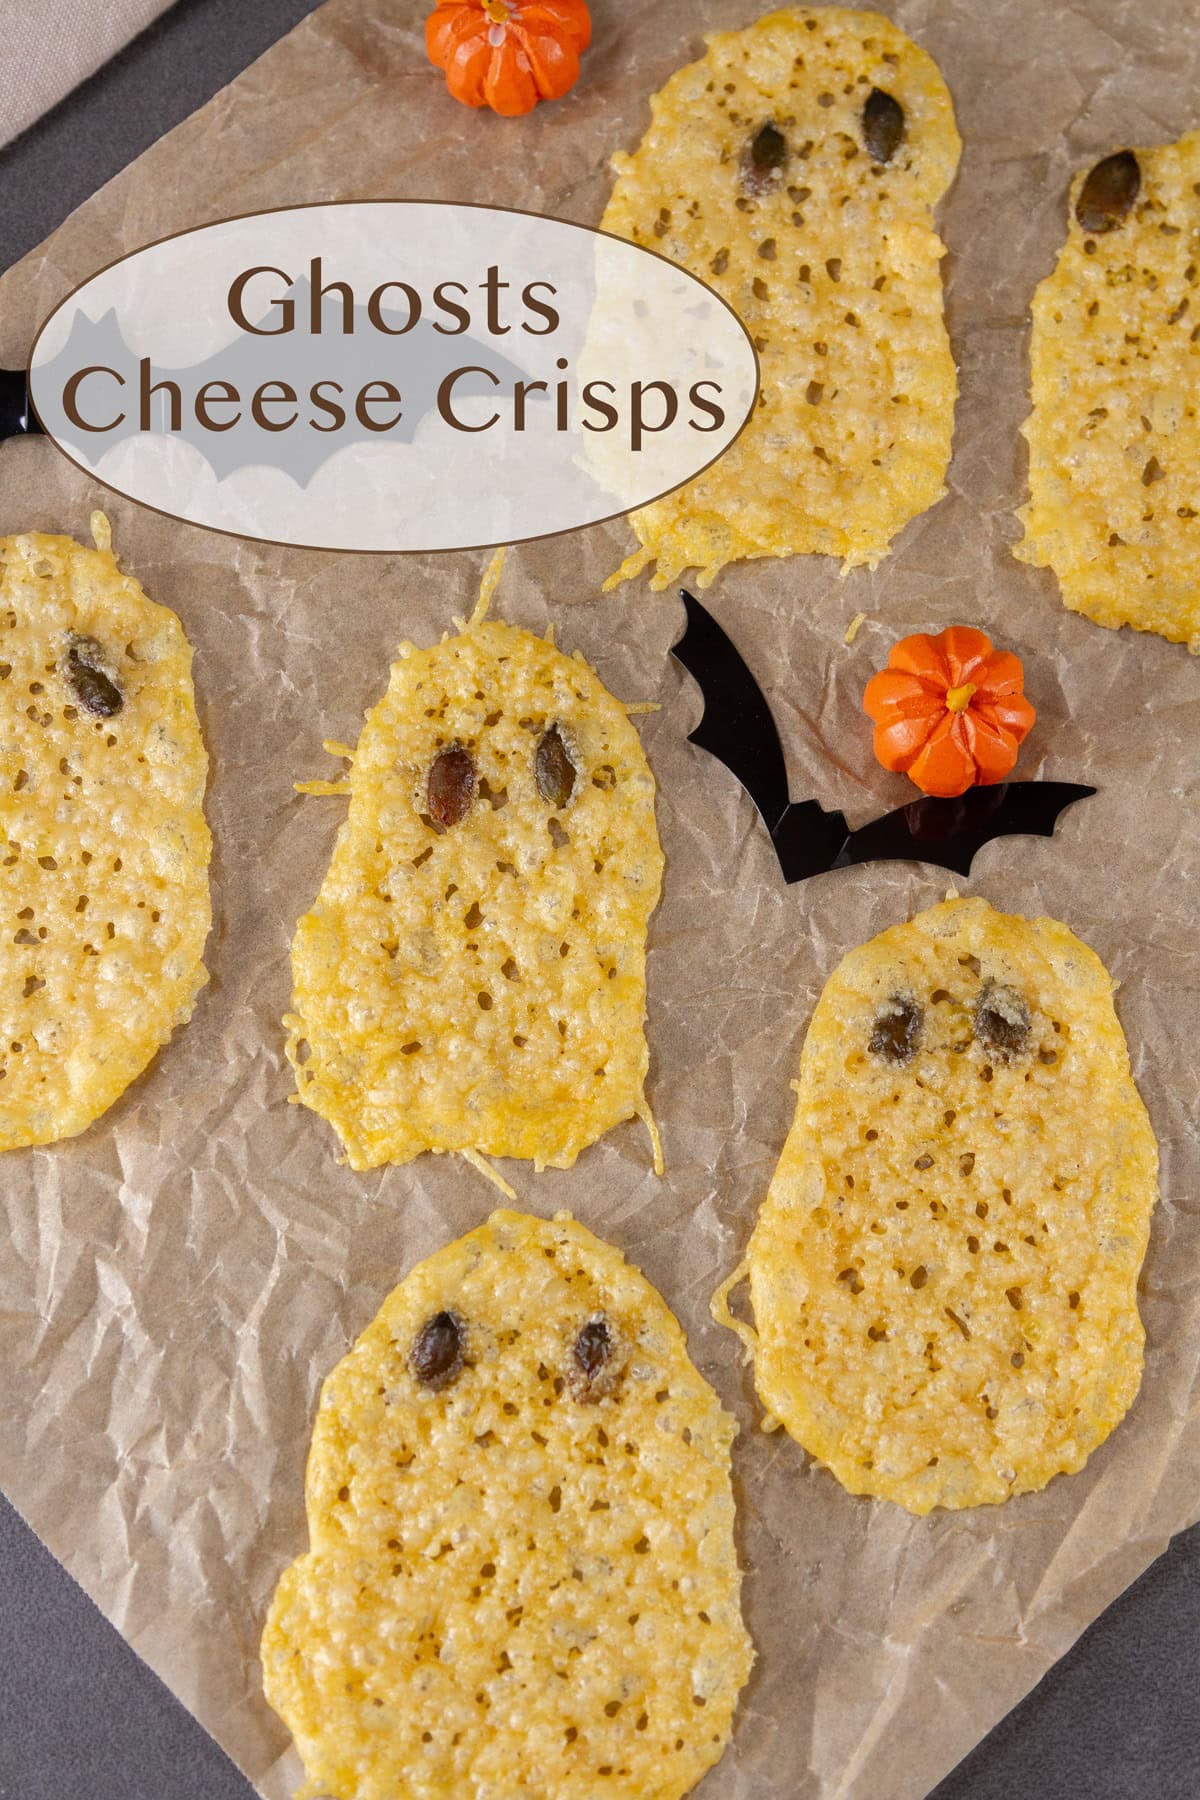
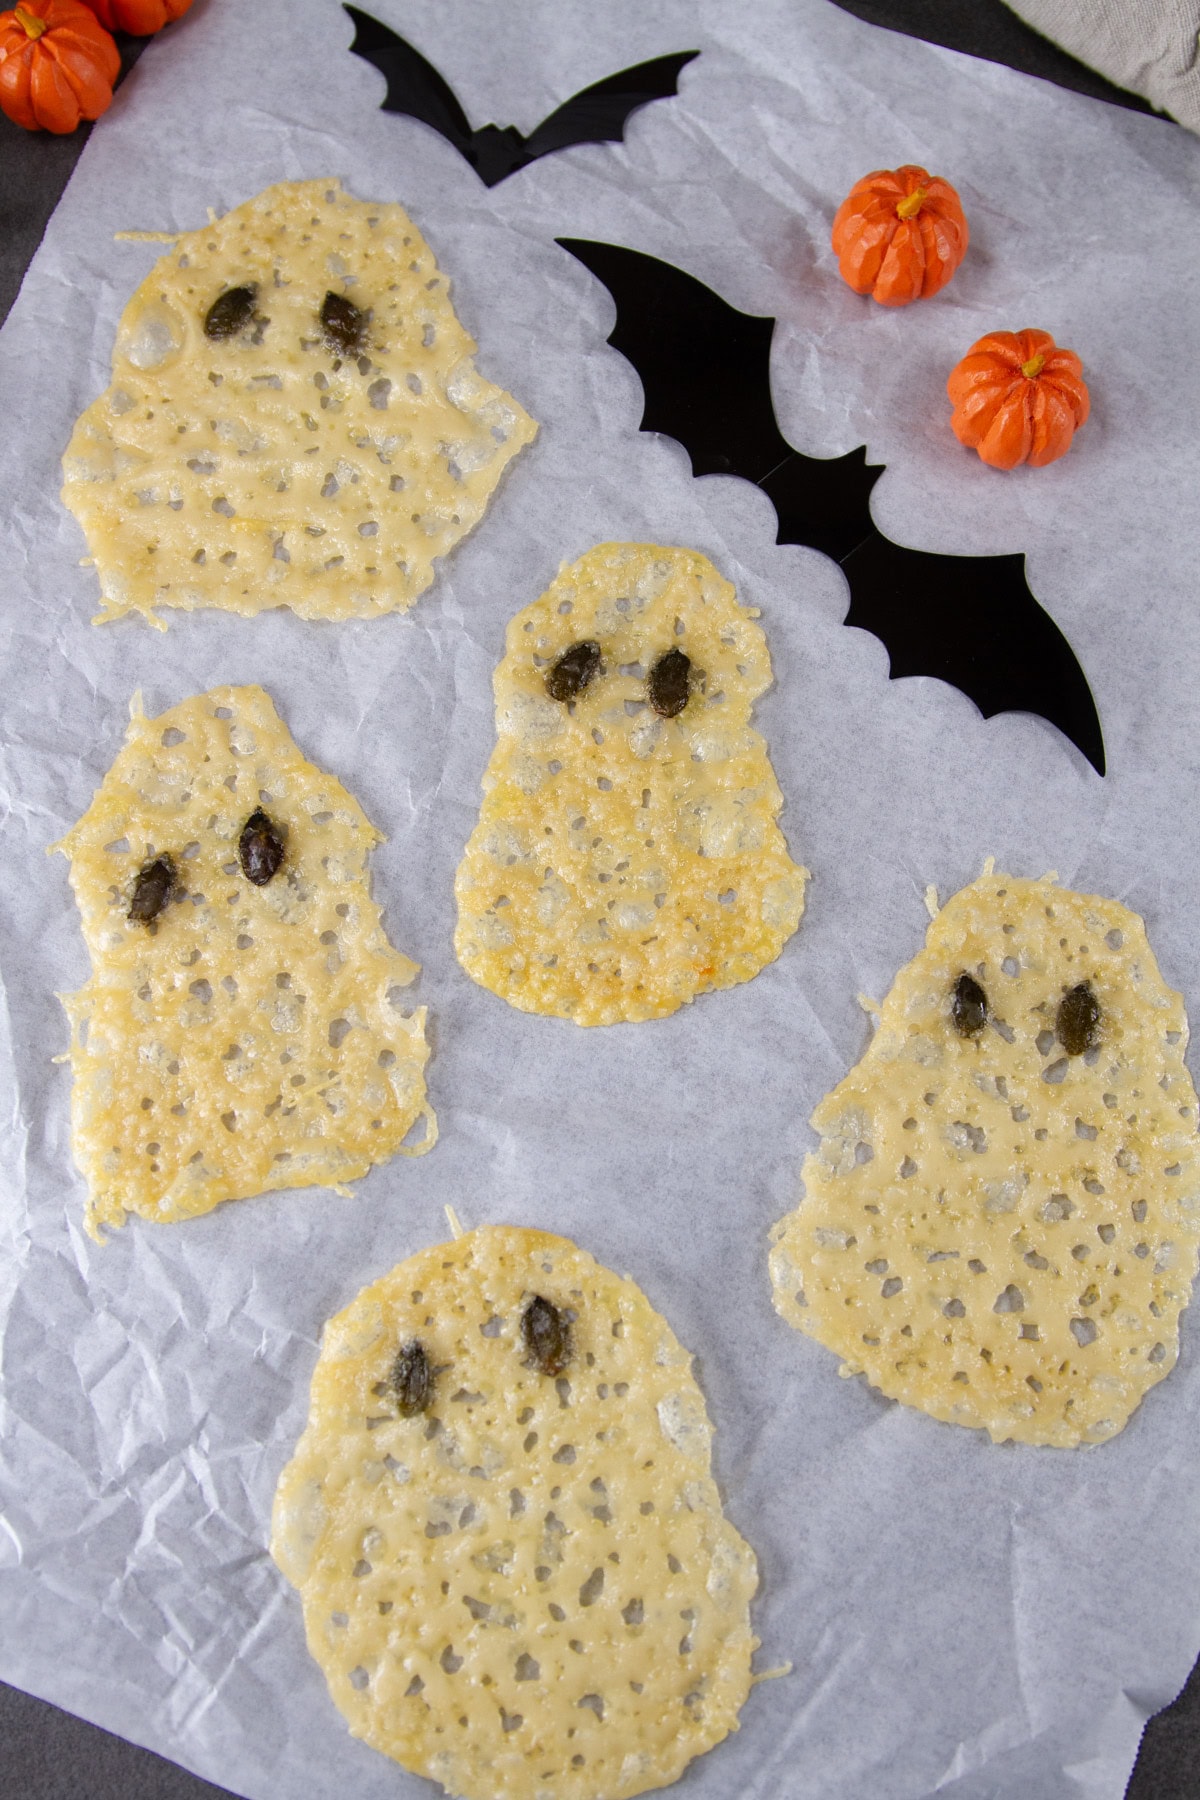
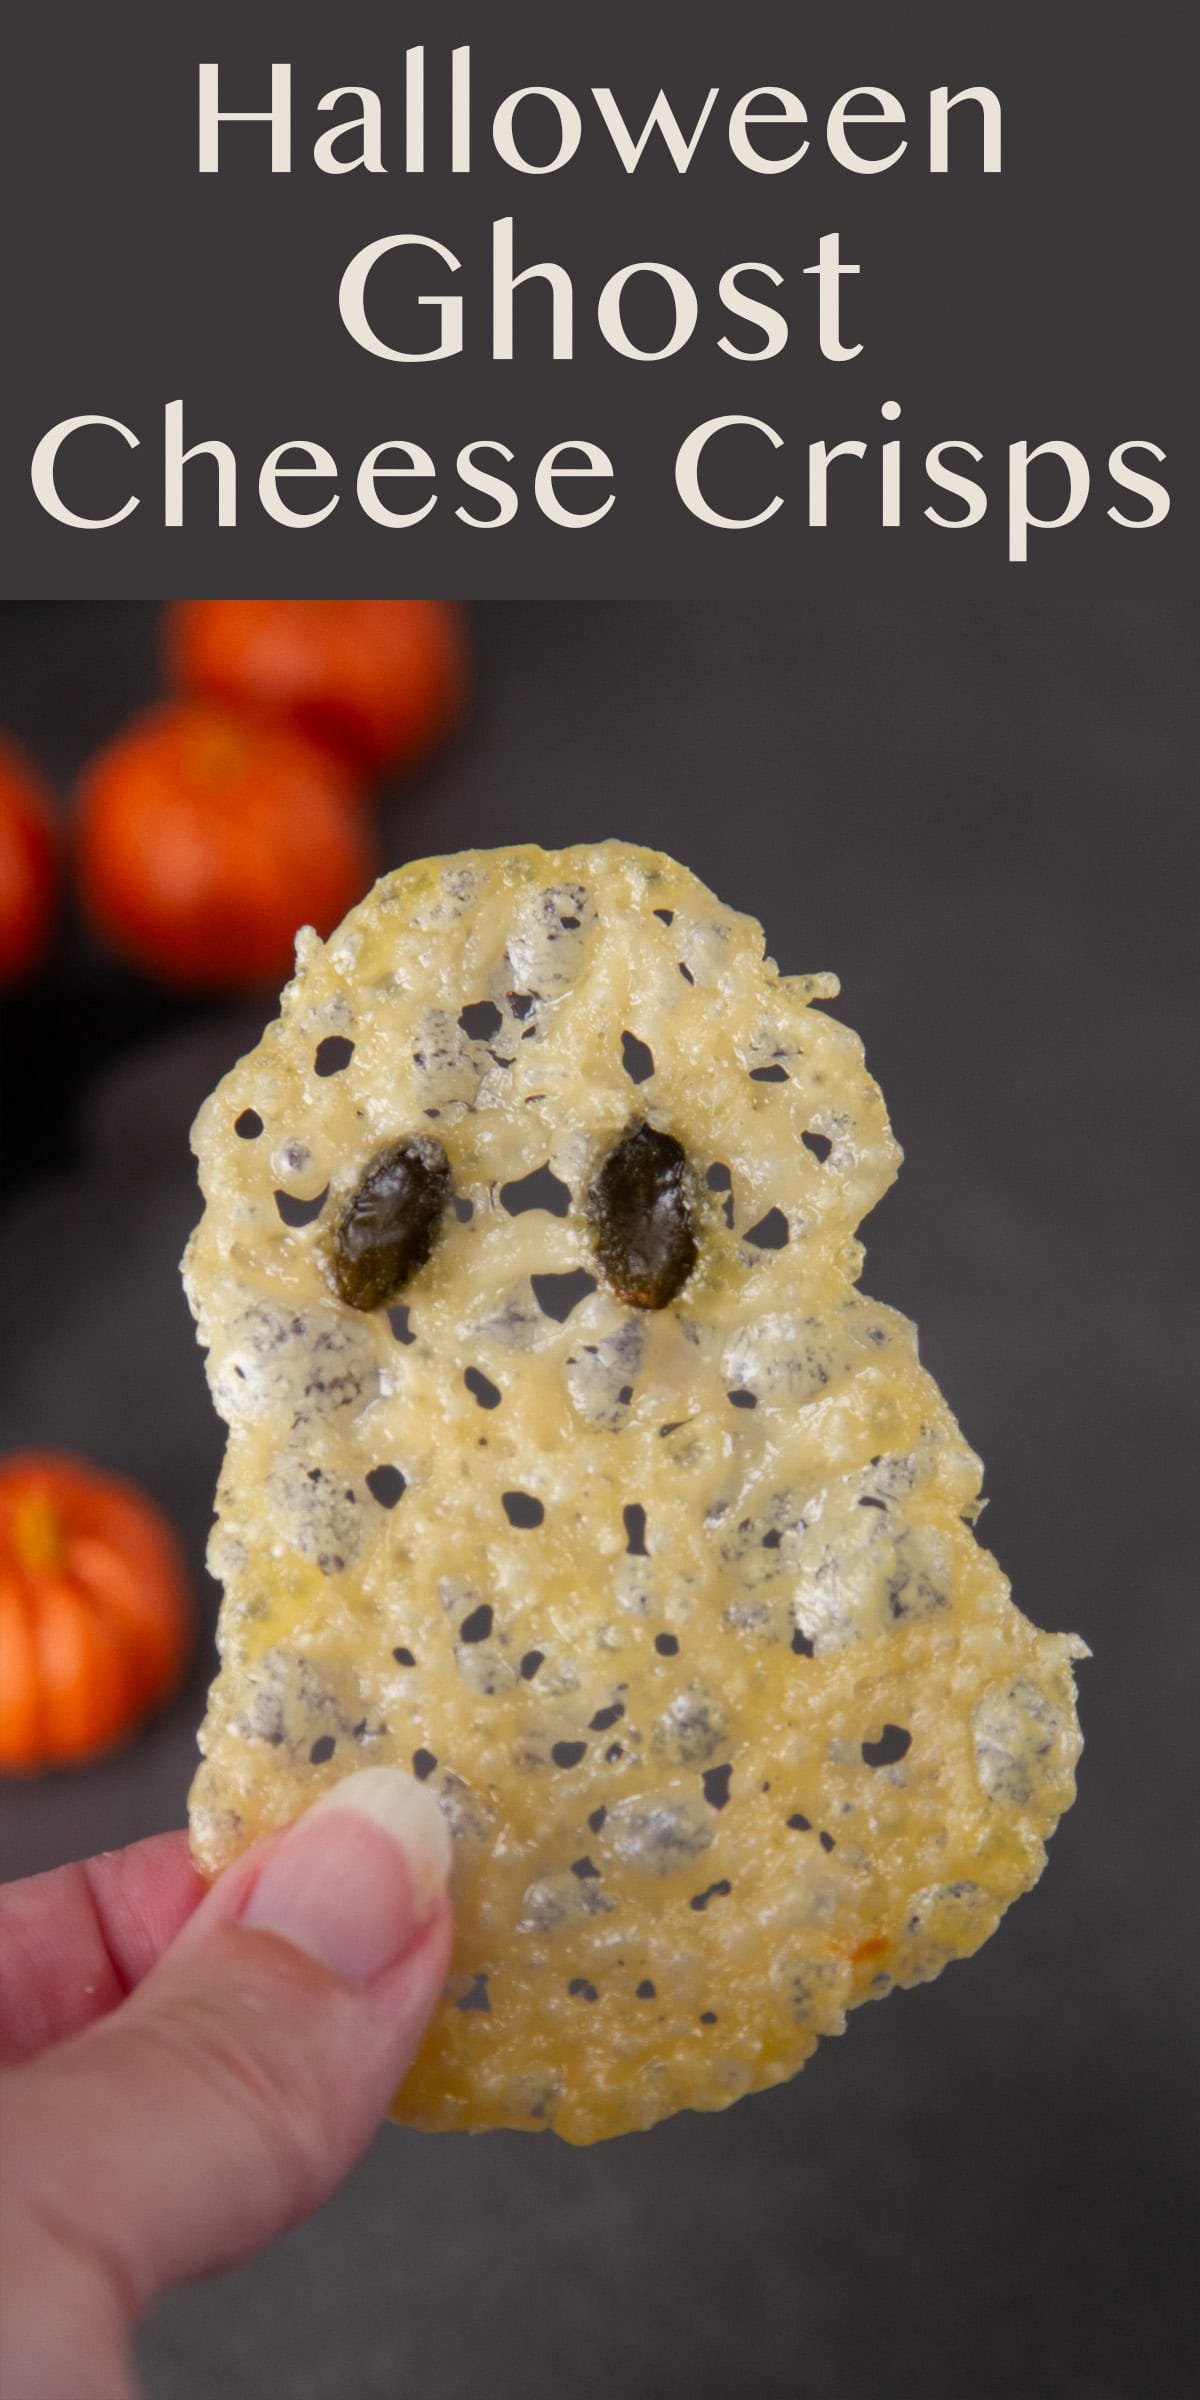
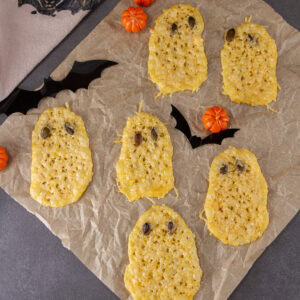
These crispy little Halloween Ghost Cheese Crisps are such a fun addition to a Halloween snack table. They’re easy to make, need just a couple of ingredients, and bake up into thin, crunchy cheese crisps with adorable pumpkin-seed eyes. Make a few for a spooky snack or a whole batch for Halloween parties, lunchboxes, or grazing boards.
How cute are these Ghost Cheese Crisps! Super easy to make with just two ingredients and less than 10 minutes, and you’ve got this delicious spooky savory treat.
We appreciate your support
Please let me know if you have any questions about this recipe. I read all the comments myself and I try to help as soon as I can. I have readers from all levels of comfort and experience in the kitchen on my site, and I’ve tried to answer some of your questions already in the post. But if I’ve missed anything, please feel free to leave a comment and ask.
How to make
The full recipe with instructions is in the printable recipe card below. I have tips and tricks for you in the post.
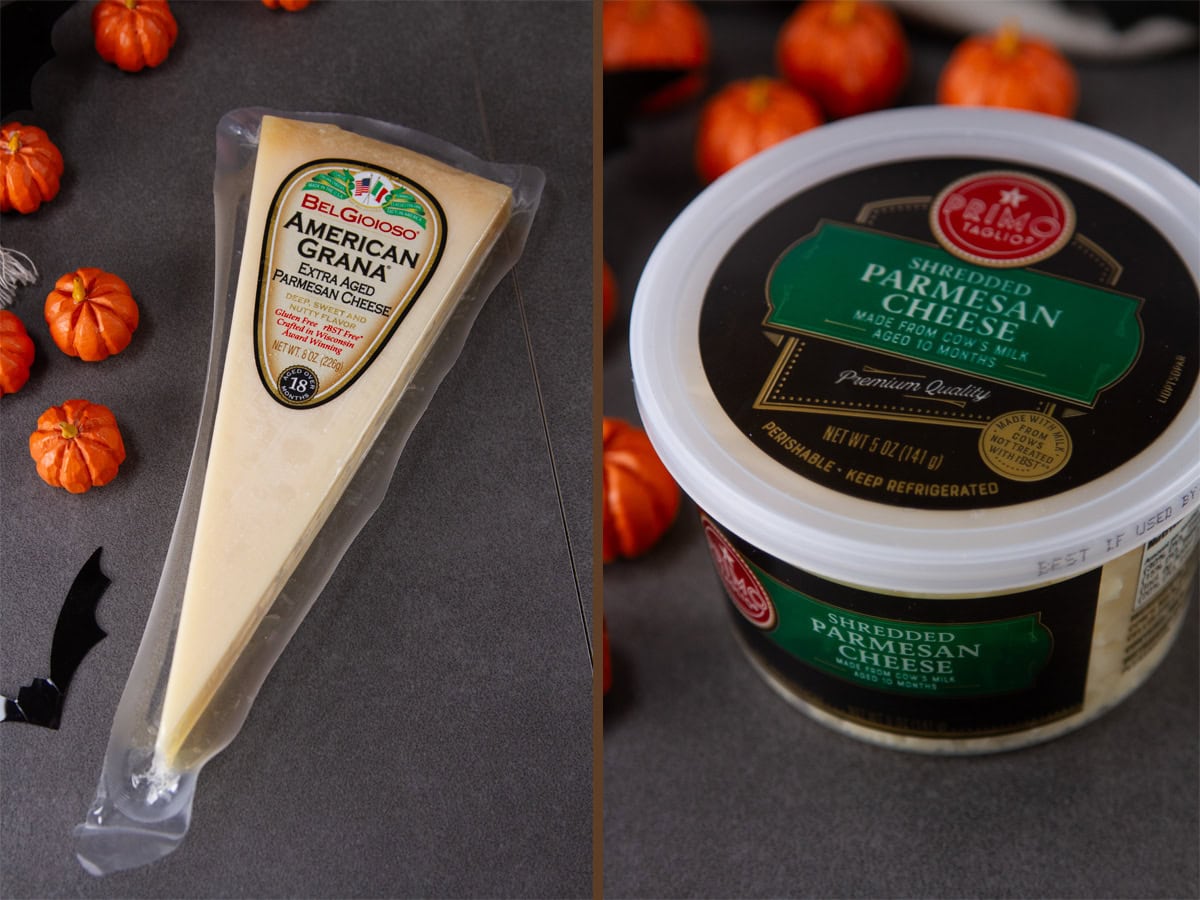
Cheese: Parmesan works especially well because it has that nice white color, and it melts and crisps nicely. If you use another cheese, the amount of spreading, browning, and crispiness may vary. Some cheeses also release more oil, so you may need to blot the finished crisps with a paper towel.
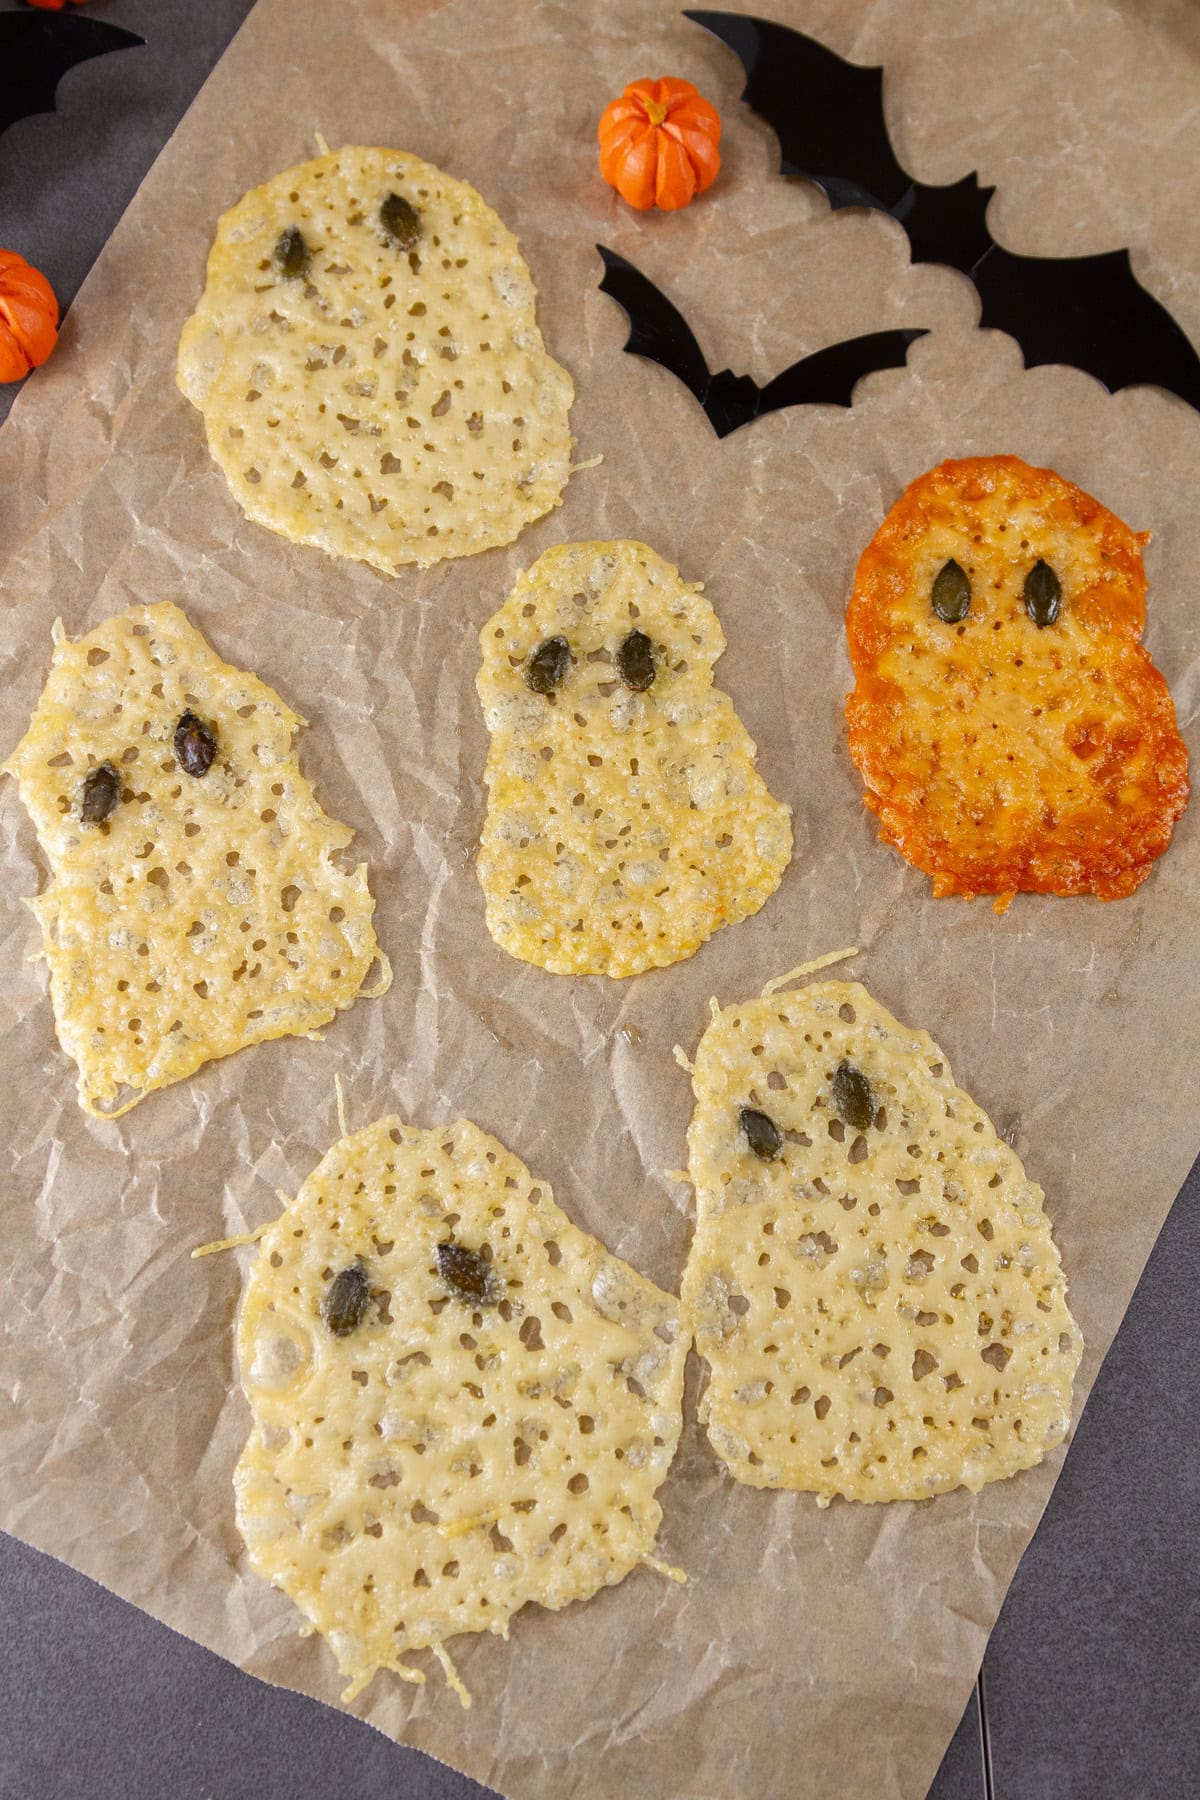
Also, I have found that freshly grated Parmesan looks nicer and melts better than the pre-shredded kind. But either will work. Take a look at the pictures and find the much darker ghost, that was made with pre-shredded cheese, whereas the other ghosts were made with freshly grated cheese.
Parchment paper: Use good-quality parchment paper to help prevent sticking. Reynolds parchment paper is my preference because it releases the cheese crisps easily. Don’t skip the parchment paper. It makes removing the cooled cheese ghosts much easier.
But, if you break them, no worries, they’ll still be delicious!
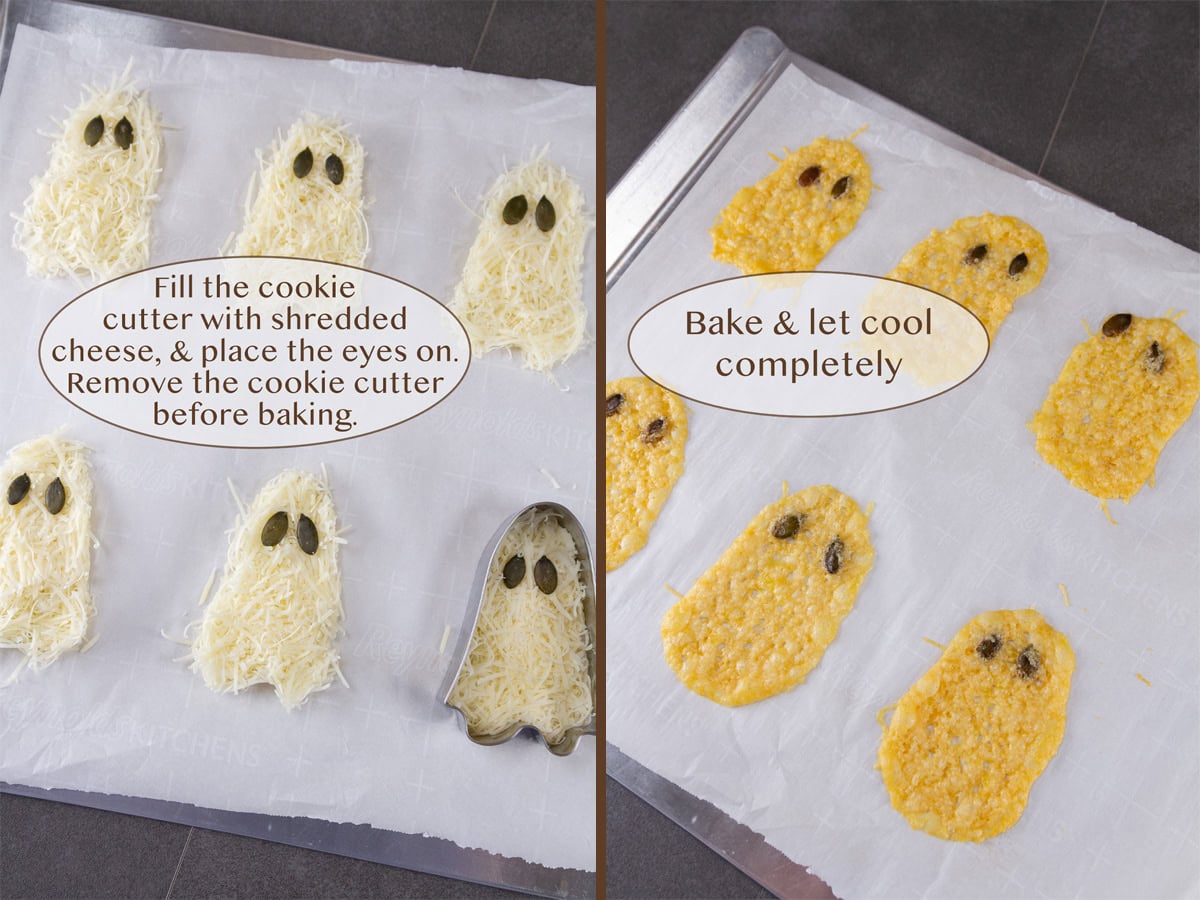
Thickness matters: The thinner you make the cheese layer, the crispier the finished ghost will be. A thicker layer will give you a slightly sturdier, more substantial cheese crisp. Either way, be sure to keep it fairly even thickness so they cook at the same rate.
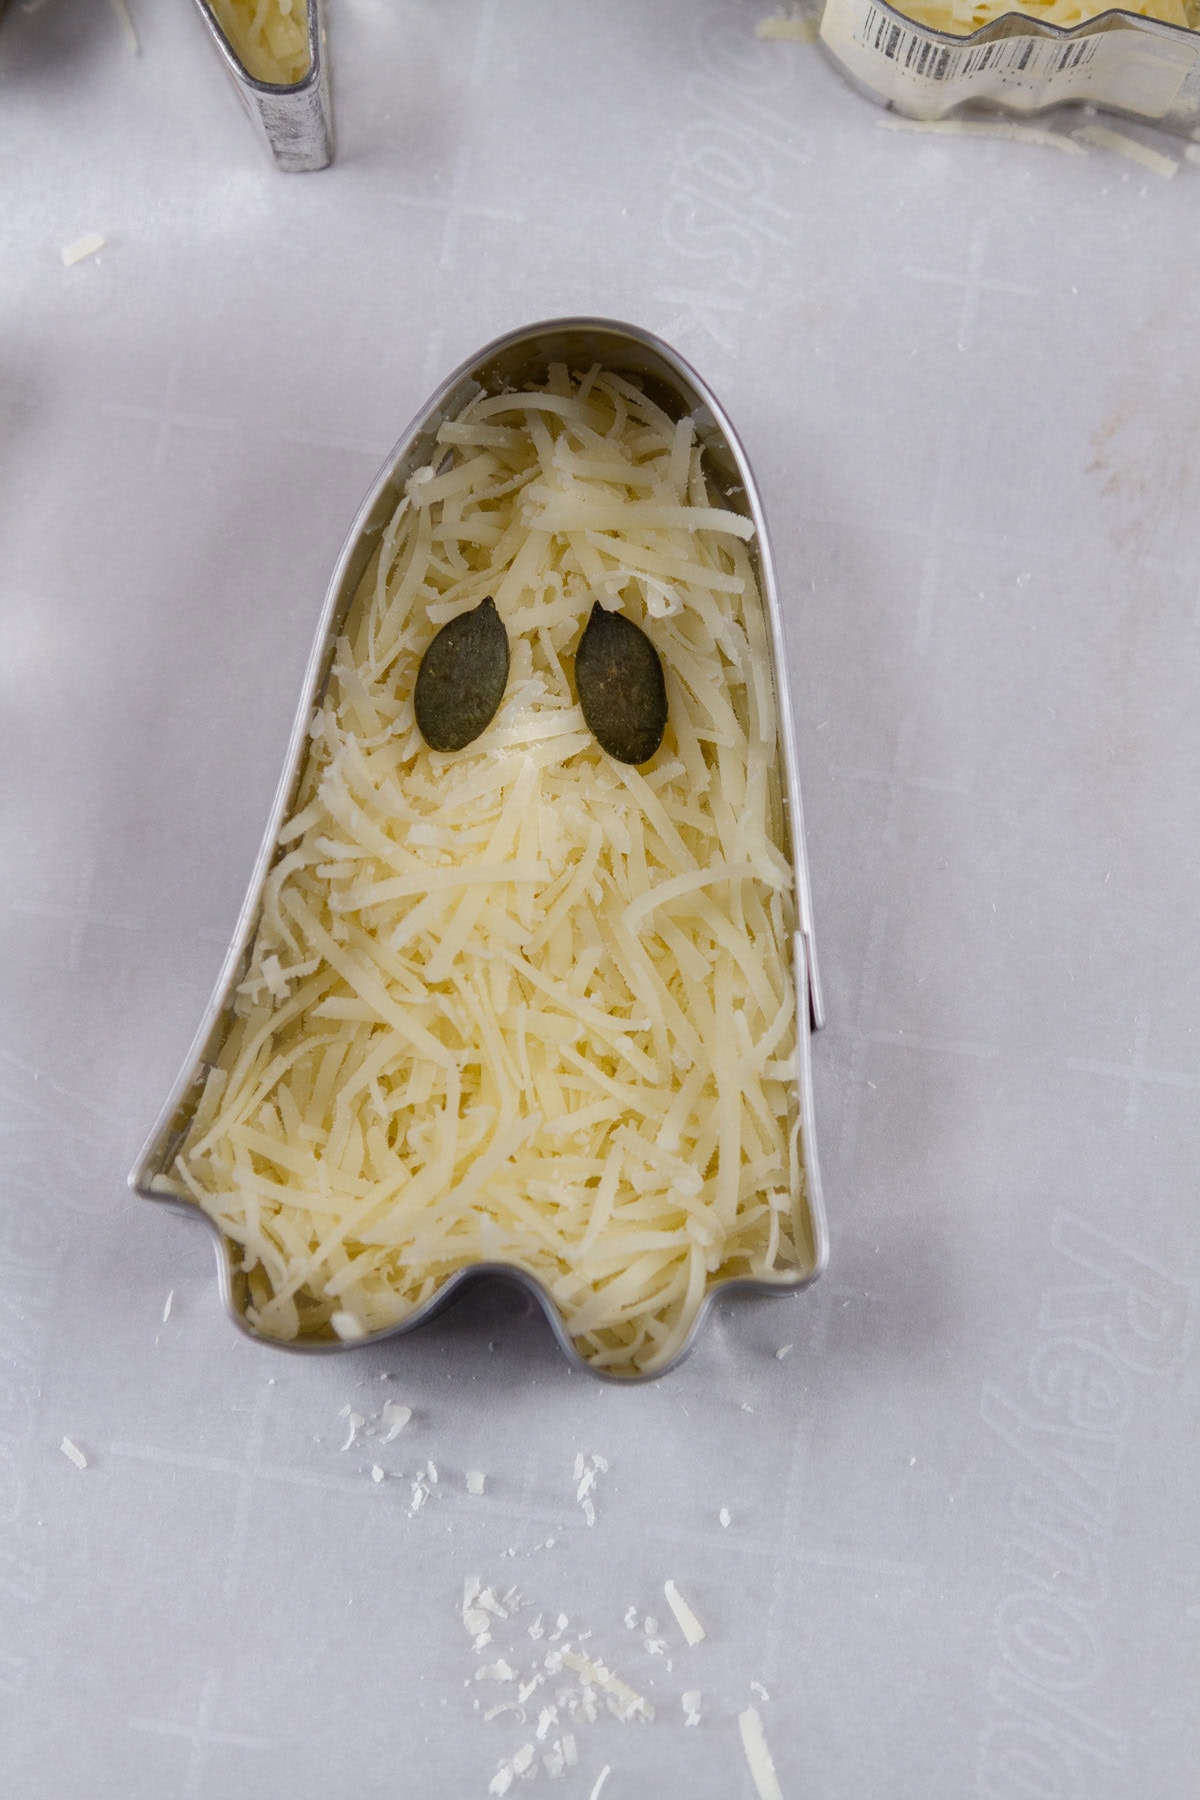
Make a batch: The recipe is written per ghost, so you can easily scale it up depending on how many you want to make. Just remember to leave space between the ghosts on the baking sheet.
Tip: Start checking at 5 minutes. The edges should be lightly golden, not dark brown.
Removing the ghosts: Let the crisps cool completely before moving them. They become crispier as they cool. I find it easiest to peel the parchment paper away from the cheese rather than trying to lift the cheese directly from the paper. A thin metal spatula can also help.
Check out my original cheese crisps recipe for more tips and tricks.
FAQ
Can I use a different cheese to make these ghost cheese crisps?
Yes, Parmesan works particularly well, but you can experiment with other hard or semi-hard cheeses. Keep in mind that different cheeses melt, spread, and release oil differently, so the baking time and final texture may vary.
Why did my cheese crisps spread too much?
The cheese may have been spread too thin, the ghosts may have been too close together, or the cheese may naturally melt and spread more than Parmesan. Leave at least 1 inch between ghosts and make sure the cheese is evenly distributed inside the cookie cutter.
How do I keep Parmesan cheese crisps from sticking?
Bake them on parchment paper and allow them to cool completely before removing them. Peeling the parchment away from the crisp is often easier than trying to lift the crisp directly from the paper.
Serving Suggestions
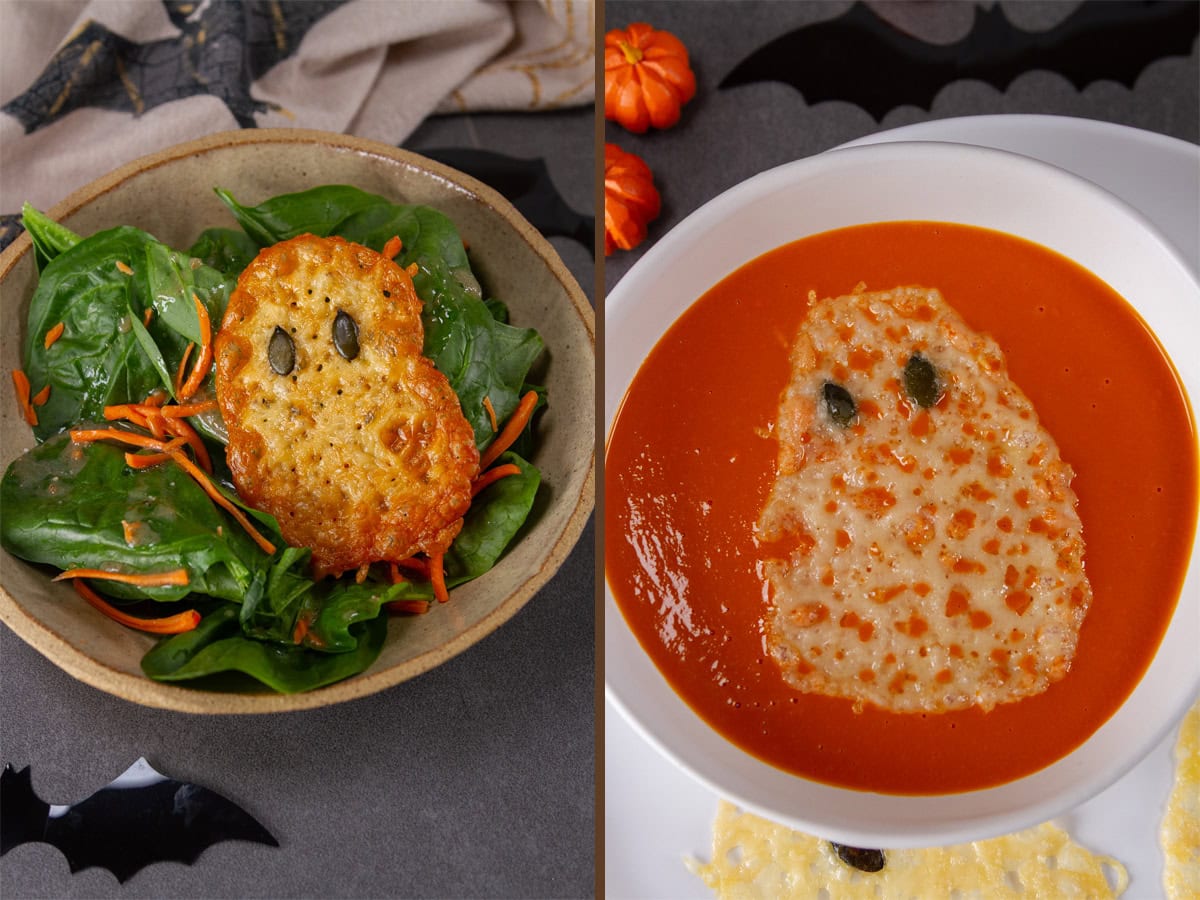
These are especially cute served:
- As a crunchy topping for soups or salads, think low carb crouton
- On a Halloween charcuterie or snack board
- Alongside crackers, vegetables, and dip
- These crisps rock simply as a snack by themselves
- With sandwiches or wraps for a Halloween lunch
- In kids’ lunchboxes
- As a fun Halloween party appetizer
- Alongside other Halloween snacks and appetizers
They’d also make a cute garnish for a bowl of tomato soup or pumpkin soup, the ghost shape really stands out against the soup.
How to store
Store completely cooled cheese crisps in an airtight container for up to 3 days. For the best texture, keep them refrigerated and allow them to come to room temperature before serving.
They can also be frozen in an airtight, freezer-safe container for up to 6 months. Place parchment between layers to help prevent them from sticking together. Let them thaw at room temperature and, if needed, briefly re-crisp them in a low oven or the microwave for a few seconds.
One note: Because these are very thin and crisp, humidity can soften them over time. If they lose some of their crunch, a few minutes in a low oven can help restore the texture.
Kitchen tools you may need
Ghost cookie cutter
Parchment paper
Baking sheets
Thin metal spatula
Cooling rack
Let’s keep in touch
If you like seeing my recipes subscribe via email in the upper right.
Or, connect with me on your favorite social media channel for recipes, photos, & much more:
Pinterest, Facebook, Instagram, YouTube and Twitter!
And find my shop on Amazon for recommendations on cool tools
If you try this recipe,
please come back & leave a comment below letting us know how it goes.
Share a picture & tag @lifecurrents on Instagram.
Or you can upload a “tried it” photo (I would love to see)
via the pin.
Recipe
Halloween Ghost Cheese Crisps
Equipment
Ingredients
- 1½ tablespoons finely grated Parmesan cheese per ghost
- 2 whole roasted pumpkin seeds pepitas, per ghost
Instructions
- Preheat oven to 400° F. Line large baking sheet with parchment paper.
- Using the small holes of a box grater, finely grate the Parmesan cheese.
- Place the ghost cookie cutter on the prepared baking sheet. Add about 1½ tablespoons of grated Parmesan inside the cutter (you may need more or less depending on the size of your cookie cutter). Gently press the cheese into an even layer, making sure it fills the entire ghost shape.
- Make as many ghosts as desired, leaving at least 1 inch between each ghost because the cheese will spread as it bakes.
- Place two pumpkin seeds on each ghost to make the eyes. Carefully remove the cookie cutter before baking.
- Bake for 5–8 minutes, watching closely, until the edges are just beginning to turn golden brown. The exact baking time will depend on the thickness of the cheese and your oven.
- Remove from the oven and allow the cheese crisps to cool completely on the baking sheet. They will continue to crisp as they cool.
Notes
Nutrition
Nutritional information is based on third-party calculations, and should be considered estimates. Actual nutritional content will vary based on brands used, measuring methods, portion sizes, and more.


Debi
These are so fun to make and, of course, they’re delicious! A nice crispy crunchy snack you can feel good about.And, they are great for Halloween! Debi, author, Life Currents