This post may contain affiliate links. If you make a purchase through links on our site, we may earn a commission.
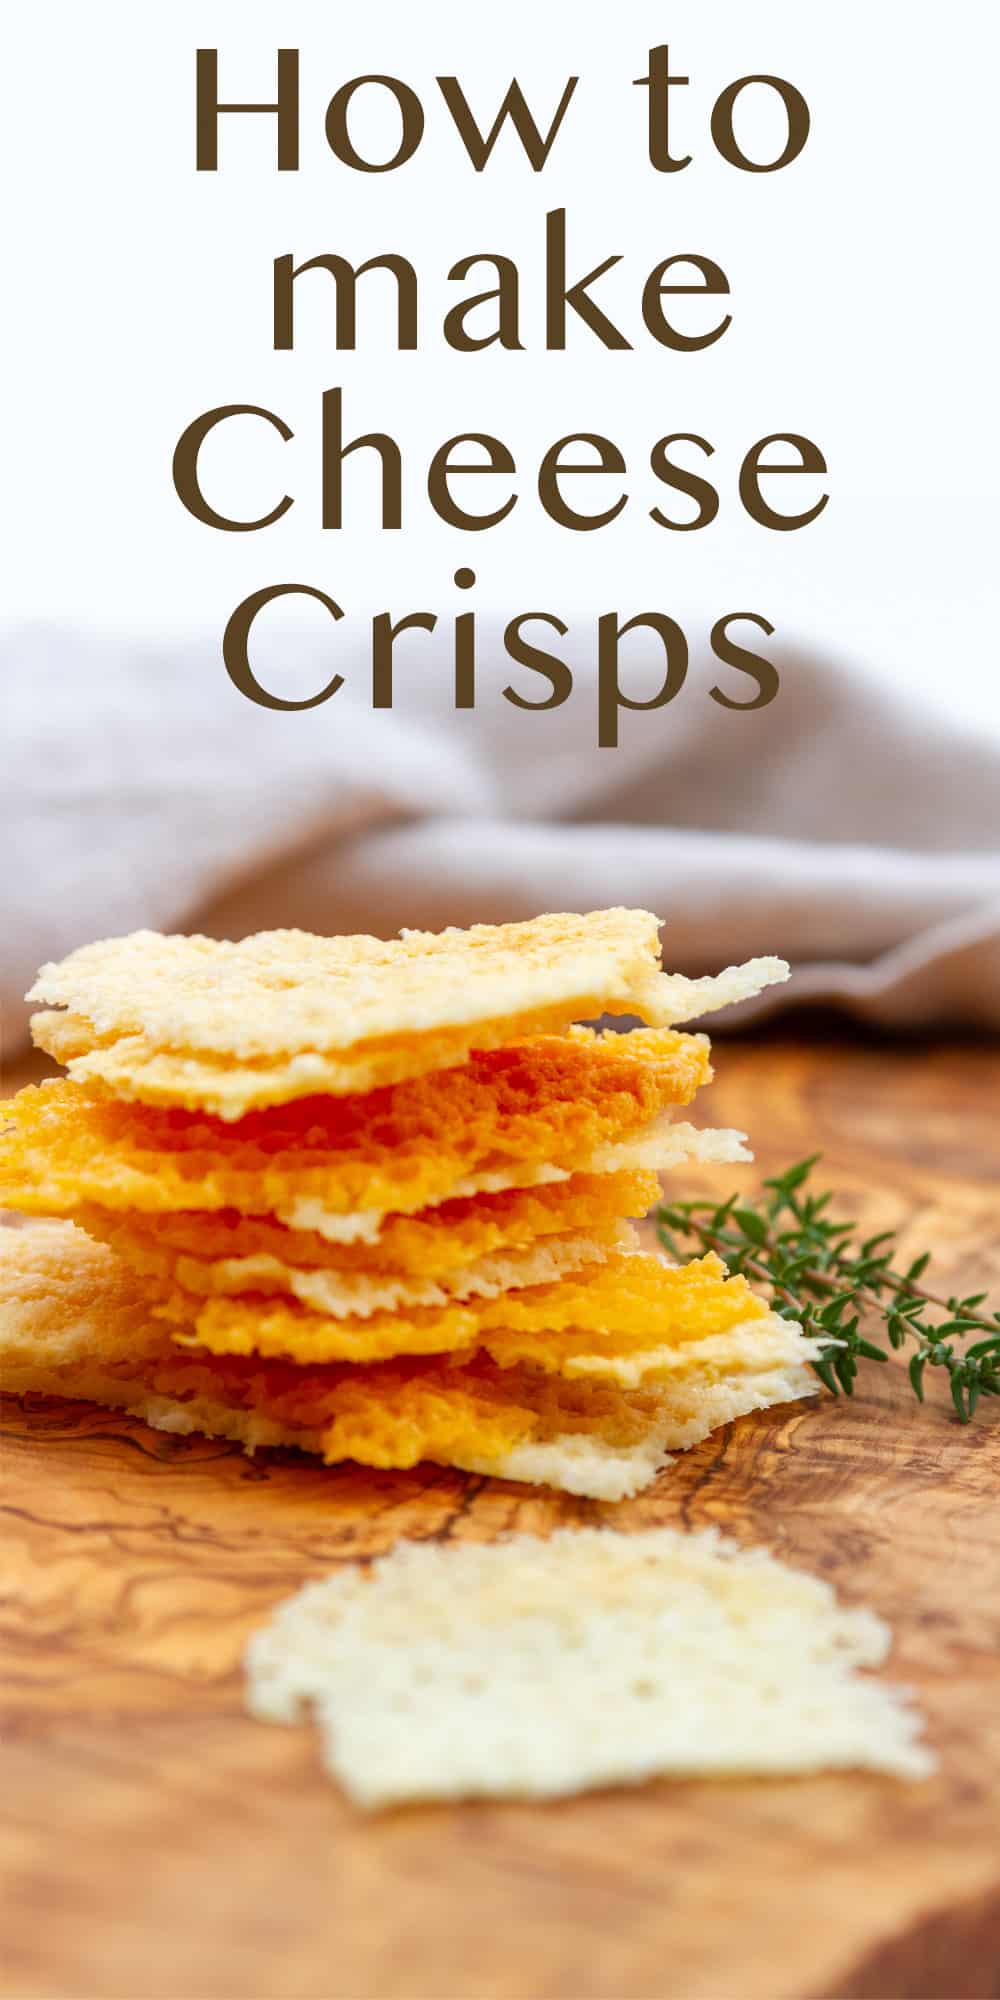
This How to Make Cheese Crisps recipe will show you the easiest method for crunchy cheese appetizer chips with sliced cheese in the microwave! Plus, I have oven, air fryer, and stove directions for you.
Cheese crisps are a super easy crunchy savory snack to make. You can make them with just about any cheese, like Parmesan, Cheddar, Asiago, or mozzarella.
I originally posted this recipe as part of Tailgating Snacks Month in 2018. But it was time for an update for a better user experience. So, I’ve updated the pictures, information, and the recipe itself. I’ve found the easiest way to make these cheese crisps is to make them in the microwave! I also have directions on How to make cheese crisps in microwave, air fryer, in the oven, on the stove.

We appreciate your support
Please let me know if you have any questions about this recipe. I read all the comments myself and I try to help as soon as I can. I have readers from all levels of comfort and experience in the kitchen on my site, and I’ve tried to answer some of your questions already in the post. But if I’ve missed anything, please feel free to leave a comment and ask.

Great snack or appetizer
These crisps rock simply as a snack by themselves, and they’re perfect little appetizers. They also make a great salad topper or low carb crouton for soups.
Grab a nice bowl of tomato soup, and serve these along with, kind of like a grilled cheese with no bread.
You can also shape the crisps into taco shells, rolled shapes, or bowls. As long as the cheese remains warm.
Looking for a sweet snack that’s high in protein? Check out my Cottage Cheese Cookie Dough Recipe!
Low carb chips
These are like Keto chips. Crispy, crunchy, salty. They’re great for anyone on a keto, low-carb, grain-free, or gluten-free diet.
And, making your own at home is way cheaper than buying those little bags at the store. And if you make them at home, they don’t have any of the additives that the store-bought ones have.
Looking for more delicious low carb snacks? Be sure to check out Roasted Garlic & Herb Cheese Sticks and Cottage Cheese Cauliflower Tots.
Frico
These cheesy appetizers are also known as frico. Check out my White Bean Arugula Salad with Frico recipe as well.
There are two versions of frico: a soft traditional dish of heated cheese and potatoes. As well as this thin crispy cheese version.
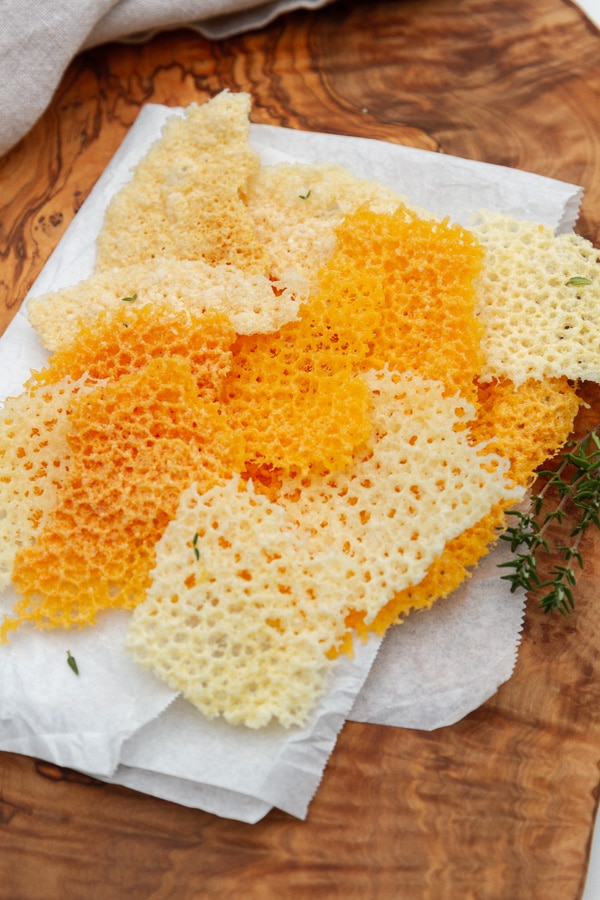
This thin version is typically made with Parmesan and can be used as an elegant garnish, served as a snack, or offered as an appetizer before an Italian meal. As you can see, it can also be made with many different kinds of cheeses.
How to make
When you cook small bits of cheese in the microwave, oven, air fryer, or stove, they turn into these amazing delicate wafers of cheese with intensified flavors!
The full printable recipe ingredients and instructions are available in the recipe card at the bottom of the post. You can find important tips and tricks in the post.
My favorite method for making these is the microwave. But I have several options here in case you don’t have a microwave.
Some general tips:
If you’re using grated cheese, the thinner you make the mounds, the crispier the final snacks will be.
I find it easiest to remove them, without breaking them after cooking, by peeling the parchment paper or the silpat mat away from the crisps rather than trying to pull the crisp away from the parchment paper. And I always recommend Reynold’s brand parchment paper. I’ve used many brands, and Reynold’s always works well.
You can also use a thin metal spatula to remove them from the baking sheet.
But, if you break them, no worries, they’ll still be delicious!
If you use different kinds of cheese, you may want to dab them with a paper towel once they are done cooking to remove any grease that has come up.

Microwave
The preferred method!
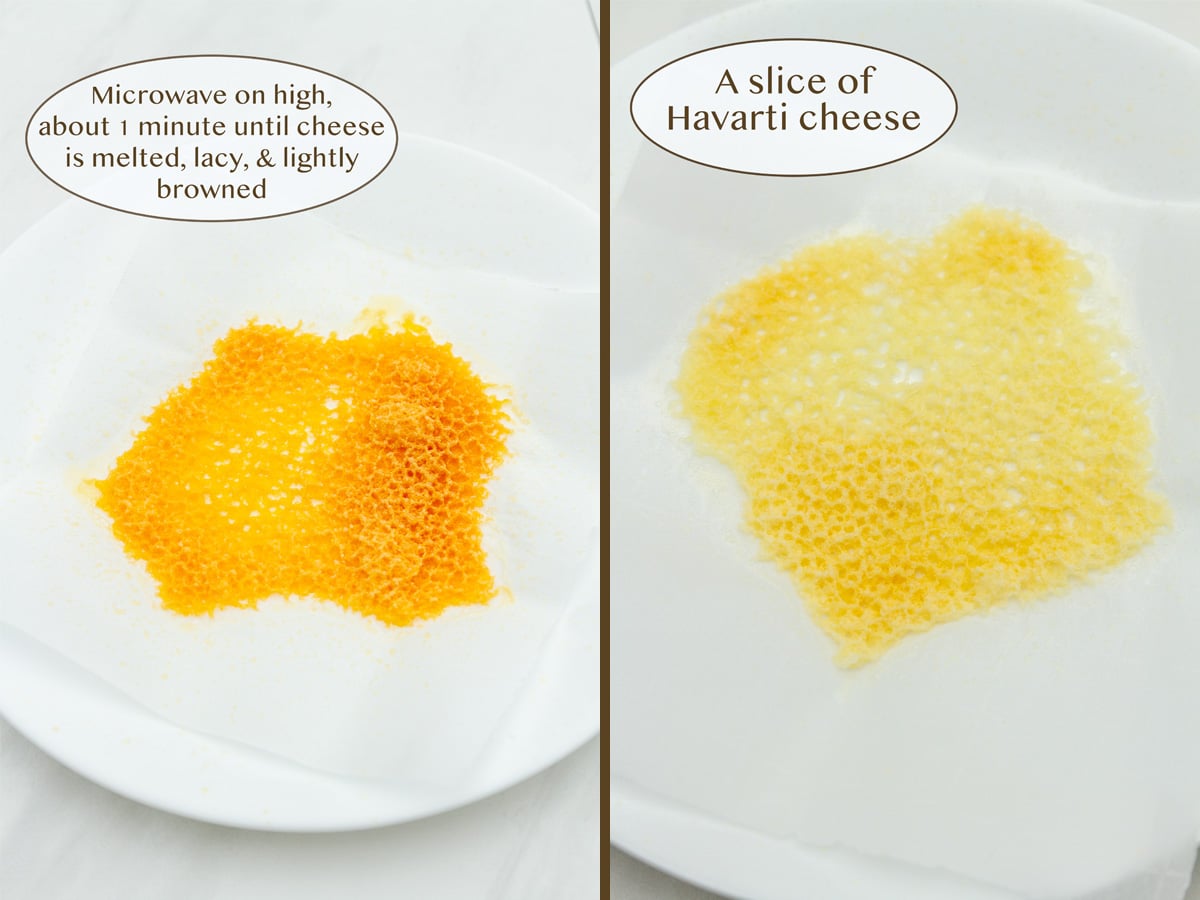
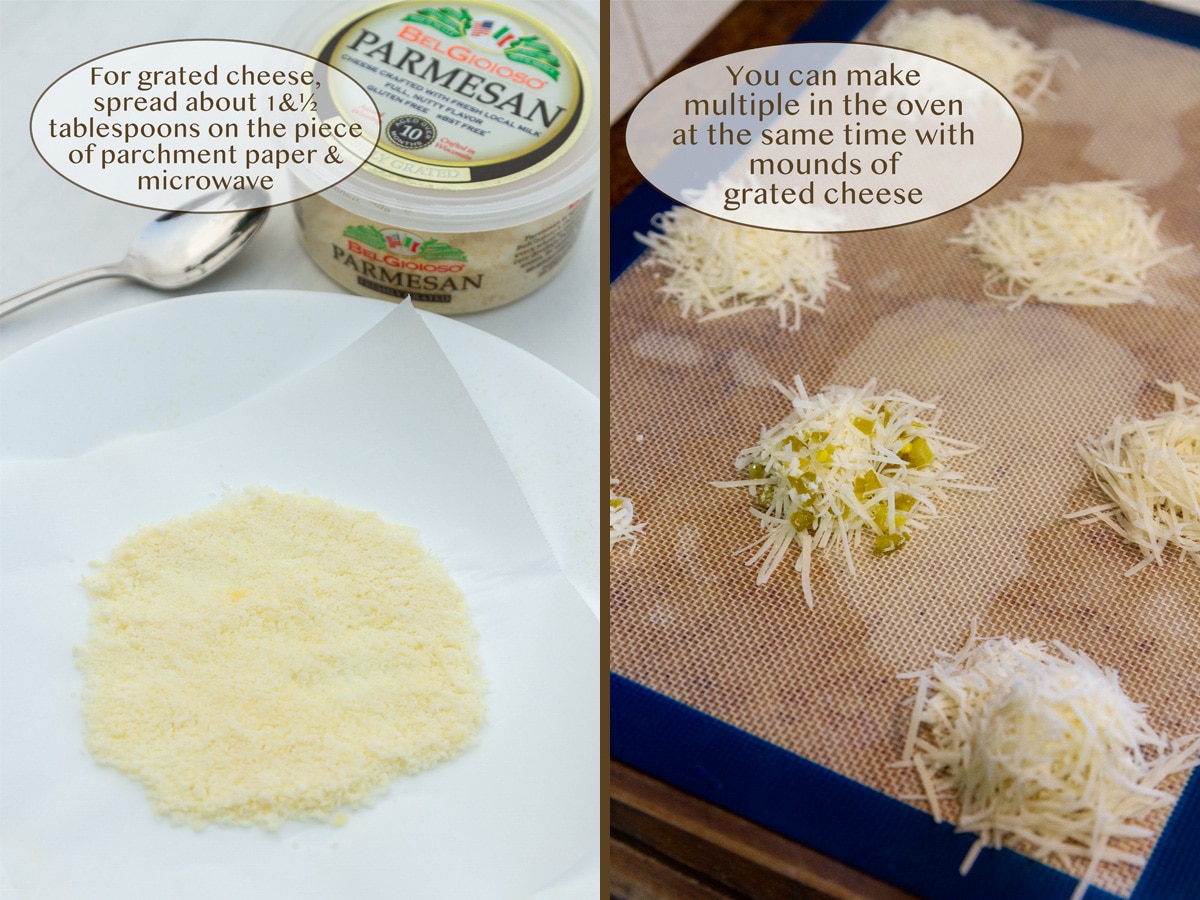
Place a piece of parchment paper on a microwave safe plate. Place one deli slice of cheese or a 1 & ½ tablespoons of grated cheese on the piece of parchment paper. If you’re using grated cheese, lightly press the mound out until it’s flat.
I recommend making this one slice of cheese at a time in the microwave. I have tested making more than one at a time and I usually find that there are soft spots in the cheese.
Microwave on high 1 minute. Check the cheese to see if it’s melted and lightly browned. If it isn’t done, put it back in and cook in 10 second increments until all the cheese is melted and lacy looking.
Every microwave is different. This recipe was written with my microwave which has a wattage of 950. The recipe should work in just about any wattage, but you may want to experiment with how long to cook the cheese and at what power level. Increase cooking time slightly for lower wattage ovens, and decrease for higher wattage.
Once the cheese is melted and lightly browned, remove the plate from the microwave and let the cheese cool, it will crisp up as it cools.
Oven
Preheat oven to 400° F. Line large baking sheet with a silpat mat or parchment paper.
Using the small holes of a box grater, grate the cheese. Or if you have sliced cheese, leave it as a slice.
Preheat oven to 400° F. Line large baking sheet with a silpat mat or parchment paper.
Using the small holes of a box grater, grate the cheese. Or if you have sliced cheese, leave it as a slice.
If you’re using an oily cheese, I recommend using a rimmed baking sheet to help contain the oil.
With a tablespoon measuring spoon, scoop mounded tablespoons of the grated cheese onto the prepared baking sheet. Leave at least ½-inch between each mound. Lightly press the mounds out until they are flat. Repeat until all the grated cheese is used.
Bake for 5-8 minutes. Remove from oven when edges just turn golden brown. Check occasionally while baking to ensure they don’t burn. Let cool completely on the baking sheet.
The longer you leave them in the oven, the more well-done and crispier they will be. Be careful, they can burn, so keep an eye on them.
Stove top
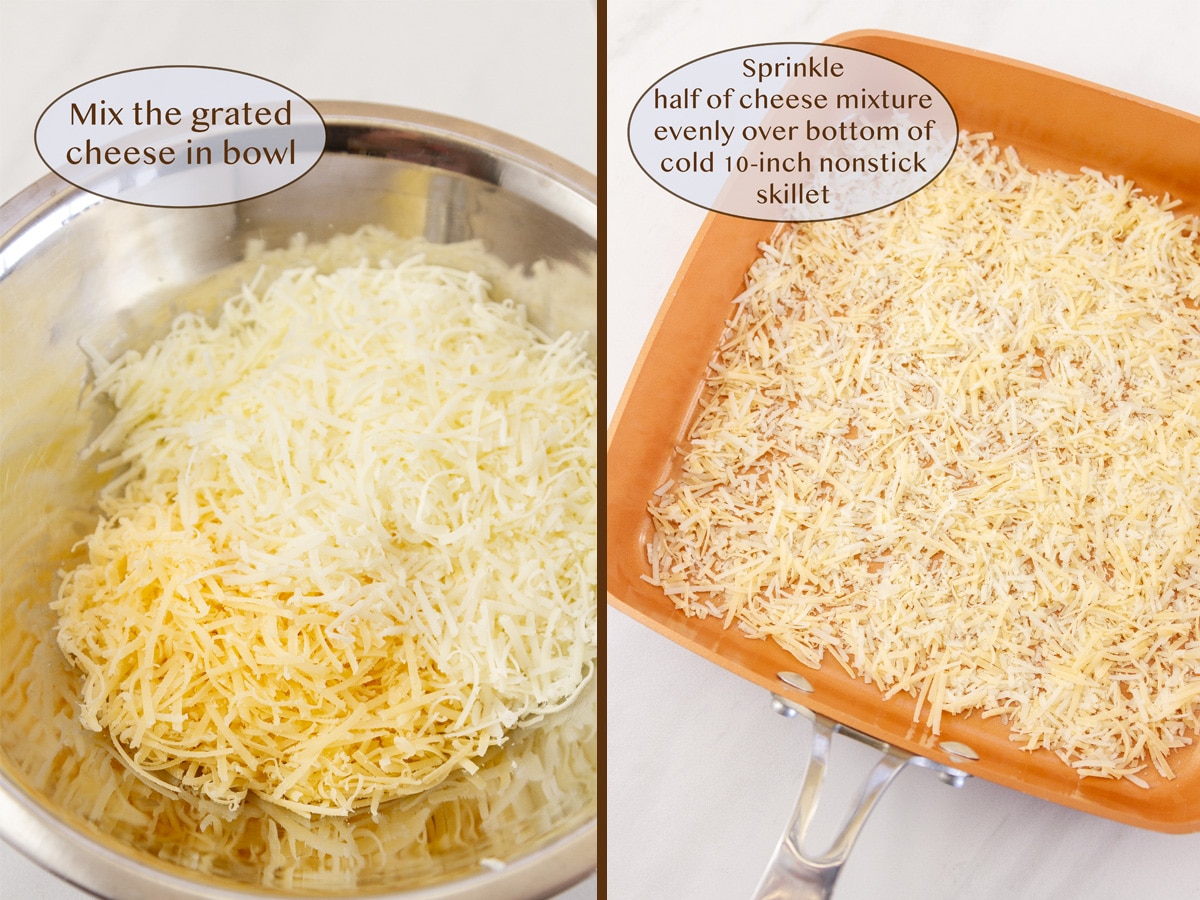
Place cheese or sprinkle cheese evenly on bottom of cold 10-inch nonstick skillet. Cook over medium heat until edges are lacy and light golden, 2 to 3 minutes. Remove skillet from heat and let sit for 1 minute. Using 2 spatulas, carefully flip. Return to medium heat and cook until second side is deep golden brown, about 1 minute. Carefully slide crisped cheese onto plate.

Air fryer
Preheat the air fryer to 350° F. Place cheese slice or grated cheese on a parchment-lined air fryer basket or tray. Air fry or cook for 5 minutes. Check to see that the cheese is lightly browned.
Removed the cheese on the parchment paper from the air fryer and let cool. Cheese will harden as it cools.

FAQ
Why are my cheese crisps soft?
If your crisps are soft, they didn’t cook long enough or hot enough.
Ovens, including microwave ovens, vary in temperature and in where the hot spots are. You may need to just pop them back in for a little while longer, or you may need to rotate the tray to get more even browning.
I’ve also been known to eat them with some chewy soft bits in the center if I didn’t feel like cooking them for longer. They’re still delicious!
Can I make this without parchment paper?
These can be made on silicone baking mats as well. The parchment paper or silicone mat allows the cheese crisp to be removed easily, so I don’t recommend skipping them.
I have found that there are differences in parchment paper. I recommend Reynold’s brand. It’s always reliable, sturdy, and holds up to multiple uses.
How to store
Let them cool completely. Then store them in an airtight container for up to three days.
Parmesan cheese can be stored at room temperature, therefore if you made your crisps with pure Parmesan, you can store them right on the counter.
They can also be stored in the fridge, which is where I prefer to store them.
You can also freeze them in an airtight container like a ziptop bag for up to 6 months.
How long will they stay crispy?
I think they’re best and crispiest when made fresh, and since they’re so easy to make in just a minute, go for fresh.
They will soften when stored in the fridge. But if you have leftovers, go ahead and keep them. You can also re-crisp them in the oven for a couple of minutes or in the microwave for about 30 seconds.

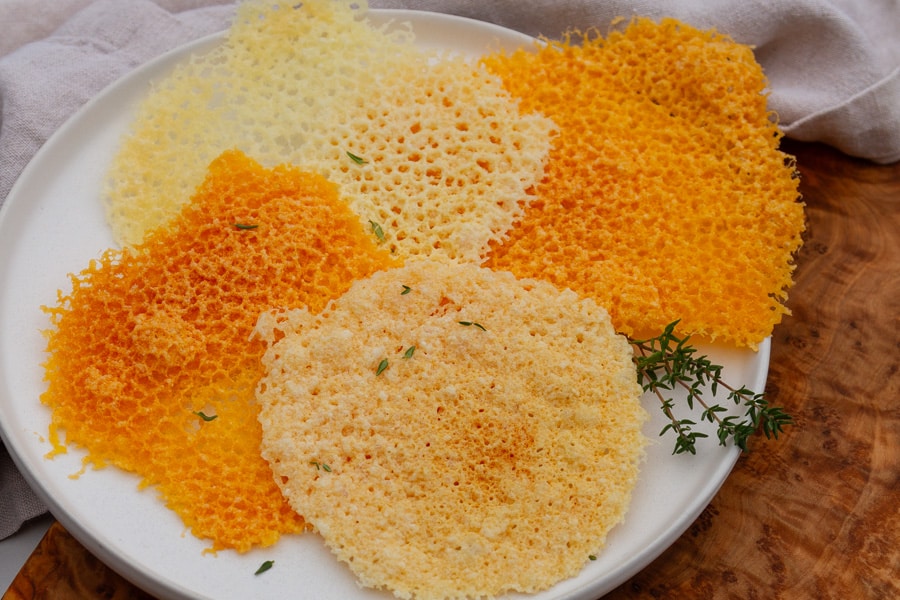
What cheese works best for them?
They can actually be made with just about any cheese.
Hard cheeses tend to be less greasy, like Parmesan, Grana Padano, Romano, gruyere, or Asiago. The other thing I like about Parmesan, is that it’s a bit lower in cholesterol than the softer cheeses. Want to read a little more about lowering cholesterol, check out my Orange Blueberry Dried Fruit Compote with lots of info on cholesterol.
Cheddar, mozzarella, Swiss, Colby-jack, Havarti, and Pepper jack tend to separate out and become oily or greasy. But they still totally work. You can wipe off the oil with a paper towel, or simply leave the oil on the parchment paper when you take the crisp off.
I don’t recommend using pre-shredded cheese in a bag. Bagged cheese is coated in cellulose, which will inhibit melting.
Or, mix some different cheeses together and see what you get. Just follow the same basic recipe.

Add ins
These little crisps are fun to play around with. You can add herbs and spices as well as jalapenos or veggies.
Remember those candied jalapenos I made a little whole back? Lovely sweet heat! They make a great flavor pop! About 1-2 jalapeno slices per tablespoon/crisp. Just toss the chopped bits in with the cheese, and proceed to make the mounds. You can also add a whole slice to the crisp for a pretty garnish.
Herbs and spices add great flavors. Be sure to use dried herbs and spices rather than fresh herbs so they don’t burn. Here are some ideas:
- Garlic powder
- Italian seasoning
- Chili Powder
- Everything bagel seasoning
- Red pepper flakes
- Taco seasoning
- Cajun spices
- Freshly cracked black pepper
- Ranch seasoning
What to serve with cheese crisps
These Parmesan Cheese Crisps are great on a salad like a Salmon Caesar Salad as a little topper like a crouton. Try them on the side of a dinner for a little crunchy extra.
Use them as a chip and dip them into some fun sauces like Onion Soup mix dip, Candied jalapeno ranch dip, or Cottage Cheese Ranch.
Turn them into nachos by loading them up with nacho cheese, Roasted Corn Guacamole, and sour cream.
They’re fantastic on a bowl of soup. Try them with some Tomato Parmesan Soup, Tomato Lentil Soup, or Garlic Potato Soup.
Kitchen tools you may need
Note: these are affiliate links
Parchment paper
Silpat baking mat
Baking sheets
Thin metal spatula
Cooling rack

Let’s keep in touch
If you like seeing my recipes subscribe via email in the upper right.
Or, connect with me on your favorite social media channel for recipes, photos, & much more:
Pinterest, Facebook, Instagram, YouTube and Twitter!
And find my shop on Amazon for recommendations on cool tools
If you try this recipe,
please come back & leave a comment below letting us know how it goes.
Share a picture & tag @lifecurrents on Instagram.
Or you can upload a “tried it” photo (I would love to see)
via the pin.
Recipe

How to Make Cheese Crisps
Ingredients
- 1 piece of pre-sliced cheese typically, 1 slice is 1 ounce
- or 1 & ½ tablespoons grated cheese typically about 1 and half ounces
Instructions
Microwave
- The preferred method
- Place a piece of parchment paper on a microwave safe plate. Place one slice of cheese or a 1 & ½ tablespoons of grated cheese on the piece of parchment paper. If you’re using grated cheese, lightly press the mound out until it’s flat.
- Microwave on high 1 minute. Check the cheese to see if it’s melted and lightly browned. If it isn’t done, put it back in and cook in 10 second increments until all the cheese is melted and lacy looking.
- Every microwave is different. This recipe was written with my microwave which has a wattage of 950. The recipe should work in just about any wattage, but you may want to experiment with how long to cook the cheese and at what power level. Increase cooking time slightly for lower wattage ovens, and decrease for higher wattage.
- Once the cheese is melted and lightly browned, remove the plate from the microwave and let the cheese cool, it will crisp up as it cools.
Oven
- Preheat oven to 400° F. Line large baking sheet with a silpat mat or parchment paper.
- With a tablespoon measuring spoon, scoop mounded tablespoons of the grated cheese onto the prepared baking sheet, making as many mounds as you like. Leave at least ½-inch between each mound. Lightly press the mounds out until they are flat. Repeat until all the grated cheese is used.
- Bake for 5-8 minutes. Remove from oven when edges just turn golden brown. Check occasionally while baking to ensure they don’t burn. Let cool completely on the baking sheet.
- The longer you leave them in the oven, the more well-done and crispier they will be. Be careful, they can burn, so keep an eye on them.
Stove top
- Place cheese or sprinkle cheese evenly on bottom of cold 10-inch nonstick skillet. Cook over medium heat until edges are lacy and light golden, 2 to 3 minutes. Remove skillet from heat and let sit for 1 minute. Using 2 spatulas, carefully flip. Return to medium heat and cook until second side is deep golden brown, about 1 minute. Carefully slide crisped cheese onto plate.
Air fryer
- Preheat the air fryer to 350° F. Place cheese slice or grated cheese on a parchment-lined air fryer basket or tray. Air fry or cook for 5 minutes. Check to see that the cheese is lightly browned.
- Remove the cheese on the parchment paper from the air fryer and let cool. Cheese will harden as it cools.
Notes
Nutrition
Nutritional information is based on third-party calculations, and should be considered estimates. Actual nutritional content will vary based on brands used, measuring methods, portion sizes, and more.


Angela
I need these crisps in my life!! I make them all the time! So simple but I have a deep love for melted crisp cheese! Great snack!
Lindsay Cotter
These are a favorite in our house! So easy and delicious!
Ellen
A now closed restaurant near us used to serve a cheese crisp with their Caesar salad. I love them and am so happy I can make them at home now! These are so easy to make and so perfect! I made Cheddar and Parmesan ones!
Laura Ashley Johnson
I served these at a party for my guest were prefer lower carb alternatives and they loved them!
Janelle
I made these in the microwave. My kids are now obsessed and insist on making them for snack every day! Super tasty!
Pam
So easy and delicious! Will do
Often now – I’m amazed that you can microwave them so fast !
Johanna
Once baked how do you store them?
Debi
Johanna, How to store: Let them cool completely. Then store them in an airtight container for up to three days. Parmesan cheese can be stored at room temperature, therefore if you made your crisps with pure Parmesan, you can store them right on the counter. They can also be stored in the fridge, which is where I prefer to store them. You can also freeze them in an airtight container like a ziptop bag for up to 6 months.