This post may contain affiliate links. If you make a purchase through links on our site, we may earn a commission.
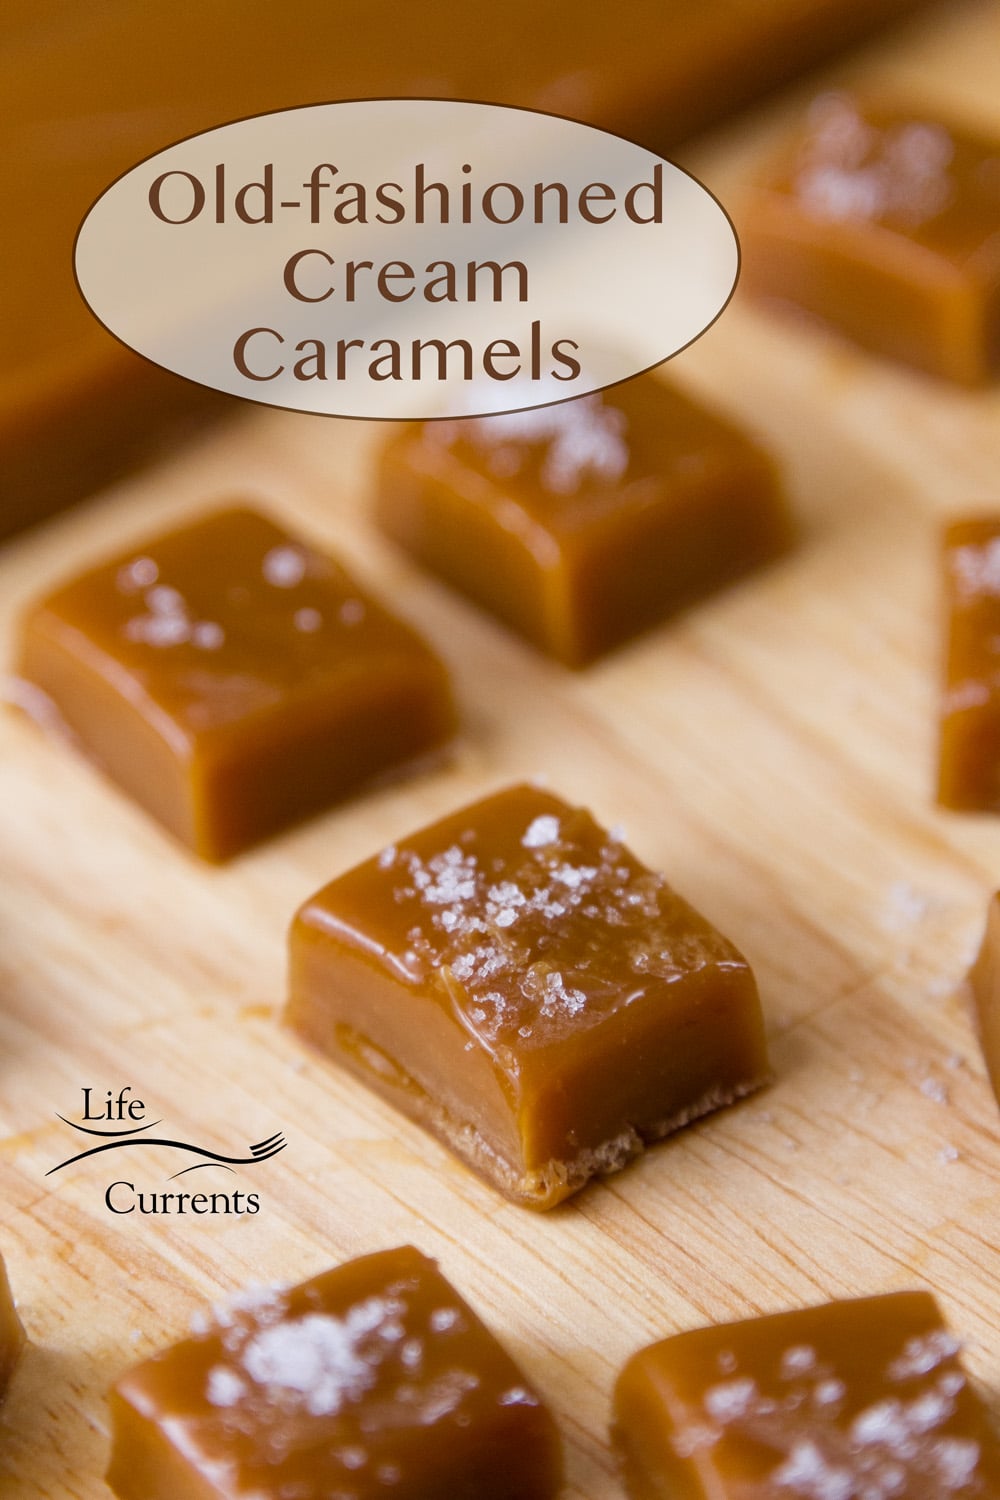
Classic, chewy, creamy, delicious buttery caramels. Grandma’s Old-fashioned Cream Caramels are the sticky yummy quintessential caramel.
The wonderful flavor of caramels comes from the caramelization of sugars and milk. And be sure to check out all my cookie and candy recipes.

We appreciate your support
Please let me know if you have any questions about this recipe. I read all the comments myself and I try to help as soon as I can. I have readers from all levels of comfort and experience in the kitchen on my site, and I’ve tried to answer some of your questions already in the post. But if I’ve missed anything, please feel free to leave a comment and ask.
All about caramels
The proportion of corn syrup to sugar will determine the texture of the caramels. The more corn syrup, the tougher the caramel.
Make sure to use a heavy bottomed saucepan to prevent scorching and burning. And be sure to cook them slowly to allow the sugar and milk solids to caramelize.
The longer and slower they are cooked, the darker the color and stronger the flavor will be.And remember, corn syrup is not high fructose corn syrup.
They are different. And, I’ve even found organic corn syrup.

Salted Caramels
These are really easy to turn into salted caramels.
After they have hardened, and you’re cutting them to wrap them up, simply sprinkle them with a good tasting salt.
I like to use Fleur de sel, a salt that forms as a thin, delicate crust on the surface of seawater as it evaporates. I love the beautiful pure flavor that it has.
Pro tips for great candies
Be sure to use a large enough saucepan when cooking the caramel on the stove. Go for a 4-quart or larger one.
Too small, and you risk the hot candy boiling over the sides of the pan.
When some of the ingredients are added to the boiling hot candy the candy will bubble up quite a bit, and can cause steam burns.
Also, be sure to use a long handled wooden spoon when stirring to prevent burns on your skin.
If you want to add nuts to half of the batch of caramels, place the nuts in only one side of the 13×9-inch pan. After you pour the caramel over them, you’ll have half a batch with nuts.
Walnuts and pecans would be my top choices for Grandma’s Old-fashioned Cream Caramels.
And, you could totally dip these in chocolate for a special treat. Or, simply drizzle melted chocolate over the top of them.

Caramel Troubleshooting
Make sure to add the final ingredients quickly to the hot caramel sugar mixture, and before pouring the caramel out into the pan.
Stirring the mixture too much will at this point will make the caramels grainy.
Also, don’t scrape the excess caramel out of the pan. What remains in the pan after pouring out the caramels has a slightly different texture because it was closer to the heat when cooked.
Adding this to the caramels would leave hard spots in the candies.
After the caramels have cooked, they must be allowed to cool completely at room temperature.
The flavor will not be as developed, and the caramels can be extra difficult to cut in done too soon. (And yes, I do often sneak a taste as soon as possible. You really can tell the difference!)
If the mixture curdles while cooking, this is due to an excess of acid reacting with the milk.
This can be avoided by making sure the mixture boils continually, or it can be eliminated by adding a pinch of baking soda to the mixture while it’s cooking.
And whatever you do, don’t walk away or stop to look at Facebook while the caramel cooks. It can burn easily.
If you want to try a super easy to make candy treat, be sure to check out my 2 Ingredient Caramel Fudge.

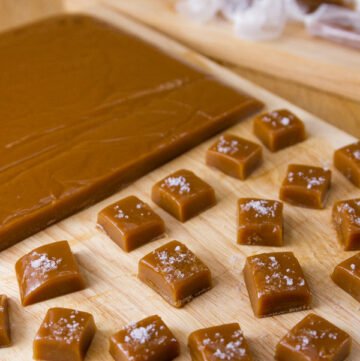
Cutting caramels
The best way to cut caramels is with a large sharp knife.
The blade of the knife should be oiled with a neutral flavored oil like grapeseed, vegetable, safflower, canola, or lite olive oil.
Press down on the knife (the non sharp part) with the palm of your hand, and never get your fingers near the sharp blade.
Move the cut caramel away from the rest of the block of caramels so it doesn’t re-stick to the block.
If cutting becomes difficult, oil the blade again.

Storage of caramels
Individually wrap them in waxed paper or parchment paper with the ends of the wrapper twisted.
Caramels can also be stored unwrapped between pieces of waxed or parchment paper in a tightly covered container.
Be sure to leave space between the caramels if they are stored this way, so they don’t stick together.
Caramels will absorb moisture; so don’t store them in the refrigerator.
candies
I love candy making! Besides these caramels, you’ll want to check out my recipes for Peppermint Marshmallows, Soft Peppermint Caramels, Bourbon candied pecans, Mocha Fudge, Brown sugar fudge, and Buttermints candies.

Kitchen tools you may need
Aluminum foil
13×9-inch pan
4-quart saucepan
Pastry brush
candy thermometer
cutting board
chef’s knife
waxed paper or parchment paper

Let’s keep in touch
If you like seeing my recipes subscribe via email in the upper right.
Or, connect with me on your favorite social media channel for recipes, photos, & much more:
Pinterest, Facebook, Instagram, YouTube and Twitter!
And find my shop on Amazon for recommendations on cool tools
If you try this recipe,
please come back & leave a comment below letting us know how it goes.
Share a picture & tag @lifecurrents on Instagram.
Or you can upload a “tried it” photo (I would love to see)
via the pin.

Recipe
Grandma’s Old-fashioned Cream Caramels
Ingredients
- 2 tablespoons neutral flavored oil divided use
- 2 cups granulated sugar
- 1 cup light corn syrup
- 2 tablespoons unsalted butter softened and cut into pieces
- 2 cups heavy whipping cream
- ½ teaspoon salt plus additional for sprinkling on top if desired
- 2 teaspoons pure vanilla extract
Instructions
- Line a 13×9-inch pan with aluminum foil so that the foil goes up the sides of the pan. With a paper towel, coat the foil with 1 tablespoon of the oil. Set aside.
- In a 4-quart or larger heavy bottomed saucepan over medium heat, combine sugar and corn syrup. Stir constantly until the mixture comes to a boil, about 5 minutes. Wash the sides of the pan down 2 times with a pastry brush dipped in warm water to prevent the sugar from crystallizing.
- Place a candy thermometer in the pan with the hot sugar, and increase the heat to medium-high. Continue to cook the candy without stirring until it registers 305° F on the candy thermometer, about 15 minutes.
- While the hot sugar cooks, heat the cream in a separate small saucepan or in the microwave until it’s hot. Set aside.
- Remove the sugar mixture saucepan from the heat and stir in 1 tablespoon of the butter until it’s melted in. Return the pan to medium heat, and add the remaining tablespoon butter a little at a time, keeping the mixture boiling.
- Slowly and carefully add the hot cream to the caramel sugar mixture. Be careful as the mixture will bubble up and steam and can cause burns. Stirring continuously, cook the caramel until the mixture reaches 250° F on the candy thermometer, about 10 – 15 minutes.
- Remove the pan from the heat, and let stand for 5 minutes. Stir in the ½ teaspoon salt and vanilla. Pour the caramel into the prepared foil lined pan, and let sit for at least 8 hours at room temperature.
- After the caramel has rested, coat a cutting board and the blade of a chef’s knife with the remaining 1 tablespoon oil.
- Invert the foil-lined pan of caramel onto the cutting board, and peel the foil off of the caramel.
- Cut the caramel into bite sized pieces.
Notes
Nutrition
Nutritional information is based on third-party calculations, and should be considered estimates. Actual nutritional content will vary based on brands used, measuring methods, portion sizes, and more.


diane
Homemade is truly so much better in so many ways. Thanks for sharing your Grandmas special recipe it’s so good – best I’ve ever had.
Toni
I love it! An all-time favorite! I put it on my holiday trays every year.
Denise Burns
I can’t wait to try your recipe. I totally appreciate that you have taken the time to add all of your knowledge on what to do to make the recipe successful.