This post may contain affiliate links. If you make a purchase through links on our site, we may earn a commission.
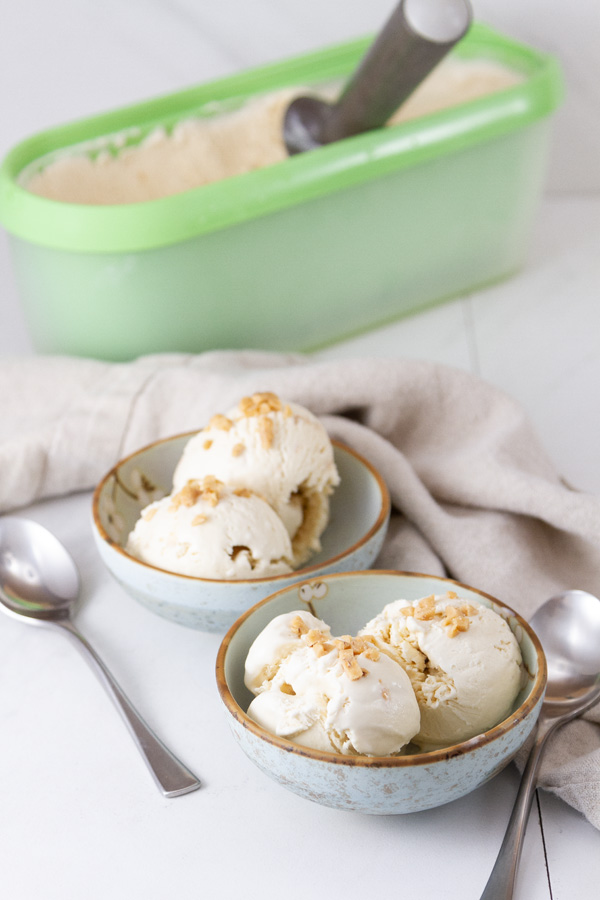
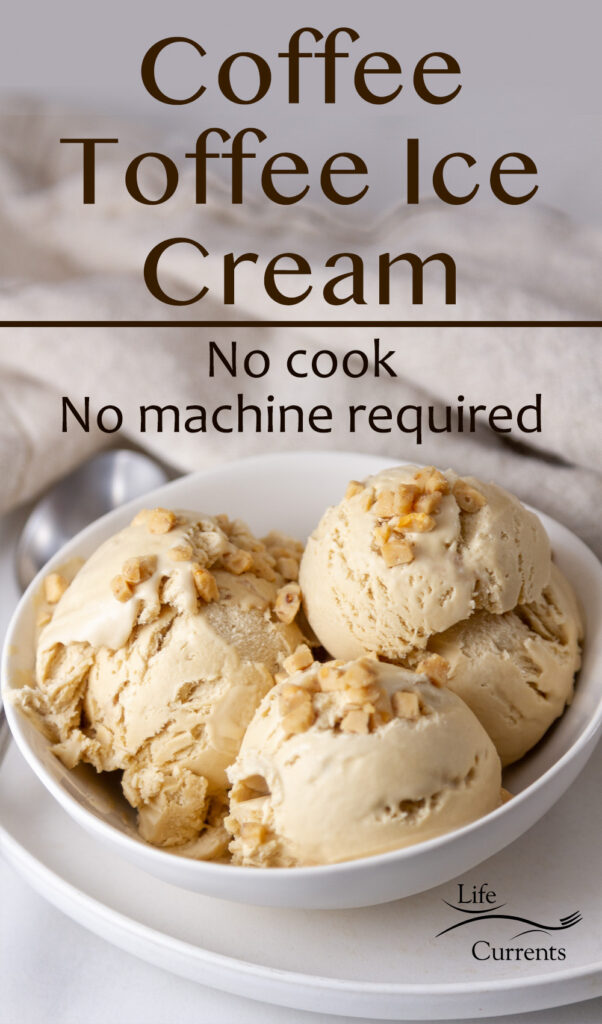
This rich creamy Coffee Toffee Ice Cream has a deep coffee base that’s dotted with toffee bits, and is a match made in heaven! No Cooking required and no ice cream machine needed.
This ice cream is perfect for coffee lovers, with a bold coffee flavor and just the right amount of sweetness. You only need five ingredients, and it’s ready to freeze in just 10 minutes. It’s the perfect summer treat. Looking for another variation on this recipe? Be sure to check out my Cookie Dough Ice Cream.
There’s nothing better than a cold creamy ice cream on a super hot day. And, it’s even better if that ice cream is homemade. But who wants to spend all that time over the stove cooking custard? And, then you have to wait to freeze it. And, what if you don’t have an ice cream machine?
Don’t fret, my friends. This simple and quick little recipe is the answer. No cook. No ice cream maker needed!
You don’t have to heat up your kitchen. But you get a luscious creamy ice cream. Top it with my no cook Coffee Sauce for a double dose of coffee flavor!

We appreciate your support
Please let me know if you have any questions about this recipe. I read all the comments myself and I try to help as soon as I can. I have readers from all levels of comfort and experience in the kitchen on my site, and I’ve tried to answer some of your questions already in the post. But if I’ve missed anything, please feel free to leave a comment and ask.
Recipe update
I first shared this recipe in 2012, but it was definitely time for an update. New updated photos, new information including tips and tricks for the best homemade no churn ice cream. And, I did some recipe testing to update the recipe itself a bit, making it less icy and creamier.
I suspect that this basic recipe originated from the Carnation sweetened condensed milk test kitchens. And I’ve been making it since the early 90s when I didn’t have an ice cream machine and no room for one in my tiny kitchen.
For my recipe update I took out the liquid coffee and added in espresso powder to make the ice cream less icy. This is my favorite {affiliate link} espresso powder, though any brand will work. And, if you can’t find espresso powder, use instant coffee. The instant coffee will have a slightly lighter flavor. Be sure to taste the mixture before whipping it to make sure it has enough coffee flavor.
In doing some research on coffee toffee ice cream I found that Ben & Jerry’s has a coffee toffee bar crunch ice cream. So, I’m in good company.
What is no-churn ice cream?
Really simply, no-churn ice cream is homemade ice cream that’s made without an ice cream machine.
There are many different ways to make a no churn treat, but the most common way is to mix whipped cream with sweetened condensed milk.
I also have a no churn Almond Nougat Ice Cream that doesn’t use sweetened condensed milk.
The sweetness in the ice cream comes from the sweetened condensed milk and the smooth creamy texture comes from the whipped cream.
Pro tips for making the best no churn ice cream
The active time for this recipe is only about 15 minutes. No special equipment needed.
A little mixing, a little beating. And, a lot of waiting.
That’s really the hardest part – the waiting! Wait until it’s frozen like ice cream.
You don’t even have to stir it while it freezes. Though, sometimes I’ll stir it every hour or so just to make sure that the candy bits aren’t sinking to the bottom. Also, stirring it every hour or so will help make sure that the ice crystals are breaking apart, and you’ll get a creamier texture.
Be sure to scroll down to the printable recipe card below for full ingredient amounts and instructions.
Grab your ingredients. Be sure to get heavy whipping cream. It’s the thickest and richest cream. Learn more about different kinds of dairy here.

Place all but the toffee bits in a large bowl. Pop the filled bowl in the fridge and refrigerate until really cool. Your mix should be as cold as possible prior to beating. Cold cream whips up better than warm, so don’t skip this step. Also, cold ingredients will keep ice crystals at bay, and result in a less icy final product.
I also like to put my beaters in the fridge so they’re nice and cold.
While you’re waiting on the mixture to cool, you can crush the candy bar if you have a whole bar. When I originally made this recipe, they didn’t sell those convenient bags of already crushed toffee bits. So, I had to break up or cut up the bar myself. Now I’d recommend a bag of pieces. I’ve found that 1.4 ounce bar of toffee is about ¼ cup.
Once cooled, beat the cream mixture using a hand-held mixer or a stand mixer on medium-high until thickened and custard-like, about 5-10 minutes.
And my super-good pro tip for mixing! My mom always taught me to place the bowl into the sink to whip or mix stuff with the hand mixer. That way when it splatters (and it will splatter) most of the mess is contained in the sink, making for easier clean up!
Fold in toffee bits. And, of course, if you want more toffee bits, please feel free to add as much as you’d like.

Once the ice cream is whipped, spoon the mixture into a freezer safe container like an insulated ice cream container, or a loaf pan, or 2-quart dish. (That insulated container is my favorite way to store homemade ice cream. It makes for super easy scooping, has a lid that fits really well, is double walled, and fits nicely into my freezer.)
Work quickly to transfer it from the bowl and into the freezer as fast as possible. Fast freezing will help maintain the ice crystals’ small size resulting in a creamier texture.
Cover and freeze several hours, about 6 hours, or overnight before serving.
To serve, run your {affiliate link} ice cream scoop under hot water and wipe off the water before scooping to get the ice cream out easily.
Serve this ice cream straight from freezer; don’t let it sit out. It’ll get super soft allowing ice crystals to form if it sits out.
Oddly enough, ice is the culprit for having too hard or icy ice cream. And the larger the ice crystals, the icier the dessert. Smaller ice crystals mean a less icy and creamier frozen treat.
Using full fat heavy whipping cream which has less moisture than other milks or creams helps reduce the amount of water and therefore ice in the mixture.
The faster the cream mixture is whipped, the more air that’s whipped into it, which will help it from freezing as hard.
Also, the faster the ice cream mix freezes, the creamier it will be because the ice crystals are at their smallest right after churning.
If the ice cream is not frozen fast enough, larger ice crystals can develop, causing the ice cream to become too hard.
Stirring every hour or so while ice cream is freezing will also help by breaking up the ice crystals.
Watch how you handle the ice cream too. If you let it sit on the counter for too long while you’re serving it, then you put it back in the freezer it has a chance to melt and reform larger ice crystals when it’s refrozen.
Large ice crystals can form over time in the freezer as well. Remember, the ice crystals are at their smallest right after churning. So fresh ice cream is always creamier.
How long will no churn ice cream last?
Homemade ice cream can’t be stored as long as the commercial stuff because it lacks same the stabilizers, so it’s important to make and enjoy your ice cream as fresh as possible.
It’ll keep for about one week if kept in a loaf pan or container covered with plastic wrap. Or up to one month if stored in an airtight, freezer safe container.
You may also place a piece of wax or parchment paper over the ice cream’s surface to inhibit freezer burn or stop the ice cream from absorbing freezer odors.
Mix it up
And, as if all that wasn’t enough reason to love this recipe, you can also use the recipe as a base for all kinds of different flavors. Have some fun with it!
I think Skor Bars are the best in this ice cream. Heck, I think Skor Bars rock anyway. But I never see them at the stores anymore. So, I use Heath Bars would rock in this, making it an English toffee ice cream recipe! But that would mean heating up the kitchen. You could also use bags of crushed toffee bits that they sell in the baking aisle.
Heck you could leave the toffee bits out and just have a really good coffee ice cream or espresso ice cream.
Add in any crushed candy bar you want. Make Snickers ice cream. Or, Reese’s peanut butter cup ice cream. But do make sure to cut or crush the candy into really small pieces.
Make toasted almond ice cream by adding almond extract and toasted almond slivers instead of the candy.
Or try rocky road ice cream with mini marshmallows, nuts, and cocoa powder.
Make simple vanilla ice cream by leaving out the espresso powder. Or vanilla bean by adding vanilla bean paste instead of the extract.
Try chocolate chips instead of the candy.
Pumpkin ice cream. Rum raisin ice cream.
For a fun twist on coffee, check out my Vietnamese Coffee Gelatin Squares with Vanilla Bean Cold Foam.
Can you churn no churn ice cream?
I’ve been asked if you can churn a no churn ice cream. So, I did a little experimenting.
I mixed the sweetened condensed milk, whipping cream, and flavorings together and popped them in the fridge to cool.
Once cool, I poured the mixture in my ice cream machine, and let it churn for 20 minutes.
Once churned, the ice cream was very soft, almost soupy. But I poured it into a loaf pan and into the freezer. The next day I checked out it. It was frozen, soft scoop-able ice cream. I would say that the texture was not as light and fluffy as if I had whipped the creams together. And there was an ever so slight icy-ness. But, the flavor was delicious, and it was creamy and luscious.
So, yes, you absolutely can churn a no churn ice cream. But I do think it’s better to whip then no churn freeze this recipe.
Now, the other option I see is that you might whip the cream, sweetened condensed milk, and flavorings together as called for in the coffee heath bar ice cream recipe. Then, pour it into the frozen ice cream container and let it churn for 10-20 minutes. But this seems redundant, and like you’re adding extra work so I didn’t try it.
Let’s keep in touch
If you like seeing my recipes subscribe via email in the upper right.
Or, connect with me on your favorite social media channel for recipes, photos, & much more:
Pinterest, Facebook, Instagram, YouTube and Twitter!
And find my shop on Amazon for recommendations on cool tools
If you try this recipe,
please come back & leave a comment below letting us know how it goes.
Share a picture & tag @lifecurrents on Instagram.
Or you can upload a “tried it” photo (I would love to see)
via the pin.
Recipe

Coffee Toffee Ice Cream
Ingredients
- 2 cups heavy whipping cream
- 14 ounce can sweetened condensed milk
- 2 teaspoons espresso powder
- 1 & 1/2 teaspoons vanilla extract
- 1.4 ounce chocolate covered toffee bars (about 1/4 cup crushed)
Instructions
- In a large bowl, combine cream, sweetened condensed milk, espresso powder, and vanilla. Refrigerate until cool.
- In the meantime, crush the candy into bite sized bits.
- Once cooled, beat the cream mixture using a hand-held mixer or a stand mixer on medium-high until thickened and custard-like, about 5-10 minutes.
- Fold in crushed toffee bits. Spoon or pour mixture into an ice cream container or 2-quart dish. Tap the bottom of the dish on the counter a couple of times to help get any air bubbles out of the mixture. Cover and freeze several hours or overnight.
Notes
Nutrition
Nutritional information is based on third-party calculations, and should be considered estimates. Actual nutritional content will vary based on brands used, measuring methods, portion sizes, and more.


Julia
Homemade ice cream is so fun and delicious! Your recipe is awesome and it’s perfect for my boyfriend and I…he’s obsessed with heath bars and I love every form of homemade ice cream! Have a fun weekend!
cinnabari
I have not seen Skor bars in YEARS. But yes. The best toffee bars out there.
Hani Shabbir
Yum. I love coffee and toffee which makes it an ideal mix for coffee toffee lovers like myself. 🙂 This was so easy to make and so creamy!
Christine
YAY!!!!!!!!!!!! An actual ice cream recipe I can make… WITHOUT an ice cream maker!!! It’s so delicious! Who knew ice cream could be this easy to make!
Kathryn Griffin
Yummy! That is fantastic. Thank you for sharing this recipe. Everyone absolutely loved it! We used a bag of toffee bits rather than breaking our own.
Trish
I love that you don’t need an ice cream maker for this recipe! It’s amazing! So creamy and soft.
Katherine
missing you, hope you will be blogging soon xo I tried your ice cream and it was so creamy good!
Cindy
Wow, this is so refreshing! And so easy to make. Unbelievably creamy and luscious! I adore the coffee flavor too!